85 OVERNIGHTER PROJECT

cdwood

GreatGrady Captain
Joined
Apr 1, 2006
Messages
578
Reaction score
0
Points
18
Location
Hamilton/LBI N.J.
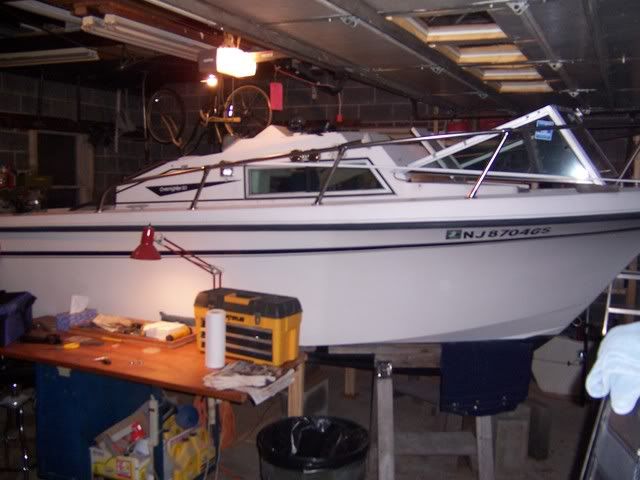
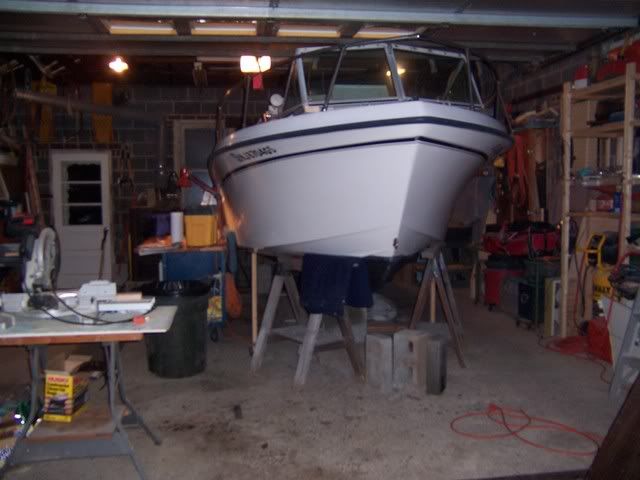
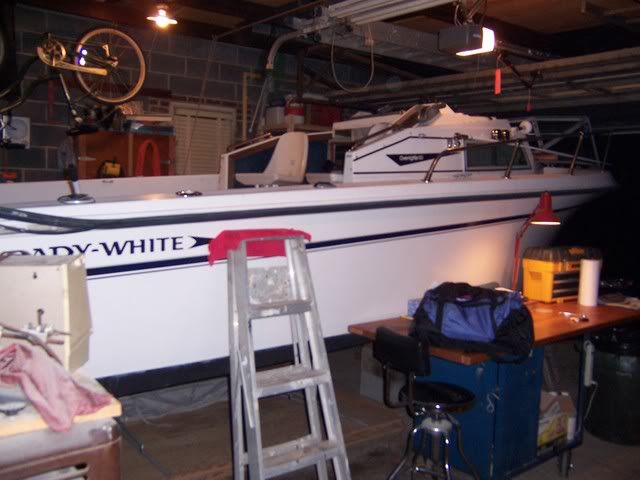
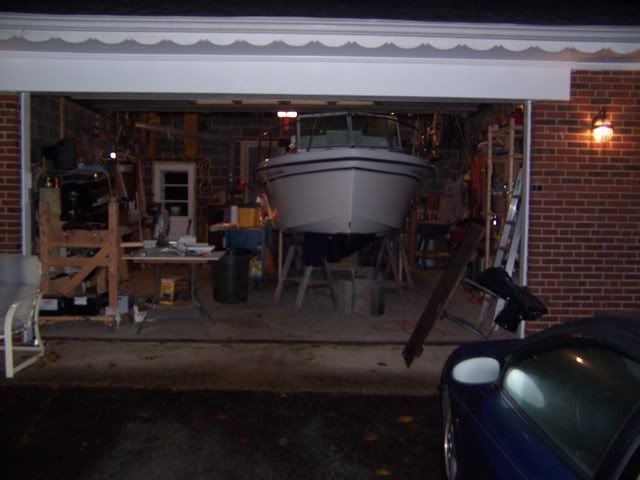
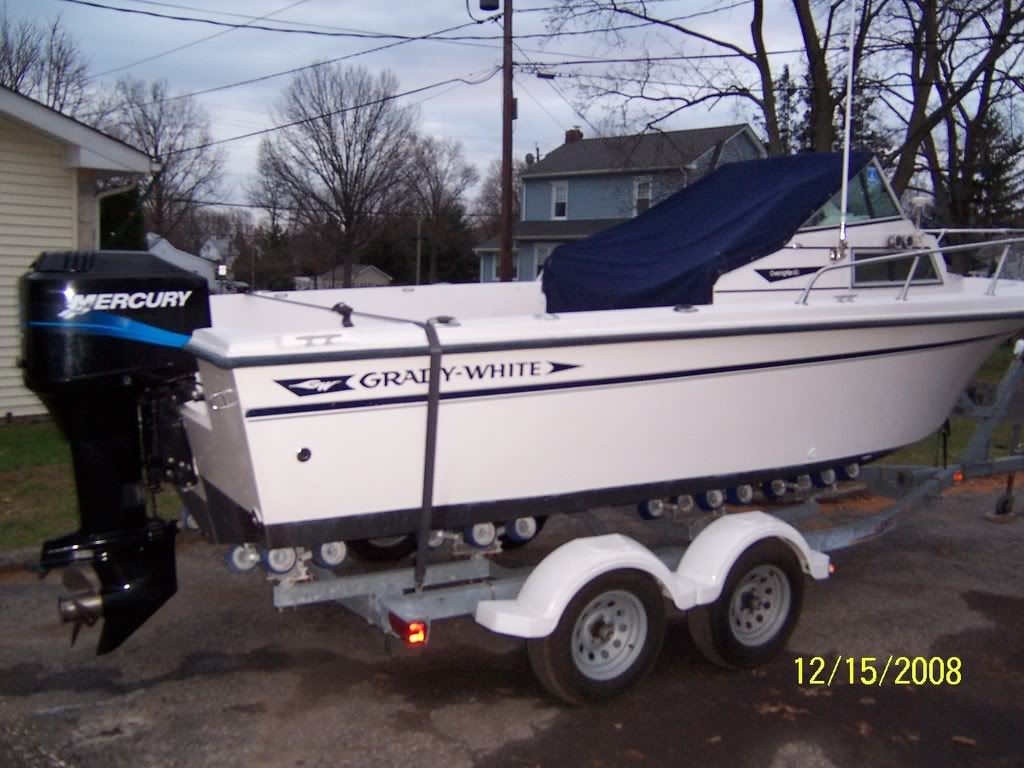
Seems like a lot of new Overnighter owners around recently. Maybe some of you guys might be interested. By my own admission bought this boat from some shmuck who knew she was in rough shape but failed to mention anything. All I knew was I wanted a GRADY, bought the first one I found in my price range. The rest is history.

Engine had a knock when I bought it, not being a motor guy, did'nt care, it ran.

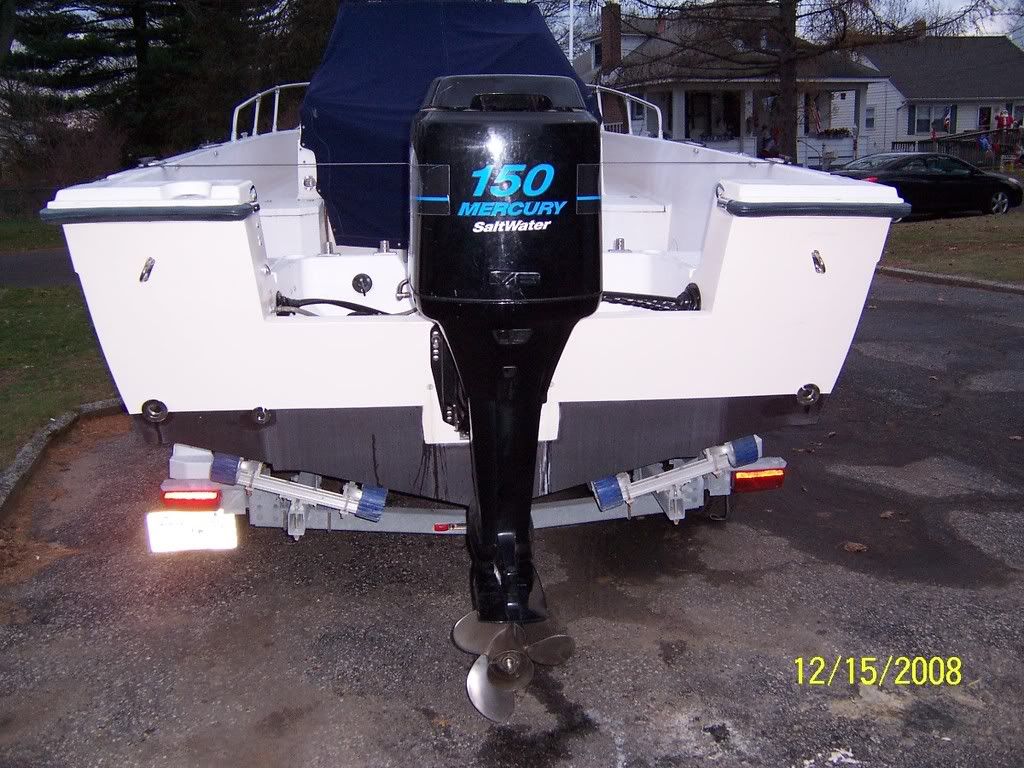
Well, the engine went, not unexpectedly, after a couple seasons so before repowering (by now I had found GG) figured I better investigate the transom since there was so much read on it. Had it surveyed and it was reported to be ok, duh!!!!!

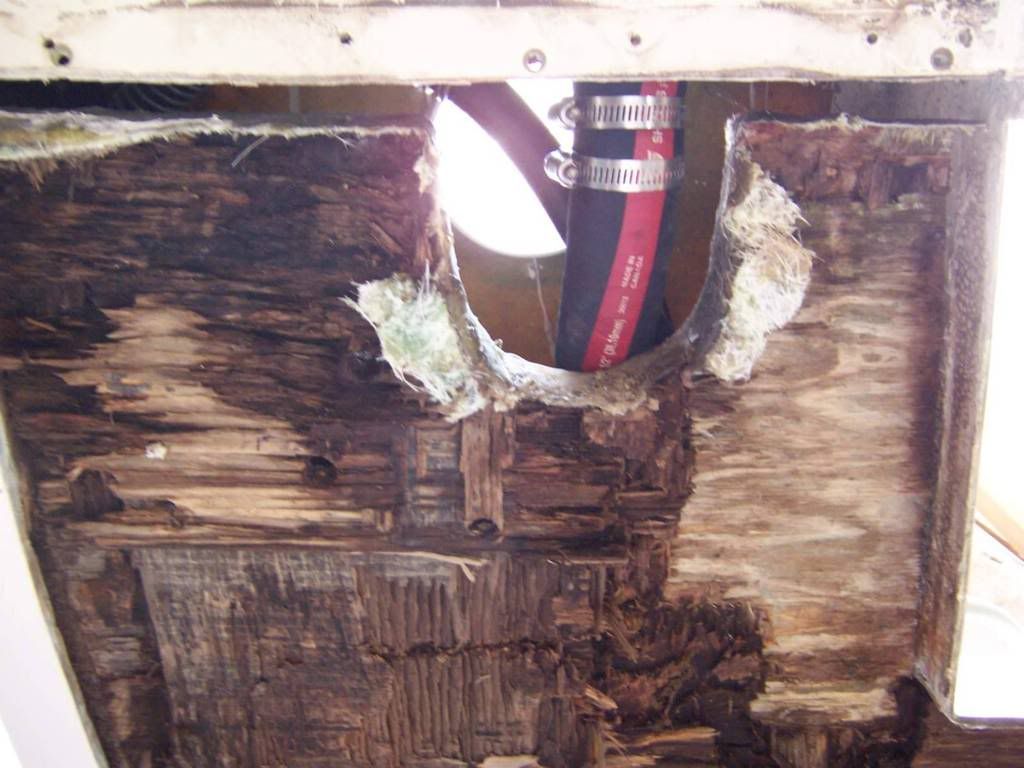
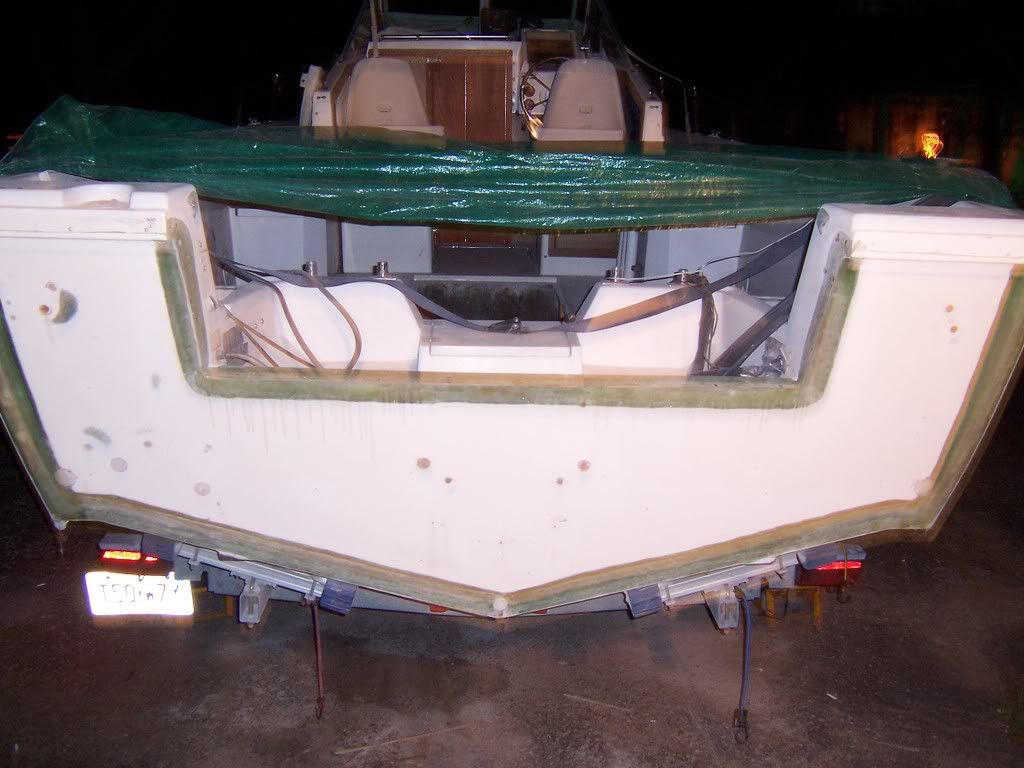
With the blown engine off this is what I found,

102_1567.jpg


102_1566.jpg


102_1568.jpg


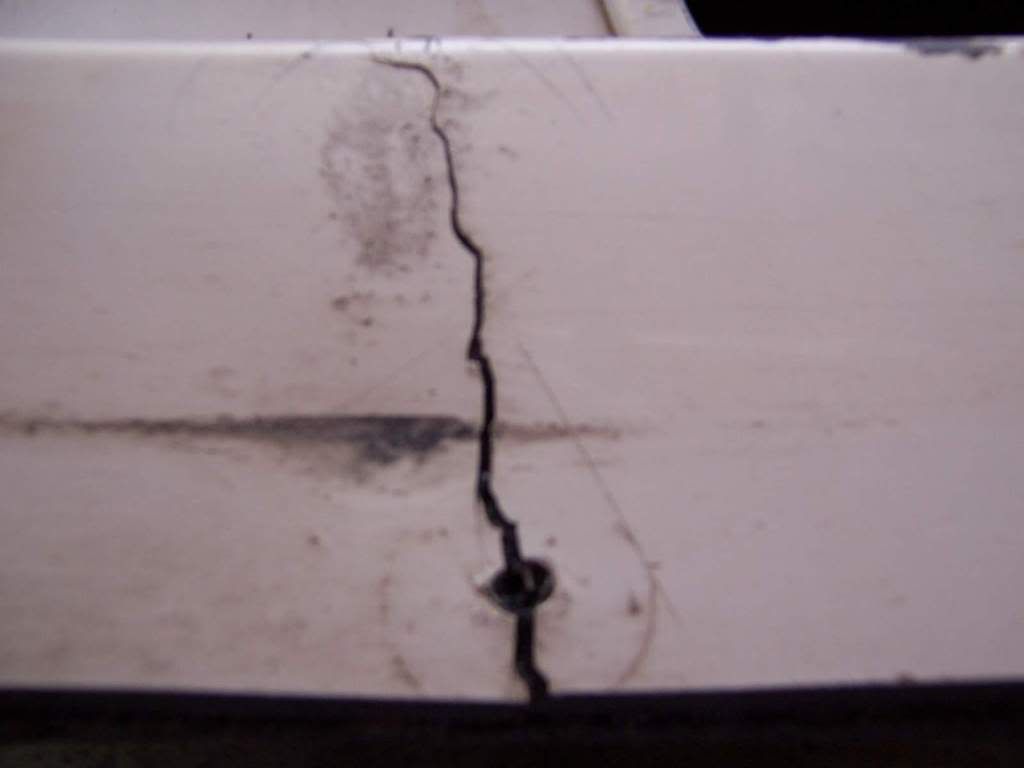
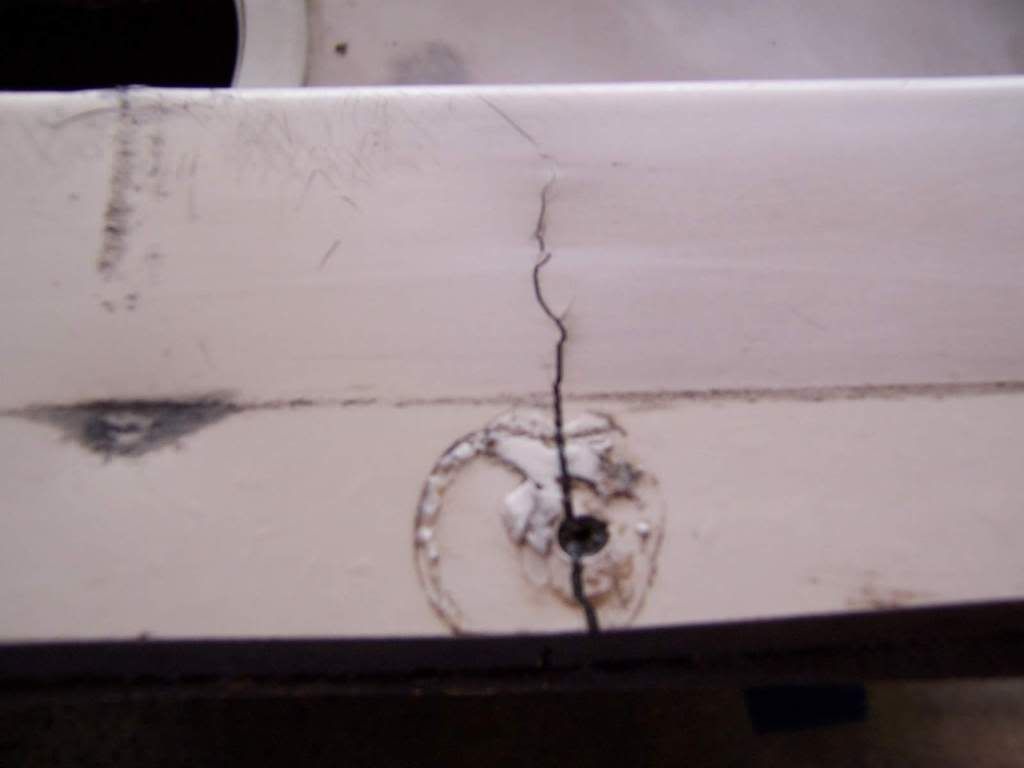
Transom had some serious bow to it and with the trim off visible cracks in the cap.

What to do now? Everybody I talked to said sell the boat to some shmuck that does'nt know any better. I'm already that shmuck so rather than let a guy put his family or friends in an unsafe boat I decided I was going to make her well again.

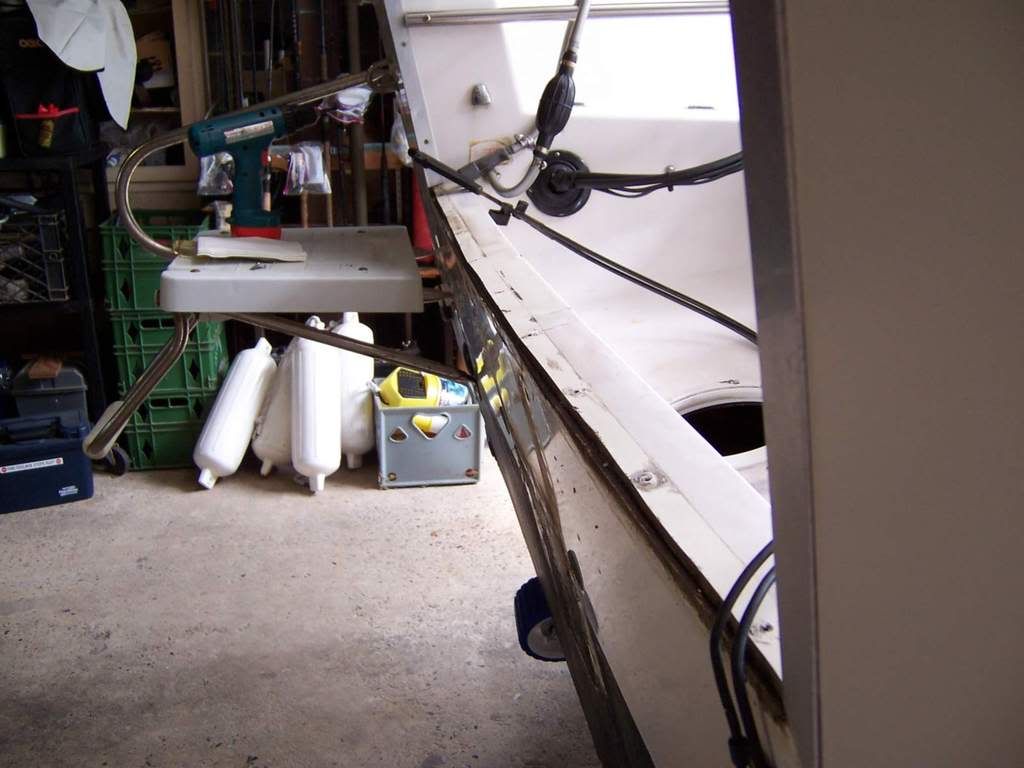
Well let's tear the skin off and see what we have.

102_1581.jpg


102_1580-copy-copy.jpg


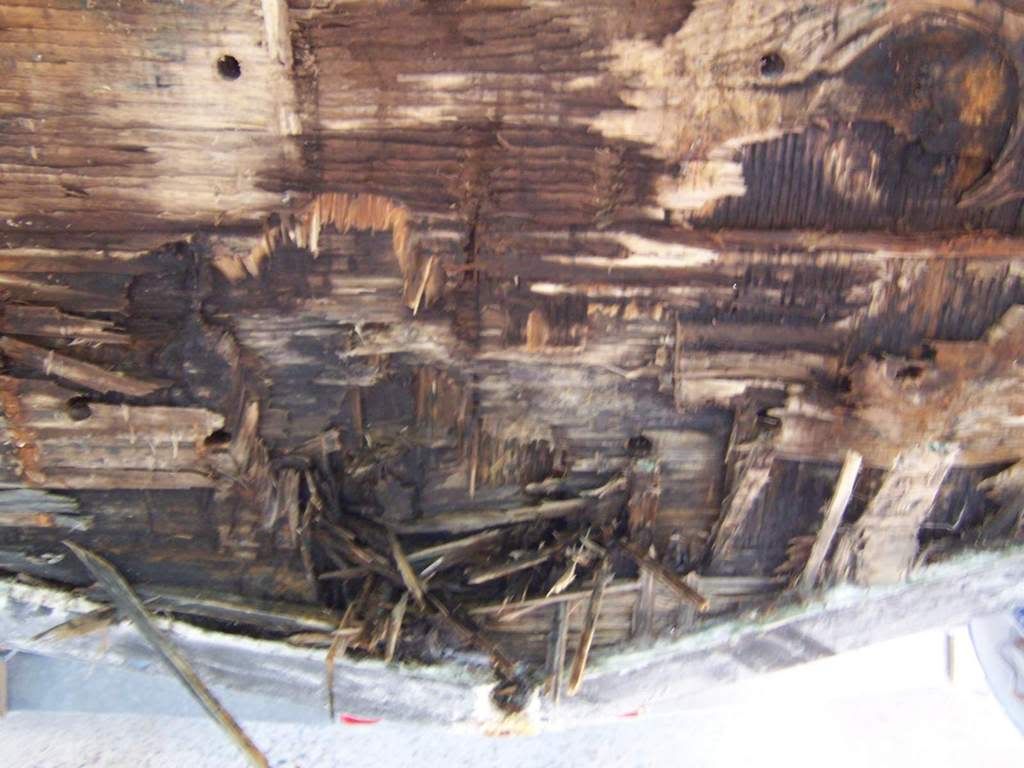
WHOA, was'nt expecting that. Time to do some homework.

Note: had it not been for the resourses of GG at the time, I would never have taken on this project.

Alright, lets clean it up and see where we are.

102_1590.jpg


102_1593.jpg


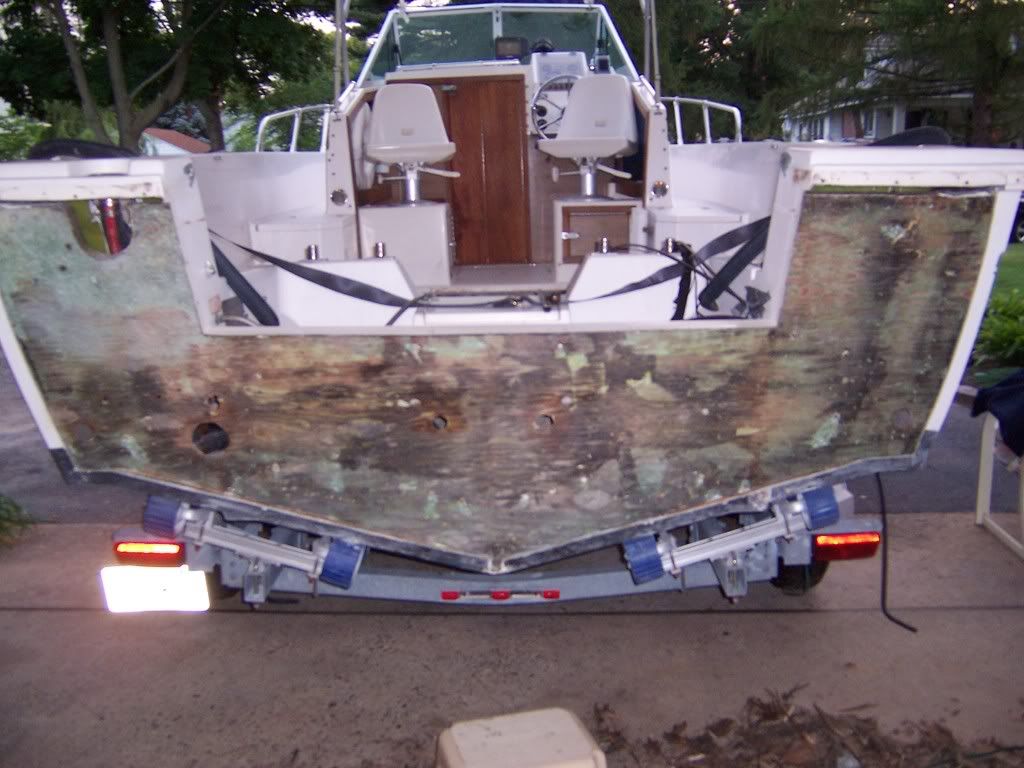
Well maybe not so bad, Drilled into stringers, dry wood thank god.

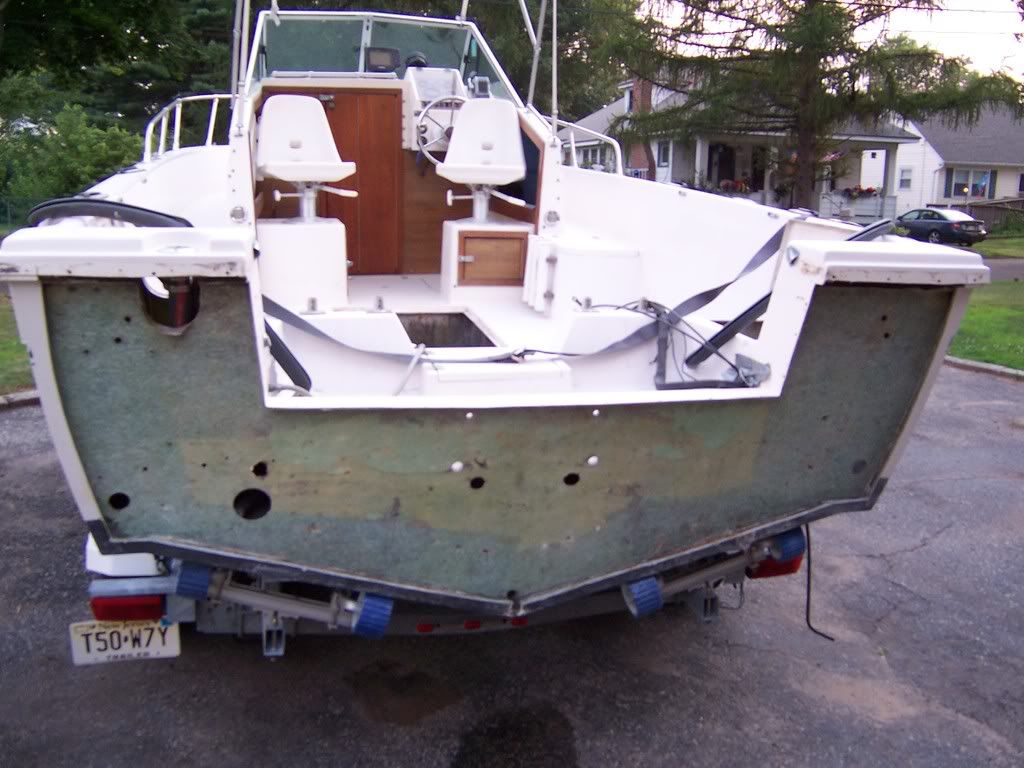
OK so here we go, we're commited now, boats all cut up.

Research, research and more research. Finally a plan is in place.
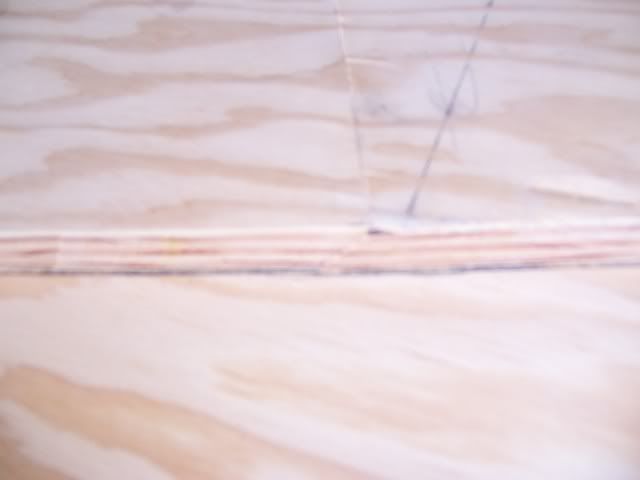
Marine plywood, if sealed properly, is material of choice.

Next, West System Products only, no cheap shit here, can't be doing this again. Used 4 gallons of epoxy by the time we were done, ouch!

102_1639.jpg


102_1642.jpg


102_1649.jpg


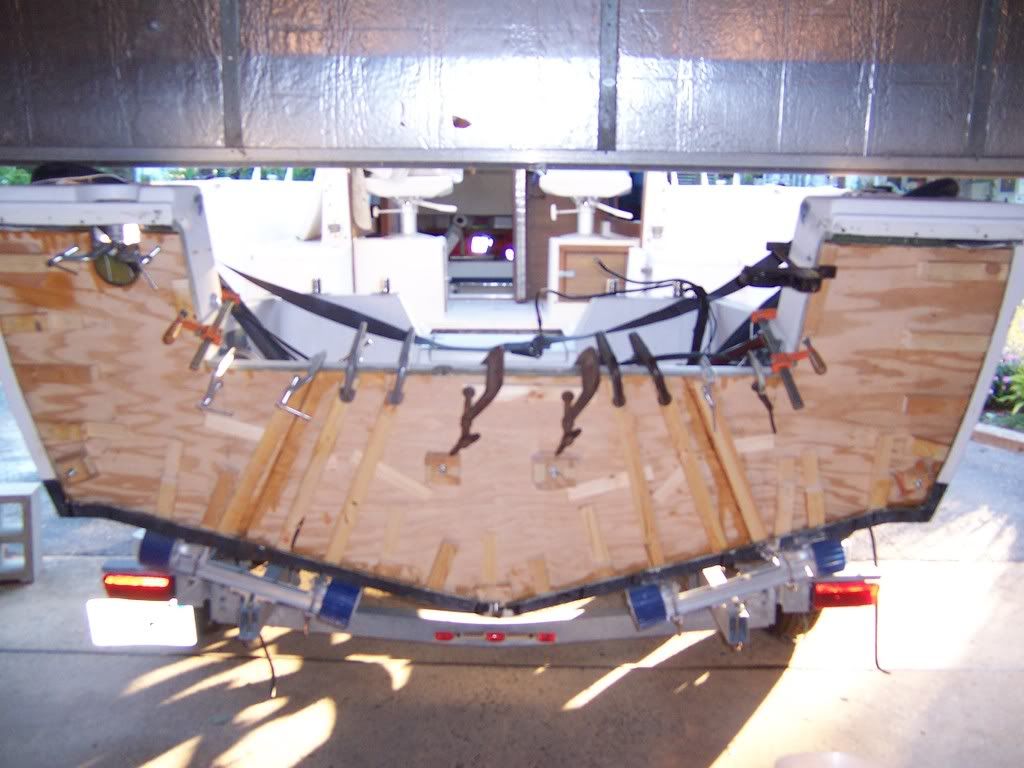
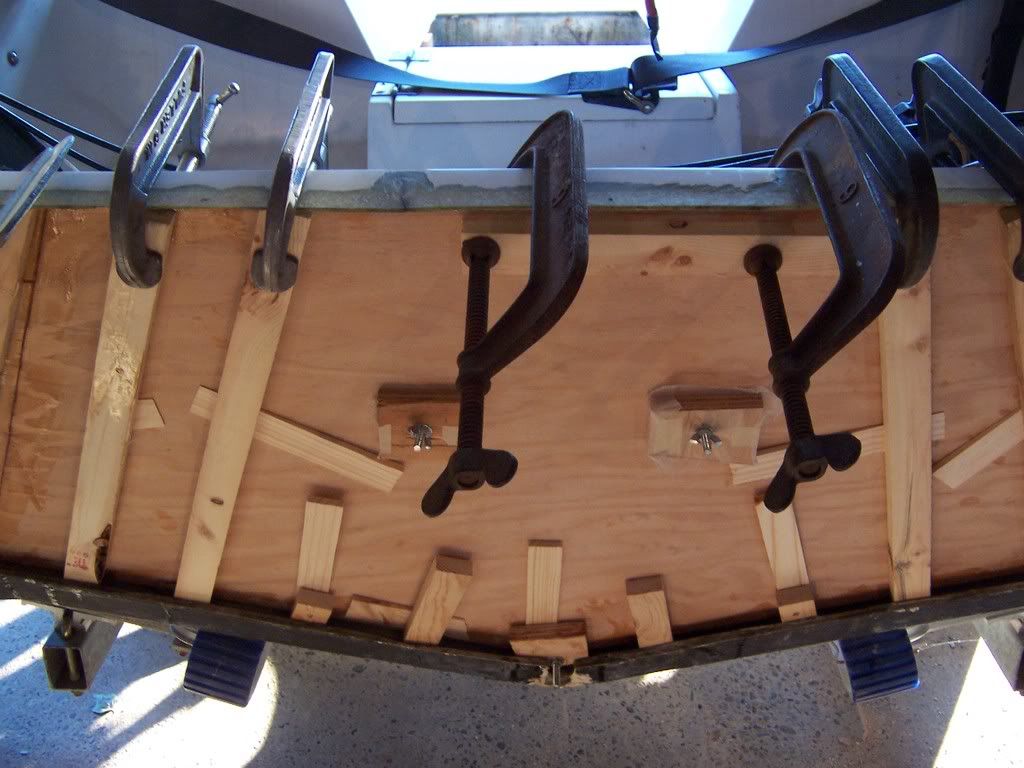
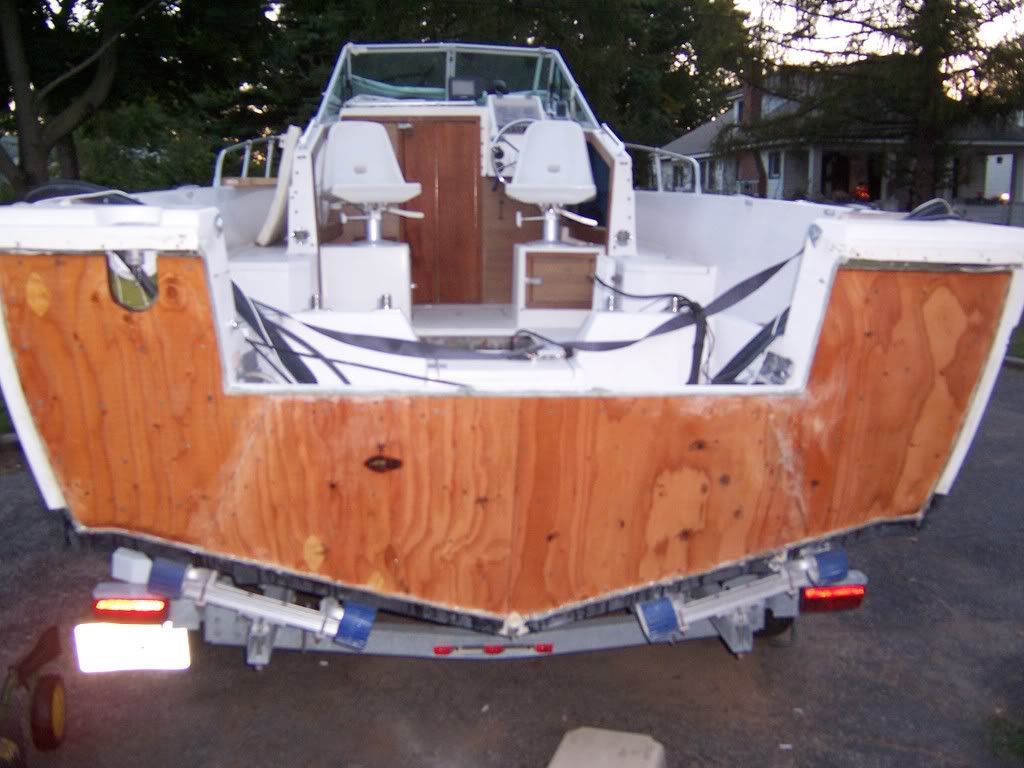
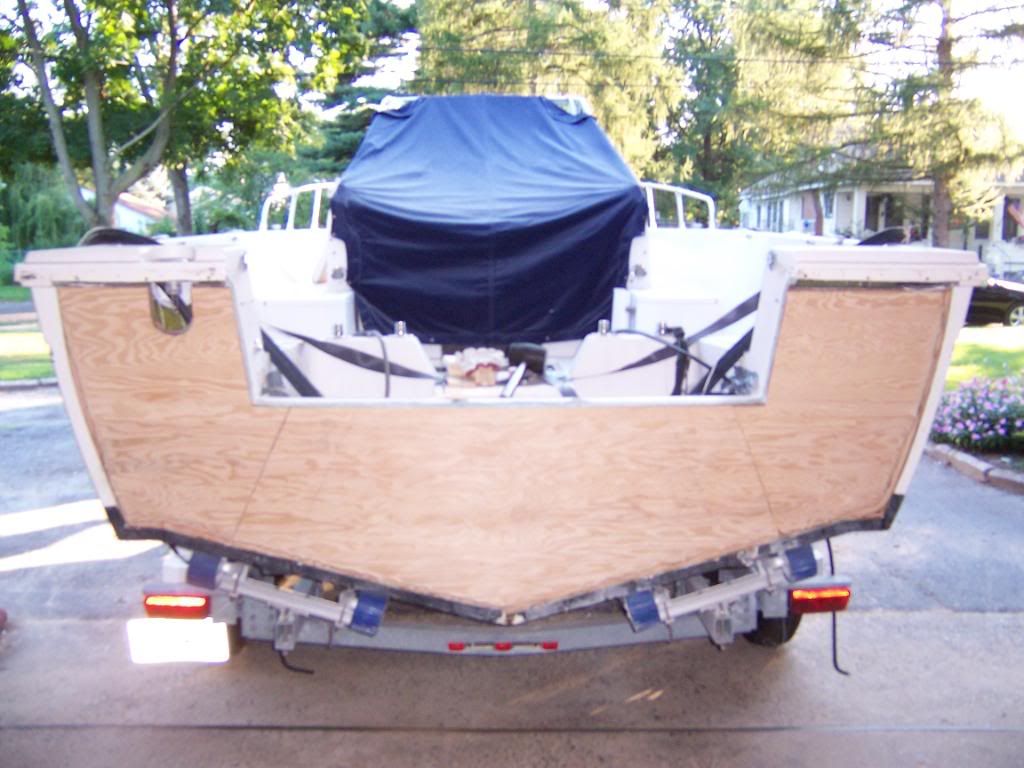
OK, first layer of plywood in place.

to be continued.
 

BobP

GreatGrady Captain
Joined
Apr 27, 2005
Messages
4,746
Reaction score
6
Points
38
Location
Long Island, NY
Model
Sailfish
So much for surveyors.

You are not the only one.

I wonder what he would say if you confronted him now ?

A motor knock is never good.

Live and learn.

Doing the transom job yourself saves several grand, and it should please you to know the same Grady model new is +$60K. The depreciation in one year alone is more than this one cost you, probably, incl repairs.
.
 

Grog

GreatGrady Captain
Joined
Sep 27, 2006
Messages
2,008
Reaction score
1
Points
38
Nice job! Nice work for someone just diving into it.
 

cdwood

GreatGrady Captain
Joined
Apr 1, 2006
Messages
578
Reaction score
0
Points
18
Location
Hamilton/LBI N.J.
upgrades

Next layer of plywood in place.

102_1608.jpg


Hope this never has to come apart again because I also used a box of 100 SS screws to lock the plywood sheets together.

Time to put the skin back on.

102_1649-1.jpg


A lot of glass and fairing work to come.


102_1653.jpg


Felt the next step (gelcoat) really required an experiencedhand for proper finished look. Again talked to ALOT of people before settling on a retired gentleman who wasn't looking to hit a homerun , just liked working with boats. For half the cost of the next lowest quote here is what he gave me.


102_1742.jpg


He even did the bottom paint and put the rub rail back on with no change in original price. Not many boat shops work like that.

102_1743.jpg


Just wanted to show here the new thru hulls, which I really liked compared to the originals.

Time to hang the engine but running out of weather. Working outside thru a Jersey winternot an option. Can't afford to rent a place. Only one option left, my garage. Took some measurements. Without the motor and the windshield off this just might work.

102_1666.jpg


102_1665.jpg


102_1667.jpg


102_1668.jpg


Damn, I'm all set. Got everything I need, heat, my tools and something no garage should be without.

102_1706.jpg


More to come on how I spent that winter.
 

Bread

Well-Known Member
Joined
Jul 14, 2008
Messages
53
Reaction score
0
Points
6
Location
NY
Thanks for sharing the photos. What engine are you putting on that beautiful transom?
 

Strikezone

GreatGrady Captain
Joined
May 9, 2007
Messages
610
Reaction score
2
Points
0
Location
Charleston, SC
God bless your wife if she tolerated your GW in the garage all winter. You're a lucky man. :lol:
 

cdwood

GreatGrady Captain
Joined
Apr 1, 2006
Messages
578
Reaction score
0
Points
18
Location
Hamilton/LBI N.J.
transom

Bread, had an engine rebuilt by my local Merc guy.

102_1795.jpg


102_1794.jpg


It's an 01 carbed 150 with new head. Fully rebuilt from carbs to lower unit.

Strike, wife enjoys the boat as much as anybody so got no complaints there.
 

Bread

Well-Known Member
Joined
Jul 14, 2008
Messages
53
Reaction score
0
Points
6
Location
NY
ok thx,
your boat looks like new!
 

ghcpa9

GreatGrady Captain
Joined
Jun 29, 2009
Messages
40
Reaction score
0
Points
6
Location
long island, ny
wow, awsome job!

out of curiosity, roughly how much would that transom rebuild cost if you hired someone?
 

cdwood

GreatGrady Captain
Joined
Apr 1, 2006
Messages
578
Reaction score
0
Points
18
Location
Hamilton/LBI N.J.
Easily a couple grand but really never considered letting someone else do it. Figured this would be a good way to learn stuff I wanted to know anyway.
 

gw204

Well-Known Member
Joined
Jan 31, 2005
Messages
2,481
Reaction score
22
Points
38
Location
St. Leonard, MD
Looks great! Nice job! :)

My only suggestion is to next time...if there is a next time...scarf and stagger your joints in the core. Scarfing makes the joint stronger and staggering offsets the joints.
 

cdwood

GreatGrady Captain
Joined
Apr 1, 2006
Messages
578
Reaction score
0
Points
18
Location
Hamilton/LBI N.J.
GW, can you elaborate on scarf and stagger?

NEM, there was only room for the thinnest layer of matt between the sheets. Had to have the outer layer planned off by an 1/8" just to make skin align properly.
 

richie rich

Well-Known Member
Joined
May 20, 2009
Messages
1,183
Reaction score
1
Points
0
Location
south windsor, CT
CD, what he is referring to is the 2 layers of wood should not have the same cut joints right on top of the next. If you cut 2 vertical joints on each side of the transom on sheet one, you should then maybe cut the long way on the next layer or just move them in 6 inches so the seams never create a weak point. The scarf is basically an angled or mitered joint between your cut pieces instead of a flat or butt joint....the stagger and scarf help reduce stress points at any joint.

You can use a layer of matt between the sheets but it totally unescessary. Actually, a thickend mix of epoxy and wood flour works best as it will penetrate the wood and the joint will be stronger than the wood ply itself. Most builders of wooden boats make they're layers and fillets this way.
One question CD....I see you left about an inch of original glass around the edge and then glassed in the original skin so only that small seam has new glass on the outside. Why didn't you just put fresh layers of 1700 or 1708 on the outside for maximum bond and strength? Was it simply a cosmetic issue, ie, the gel coat work afterward? I would think new outer glass would be a bit stronger, albeit a lot more finish work...either way....it came out fantastic...you got 20+ years left on that boat
 

cdwood

GreatGrady Captain
Joined
Apr 1, 2006
Messages
578
Reaction score
0
Points
18
Location
Hamilton/LBI N.J.
Ok, just wanted to clarify. If you look closely at the pics of both sheets you can see that there is a 4 inch difference in the cuts and they were cut at a 45 degree angle. Will try to post some better pics.

A close look at this shot shows the second sheet cuts with the first sheets cuts penciled in.

102_1608-1.jpg


Here are shots of the actual cuts.

102_1606-1.jpg


102_1604-1.jpg


Focus is not real good on these shots, but please look close. Is this what you meant?
 

Merculator

Member
Joined
Jul 9, 2009
Messages
11
Reaction score
0
Points
0
Great Job! looks like new! - Mine does not appear to be as warped but I need to get in there for a godd look. I took the motor off the boat yesterday, the wetness/damage seems to be mostly on the right side and probably due partly to the fish finder and speeedo wheel which was not properly sealed up and of course the factory seem at the cap. I think I am going to cut the cap off today as well to get a better look in there. I am still going ahead with the alum plates for now and plan to start cutting them today as well.
how do you fasten the plywood on the back side? Is it bonded to the inner glass wall?
 

cdwood

GreatGrady Captain
Joined
Apr 1, 2006
Messages
578
Reaction score
0
Points
18
Location
Hamilton/LBI N.J.
Merc, yes you do want as much bond there as you can get, make the epoxy very thick and don't be stingy. You want to see it squeeze out around all your outside edges.