Transom Repair - South Jersey

Grog

GreatGrady Captain
Joined
Sep 27, 2006
Messages
2,008
Reaction score
1
Points
38
The last few shots make the work worthwhile.
 

BobP

GreatGrady Captain
Joined
Apr 27, 2005
Messages
4,746
Reaction score
6
Points
38
Location
Long Island, NY
Model
Sailfish
Chris, when you cut the bilge lower deck to get access for the tranducer, I presume you sealed those end grains of glassed over plywood ?

Can't tell from photos.
 

cgmiller

Well-Known Member
Joined
Oct 16, 2005
Messages
311
Reaction score
0
Points
0
There is alot more to be done that does not show in the pics. The deck hatches need to be recored and the front tank needs to be pulled and epoxied and the fill/vent hose need to be replaced...but they are going to have to wait until next winter..it is too damn hot to keep working on her....I still have to install my new sounder and stereo and reseal the deck hatches...I cut out the hole that I used to get the new fill line in for the rear tank and installed a round access hatch....1 more task complete...

Bobp....that piece of 3/4" plywood where the oil tanks used to sit on was NOT sealed with glass..it was just a piece of plywood with white paint....
 

cdwood

GreatGrady Captain
Joined
Apr 1, 2006
Messages
578
Reaction score
0
Points
18
Location
Hamilton/LBI N.J.
Chris, been following your "ordeal" closely, you now own a "CLASSIC GRADY" that will not let you down. Captained properly that boat will always get you back. Congratulations on your patience as well as your results.

Hope you realize you are now married to that boat. When your done, what you feel it's worth compared to what you could sell it for.......well... it is what it is. just love your time on her, you earned it.
 
Joined
Aug 24, 2010
Messages
20
Reaction score
0
Points
0
Chris,

You're truly an inspiration!

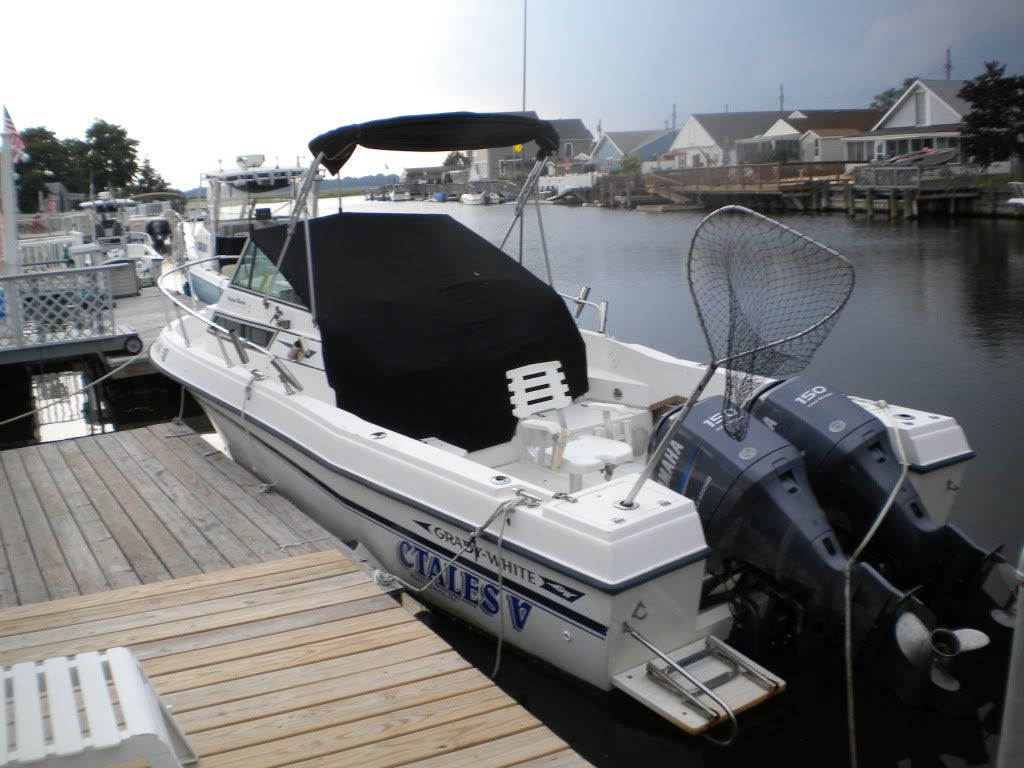
I have the exact boat, except an 89 230. I'm in love with mine, but I treat it much more like a tank, than you obviously do. For the last year I've been thinking of buying a different "newer" Grady as a lot of little things are pissing me off about my boat... but after looking at your photo-essay, I have to say I may take on some of the things myself....

.... or I may just buy a post 2005 Grady..

Awesome job buddy!
 

cgmiller

Well-Known Member
Joined
Oct 16, 2005
Messages
311
Reaction score
0
Points
0
Thanks for the "pat on the back" guys.....she is far from praise worthy yet..I have enough stuff to take care of to keep me busy the rest of the summer....
 

cgmiller

Well-Known Member
Joined
Oct 16, 2005
Messages
311
Reaction score
0
Points
0
Good evening gents...despite the brutal temps, I mustered ahead with the restoration of my Grady. I reinstalled the bottom half of the wave gate..last Sunday we took some water onto the cockpit sole, so that told me that something was needed...I renstalled the bottom half and put the teak trim from the top half onto the top of the bottom piece..it looked OK and is alot easier to use. I also installed the stereo and speakers..there was some talk in other threads about where to install the speakers..I chose the bulkhead to the left of the companionway since there was good access to the backside and the roght speaker I put in the access hole under the helm..had to make the hole a little bigger, but it was easy to get the wire to it and it is out of the way....I also removed tha main section of the deck and got the fighting chair base off of it and cut out the rotten core and replaced it with a piece of 3/4" plywodd, which I epoxy coated..next spring I may reglass the hatch, but this should get me through the season..Had to make a run to west marine for new bolts as the new core was thicker than the old one....I hope to get the wires for the new fuel gauge installed tomorrow and the deck reinstalled and caulked down. here are some pics of the days progress...last weekend I installed an access hatch in the rear deck section so that I can get to the filters, pumps, etc. I can also leave it open and get some air below deck.....

016-4.jpg


007-13.jpg


008-13.jpg


011-8.jpg


012-6.jpg


013-7.jpg


015-4.jpg


009-11.jpg


010-8.jpg
 

cgmiller

Well-Known Member
Joined
Oct 16, 2005
Messages
311
Reaction score
0
Points
0
Forgot the picture of the main tank deck hatch....

017-2.jpg
 

cgmiller

Well-Known Member
Joined
Oct 16, 2005
Messages
311
Reaction score
0
Points
0
Here is a couple of more pics....put the main deck hatch back in today..seems pretty stiff and fit OK. The fighting chair is no longer like one of the wobbly rides in the playground....with heavy t-storms coming, I caulked the deck...was going to wait until the flow scan twin scan got installed, but I am getting tired of working on the boat and I can run the cables from the rear access hatch....

002-14.jpg


003-15.jpg
 

Elenwillson

New Member
Joined
Jan 17, 2012
Messages
1
Reaction score
0
Points
0
Most of the boat repair parts that are required for an inflatable boat are available on the internet. Explore the marketplace for various preferences and evaluate which company can provide all your requirements and which ones can provide affordable offers.

boat repair
 

gw204

Well-Known Member
Joined
Jan 31, 2005
Messages
2,481
Reaction score
22
Points
38
Location
St. Leonard, MD
Hey Chris, you think that pourable transom compound is heavy enough to sink these f*cking spammers to the bottom if you used it to form some nice size blocks around their feet????
 

cgmiller

Well-Known Member
Joined
Oct 16, 2005
Messages
311
Reaction score
0
Points
0
Brian,

Yep..I think that will do it...it was like arock when it hardened.....