Soft Floor Repair DIY?

CRHPaul

New Member
Joined
Apr 14, 2007
Messages
4
Reaction score
0
Points
1
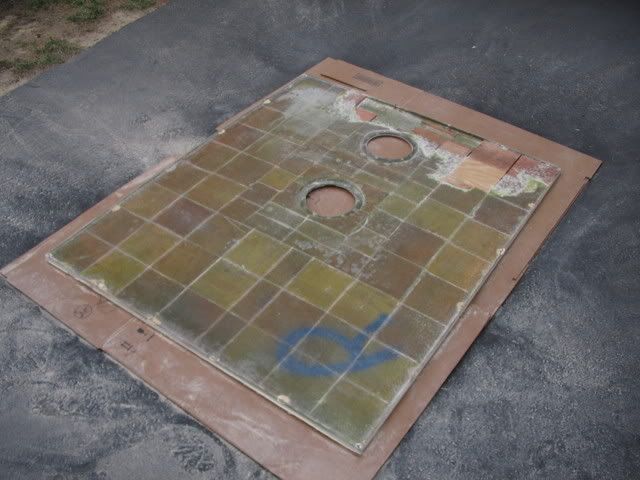
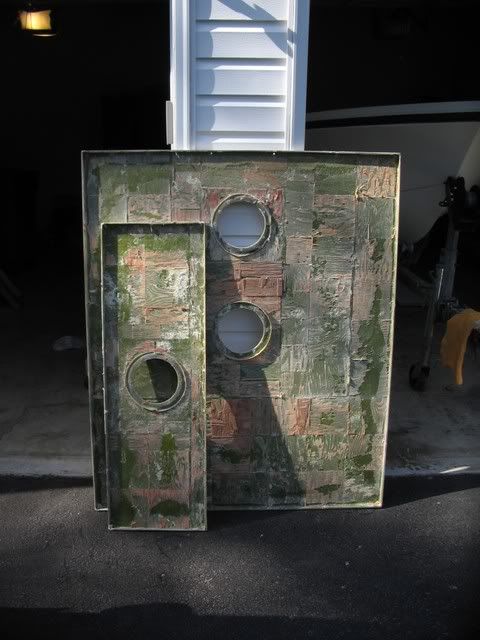
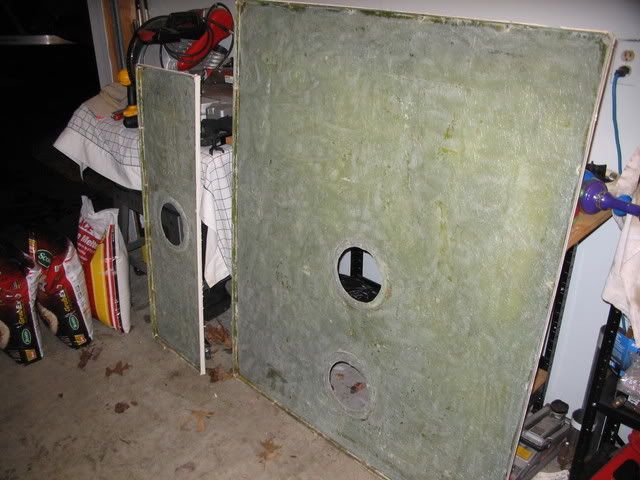
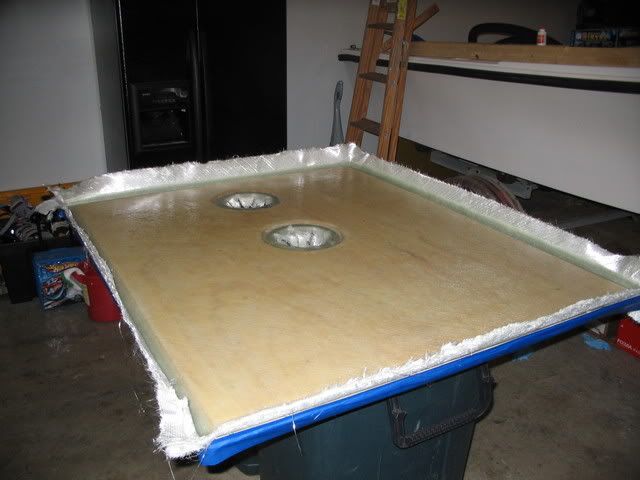
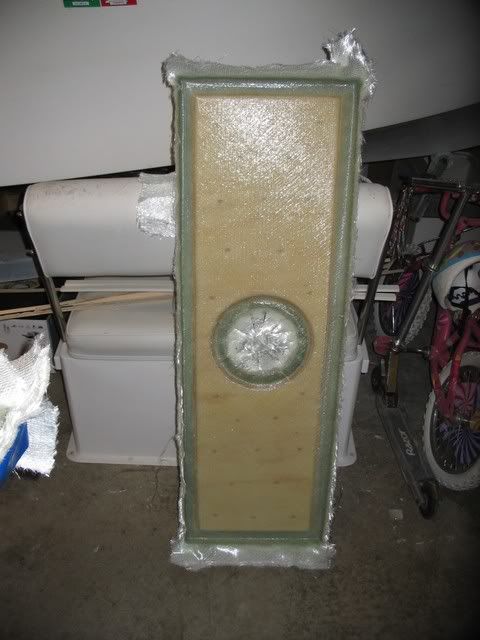
I have an 88 Overnighter that has a soft floor on the fuel tank hatch. I've already cut away and removed the rotten plywood and am ready to make the repair. I know on this site I read a very good DIY with photos on this project a long time back, but can't find it anymore. Does anyone have a link to a good DIY on this repair? Or, can give me some step by steps? I know for materials to get marine grade plywood, but not being familiar with this kind of repair I'm not sure what other materials I need or what steps I need to take to make sure the job is done right.

Thanks
 

uncljohn

Well-Known Member
Joined
Mar 24, 2006
Messages
419
Reaction score
0
Points
0
doesn't really matter to get 'marine grade' if you seal it up completely. I used 3/4" standard plywood.

-clean out all remnants of old patchwork ply and epoxy. sand down.
- cut ply to size including inspection port hole
- apply coat of epoxy thickened w/ cabosil to hatch
- lay ply, fill in edges/gaps w/ remaining thickened epoxy and let epoxy set & dry (use some clamps to keep it tight against the hatch, or some weighted items)
- after dry, lay out glass matting material and cut to size (don't remember the weight I used)
- spread thin epoxy over plywood and lay glass mat
- spread thin epoxy all over glass mat for complete coverage & let dry
- after dry, cut or sand down all the dried sharp glass ends
- might need to re-touch some spots w/ more epoxy. Just make sure you have 100% coverage
- rebed hatch

I did both my hatches 7 years ago and its all good still.
 

cdwood

GreatGrady Captain
Joined
Apr 1, 2006
Messages
578
Reaction score
0
Points
18
Location
Hamilton/LBI N.J.
What does matter is keeping the water away from the wood permanently.

Where your screw holes would go thru the plywood cut a half circle out of the plywood and fill with thickened epoxy then drill your mounting holes thru the epoxy. This way no water will be able to get to the wood.
 

richie rich

Well-Known Member
Joined
May 20, 2009
Messages
1,183
Reaction score
1
Points
0
Location
south windsor, CT
a previous post a month ago showed a boaters repair was done with balsa core, as he mentioned it was factory original.....ply will work for sure, but with a bit more weight.....use plenty of epoxy to seal and bed the wood, whichever you choose.
 
Joined
Apr 30, 2009
Messages
7
Reaction score
0
Points
0
Location
Coastal GA
I am just finishing up my repair. I used 1/2 ply-wood and it does not seem to be too much weight. One recomendation I do have is to cut the ply-wood in to three pieces. My panel seems to have a slight bow in it even thought I used weight to hold down the wood while the resin was setting. I hope it will seat, if not I may be starting over. Be sure to core out the screw holes and refill with resin. Just a little FYI, good luck!
 
Joined
Apr 30, 2009
Messages
7
Reaction score
0
Points
0
Location
Coastal GA
Just put the panel in today, feels solid. One of the corners is up about 1/4", hoping the screw will pull it in place. I have never done any fiberglass work before and it was pretty easy. I friend did give me some pointers. Good luck!
 

Reel Quick

Active Member
Joined
Apr 15, 2010
Messages
44
Reaction score
0
Points
0
Location
Clifton Heights Pa.
Just dug out all the 1\2 wood peices on both my tank covers.....25 TrophyPro.
I thought there was going to be 3\4 in there due to the weight of the panels.
Nope, just plenty of wet wood.
Slam down hatch covers looked good?
How did they get so wet?
Going to replace with 1\2 ply.
About how much resin did you use on your job?
Ball park mine are 4 x4 and 5x 4.
Thank`s.
 

BobP

GreatGrady Captain
Joined
Apr 27, 2005
Messages
4,746
Reaction score
6
Points
38
Location
Long Island, NY
Model
Sailfish
3/4 ply may be too thick to match up surrounding floor height.

Why cut into 3 pieces ? Use one piece and make cutouts for deck plates.

And bore holes larger where screws penetrate and fill with silica thickened resin, redrill though solid resin.

Lay down on flat surface, pebble free, over sheet of plastic, and weight plywood with 50 lb sandbags, one of two high. I used the garage floor, make sure perfectly smooth and flat and clean. Tape over holes and wax or tape gelcoat side so no resin going oer side will stick to gelcoat.

Two layers of 1708 cloth over wood and deck will be stiffer than original !
Or two layers of 1.5 oz mat if that's what you use. Grady used one layer only.
 

gw204

Well-Known Member
Joined
Jan 31, 2005
Messages
2,481
Reaction score
22
Points
38
Location
St. Leonard, MD
I sized the new core for the deck panel in my old 252 a little differently that Grady originally did. I cut the core so it stopped about 1-1/2" inches from inside edges of the panels. I also put a 45 degree bevel on the core edges so the glass could easily conform. Then I drilled a bunch of 1/4" holes in the core to allow air pockets thickened resin to squeeze up throu during the bedding process. To bed it, I painted some unthicked resin on both the underside of the hatch and the core and followed that up with resin thickened w/ wood flour and applied with a notched spreader. The core was weighted down w/ cinder blocks.

I also glassed it differently. First I layed strips of 1708 in the grooves between the core edges and the panel edges. These strips also ran up the sides of the panel to increase the thickeness. After that came a layer of 1708 over the entire thing, wrapping up the panel edges as well. Then another layer of strips followed by another full layer of 1708. All in all there were 4 layers of 1708 in the grooves and 2 layers over the main part of the deck hatch.

I'll post some pics if I remember tonight.
 
  • Like
Reactions: dstarok

Reel Quick

Active Member
Joined
Apr 15, 2010
Messages
44
Reaction score
0
Points
0
Location
Clifton Heights Pa.
Picking up materiel tomorrow, These deck covers have almost all of the diamond pattern worn off them in some areas.
I read the sticky on the gel coat fix...Very interesting and use full.
But not on my list this season.
Was thinking of painting the entire deck.
Any one have any advice on this decision?
What i should go with?
Thank You for any opinions.
 

gw204

Well-Known Member
Joined
Jan 31, 2005
Messages
2,481
Reaction score
22
Points
38
Location
St. Leonard, MD
Panels out and starting on removing the bottom skin. I cut the skin into squares corresponding with the plywood squares the panel was cored with and just pried them up.

IMG_7541.jpg


All core pieces out. This was the hardest part of the project.

IMG_7544.jpg


Panel ground clean and ready for installation of new core (which I didn't take pics of).

IMG_7553.jpg


New glass over the core. You can see how the core was cut and the glass was layed in the grooves. Last step was to trim the edges flush.

IMG_7674.jpg


IMG_7676.jpg


IMG_7678.jpg
 

RUMBLEFISH

Well-Known Member
Joined
May 5, 2007
Messages
156
Reaction score
0
Points
0
Location
Southold NY
Well I just started on my floor today and what a pain. Anyway I would just like to thank Grady White for doing the floor the way they did and using metal angle pieces around the transome rather then seal them up.

Thats all I'm gonna say about that. :x

Oh and thanks for the thread it helped me out.
 

RUMBLEFISH

Well-Known Member
Joined
May 5, 2007
Messages
156
Reaction score
0
Points
0
Location
Southold NY
Well I ment the aluminum brackets used on the transom to hull point. Water weeps into the unsealed wood under that area and attacks the wood.