- Joined
- Aug 13, 2013
- Messages
- 27
- Reaction score
- 0
- Points
- 0
- Age
- 54
I know it has been done plenty of times, just wanted to share my excitement on this little mod I am doing in my seafarer.
Because mine is an older model, and all I have seen posted here is newer models I figure this may help someone along the way.
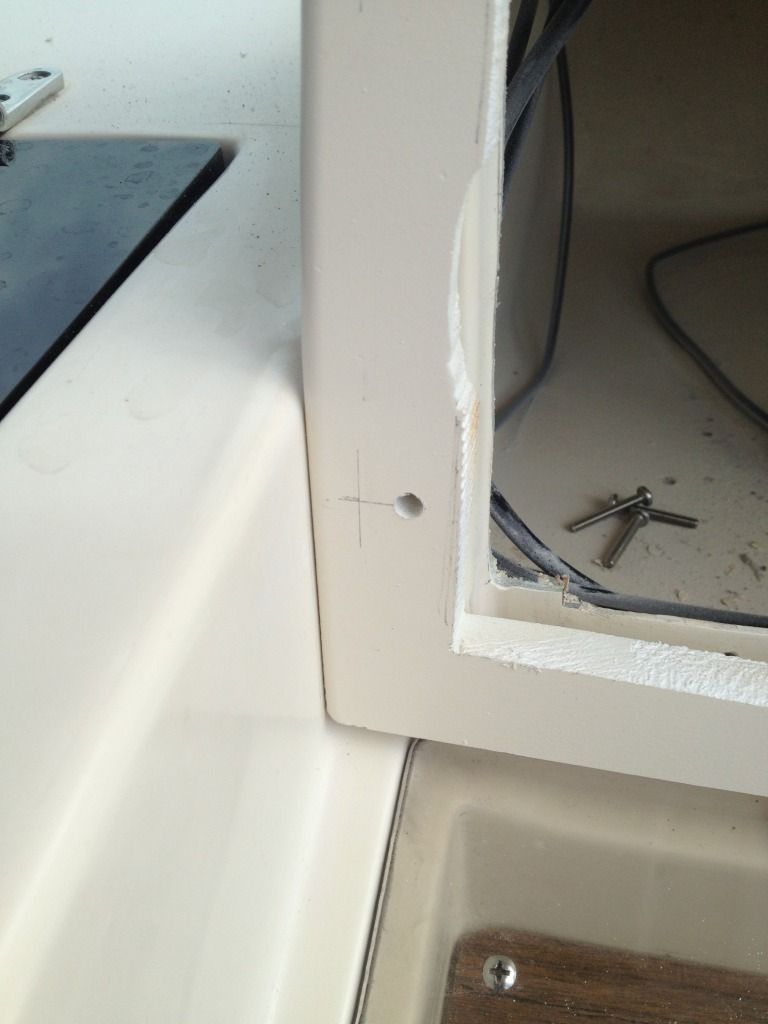
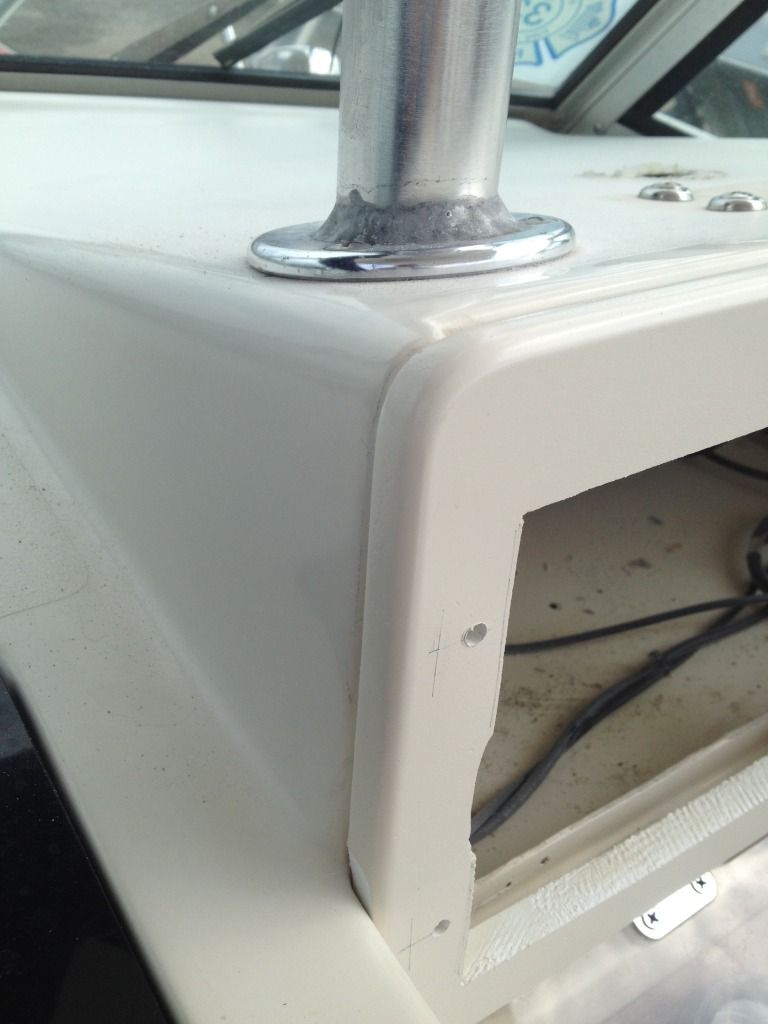
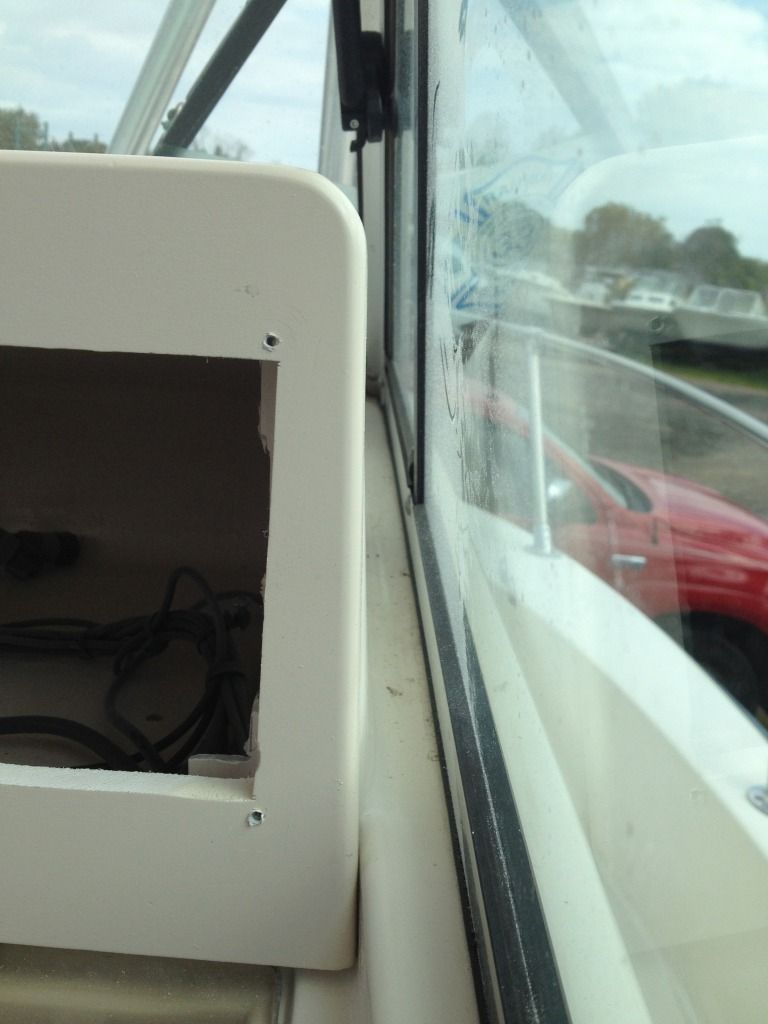
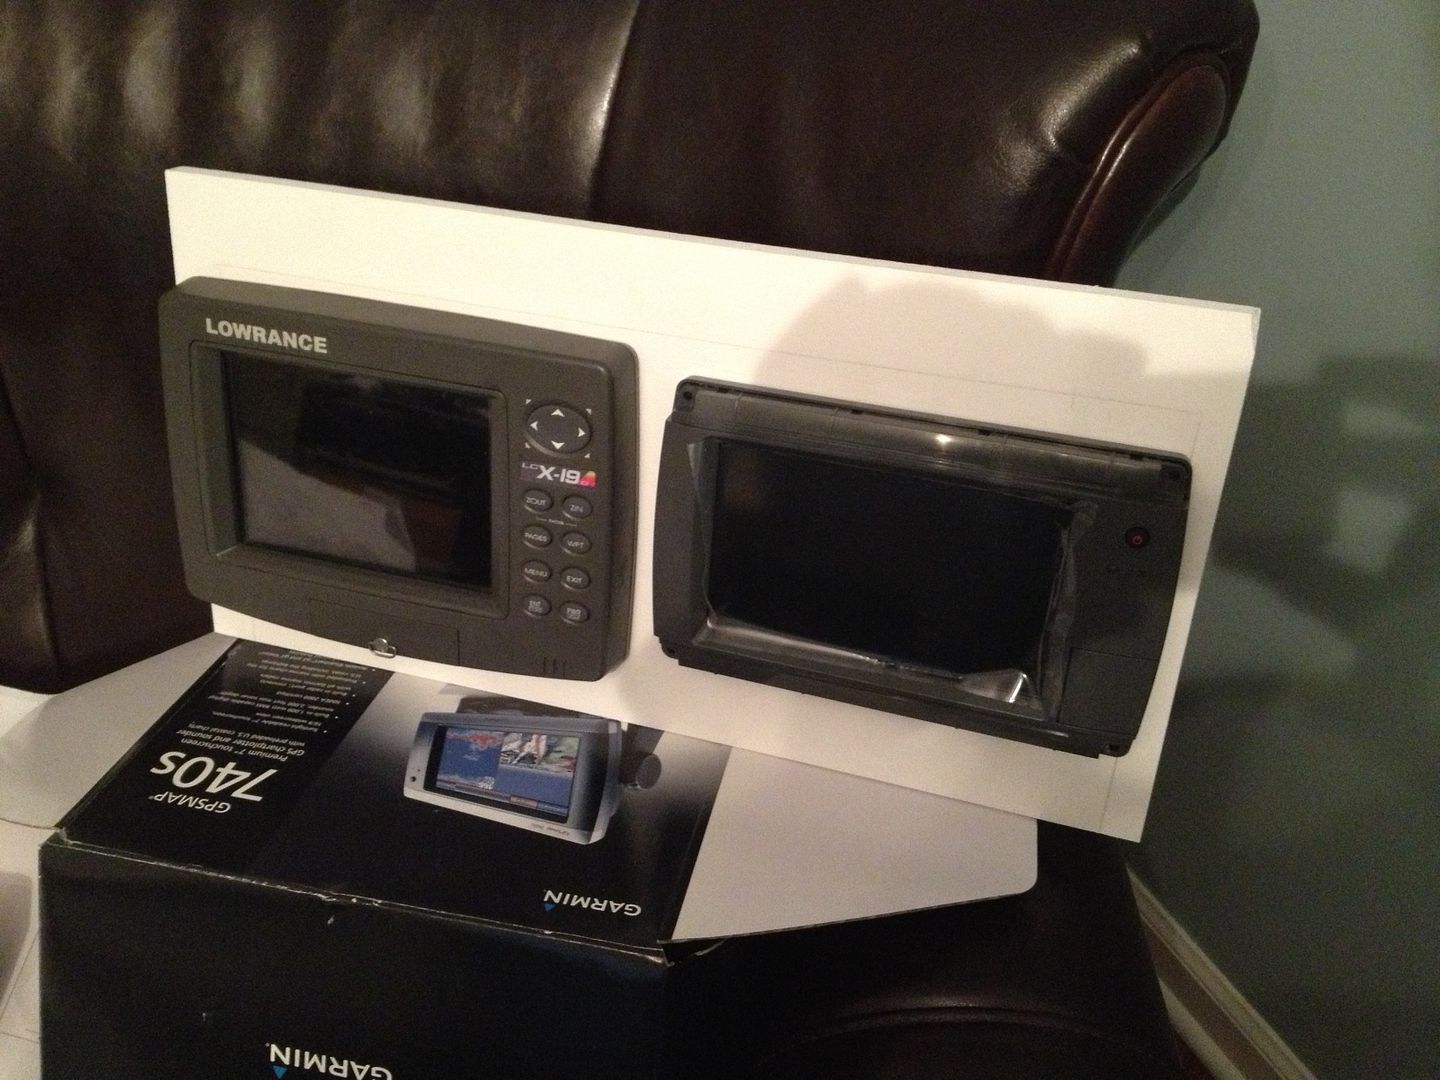
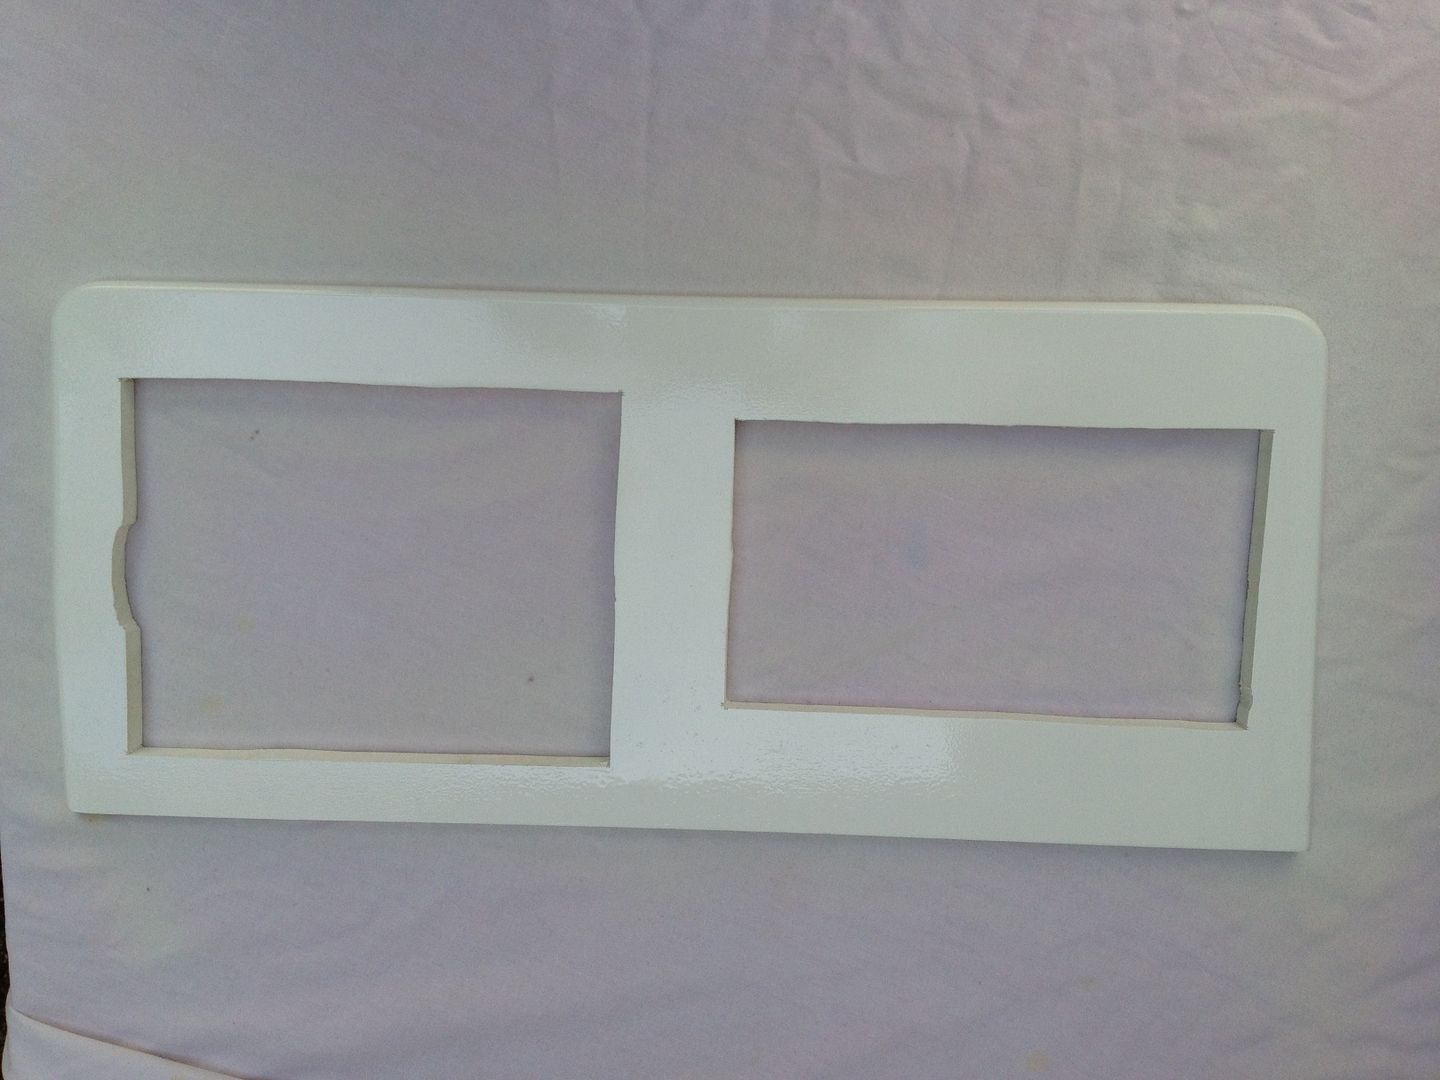
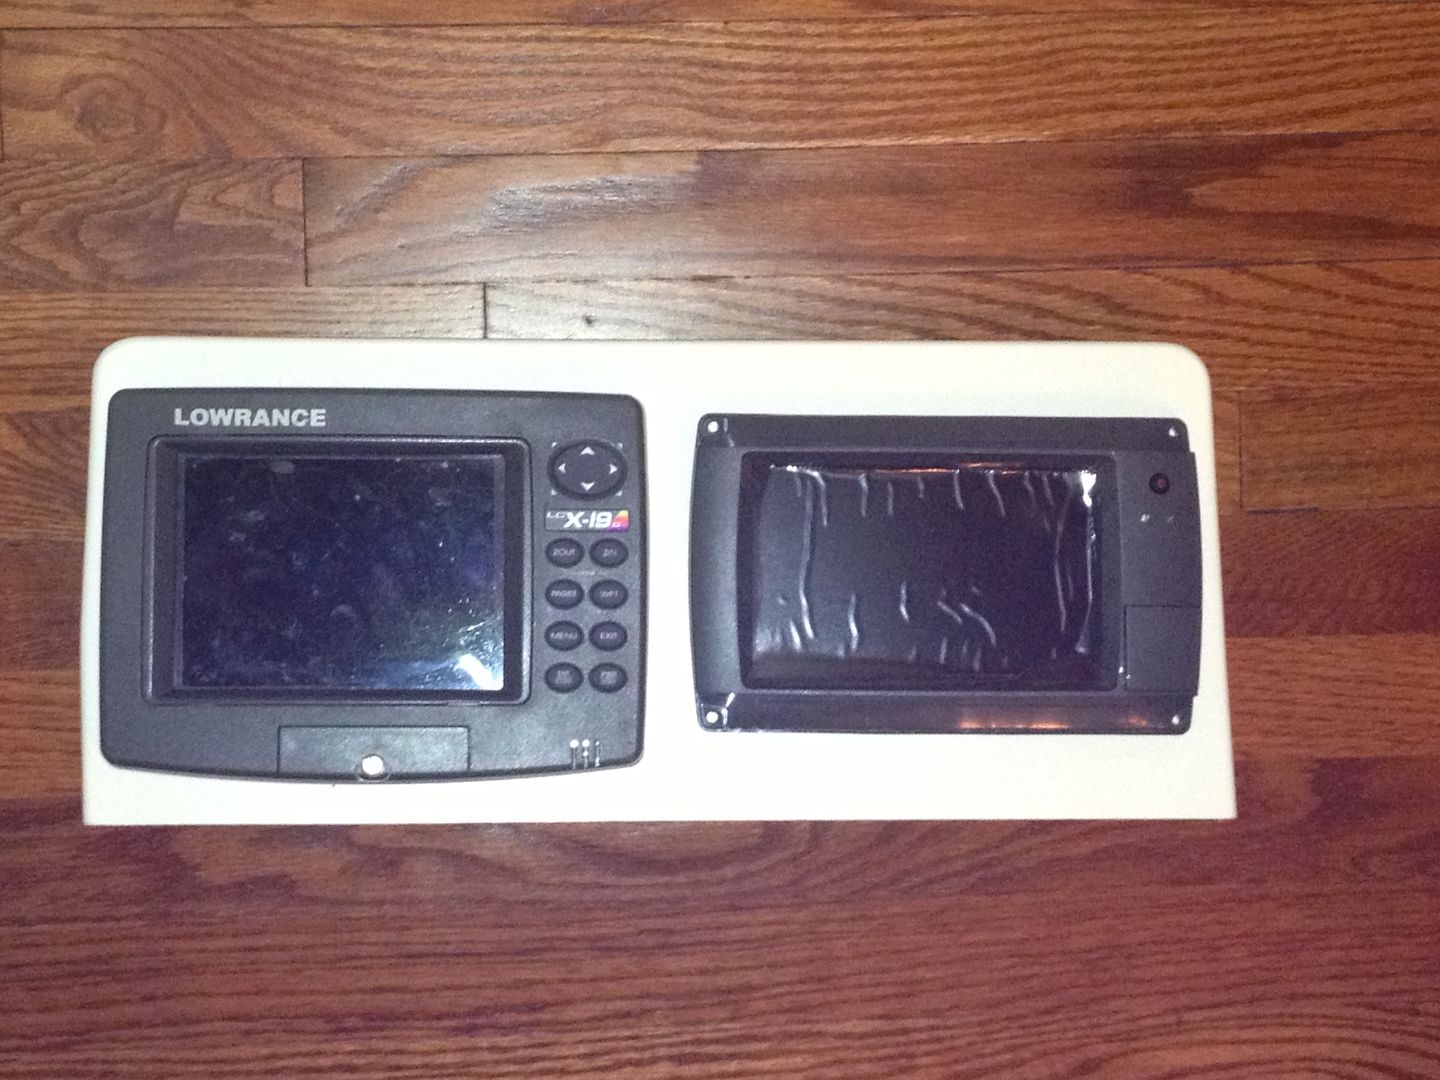
Please note I had to compromise and cut the edges of my glovebox due to the size of my older Lowrance, (didn't want to cough out another $800 on a new gps/sounder) so my mod will not be easily reversed. Should you have smaller electronics, all you need to do is install the acrylic lid back and no one will ever know.
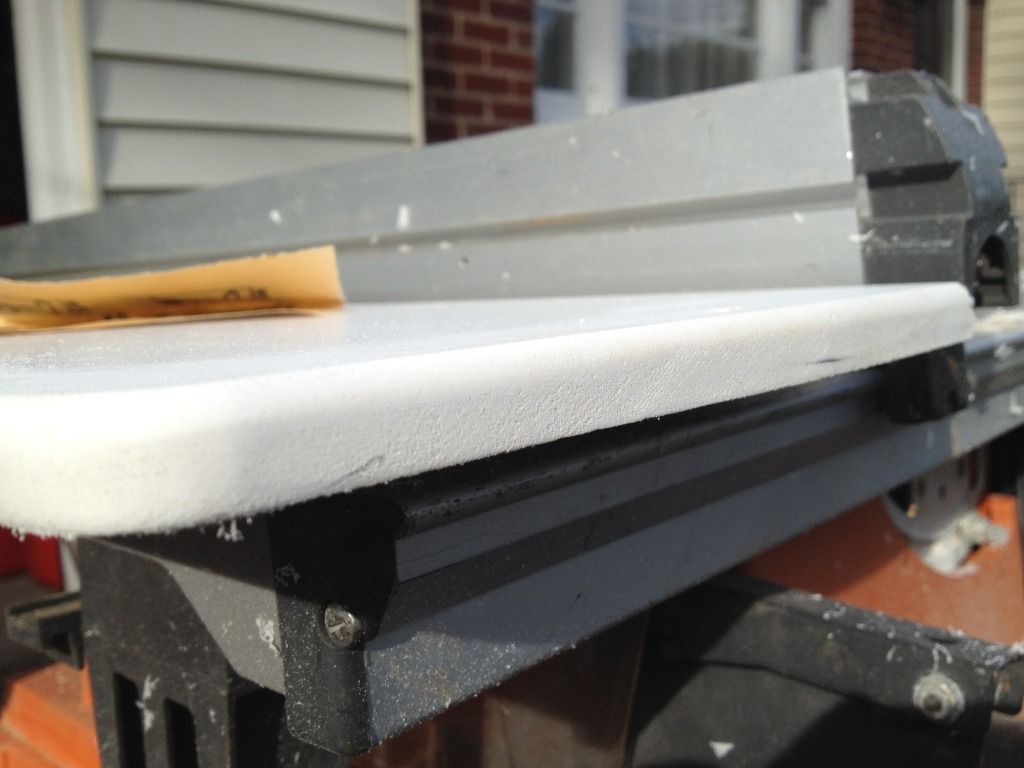
I used a piece of 1/2" PVC board (kleer brand) instead of starboard basically because I had it and because I have been using Kleer and Azek for years and have had great results in marine environments so no worries.
On the down side, if you don't have a piece laying around you'd have to buy a whole 4x8 sheet, as they don't make 1/2" board, only 3/4" which would have been too thick for my application.
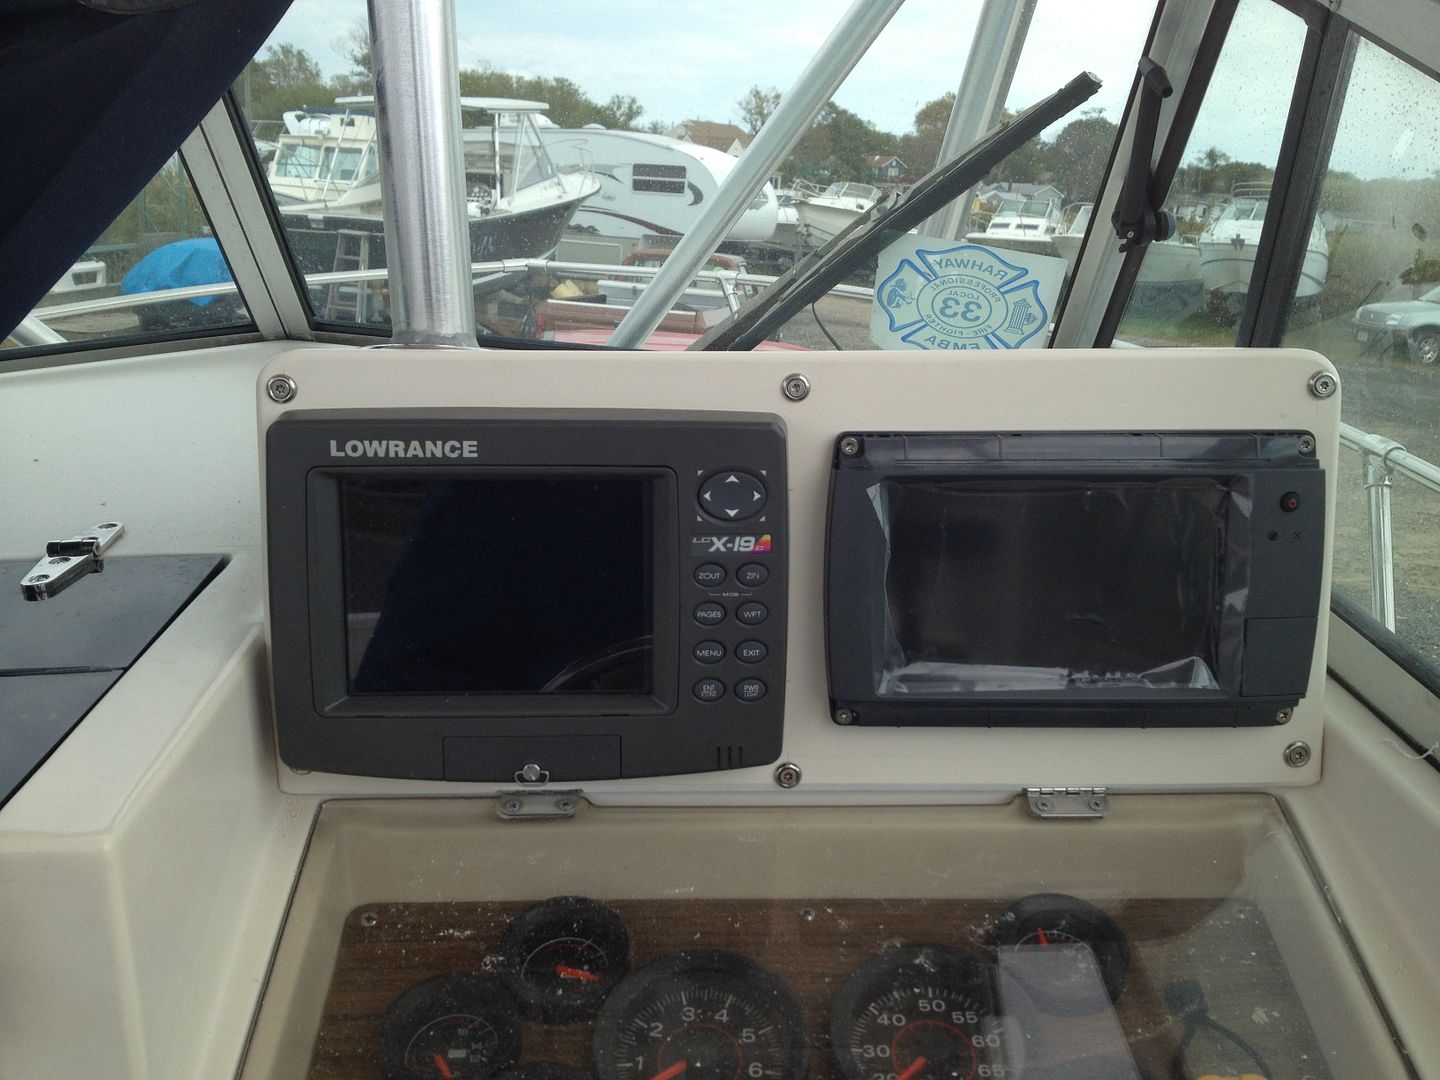
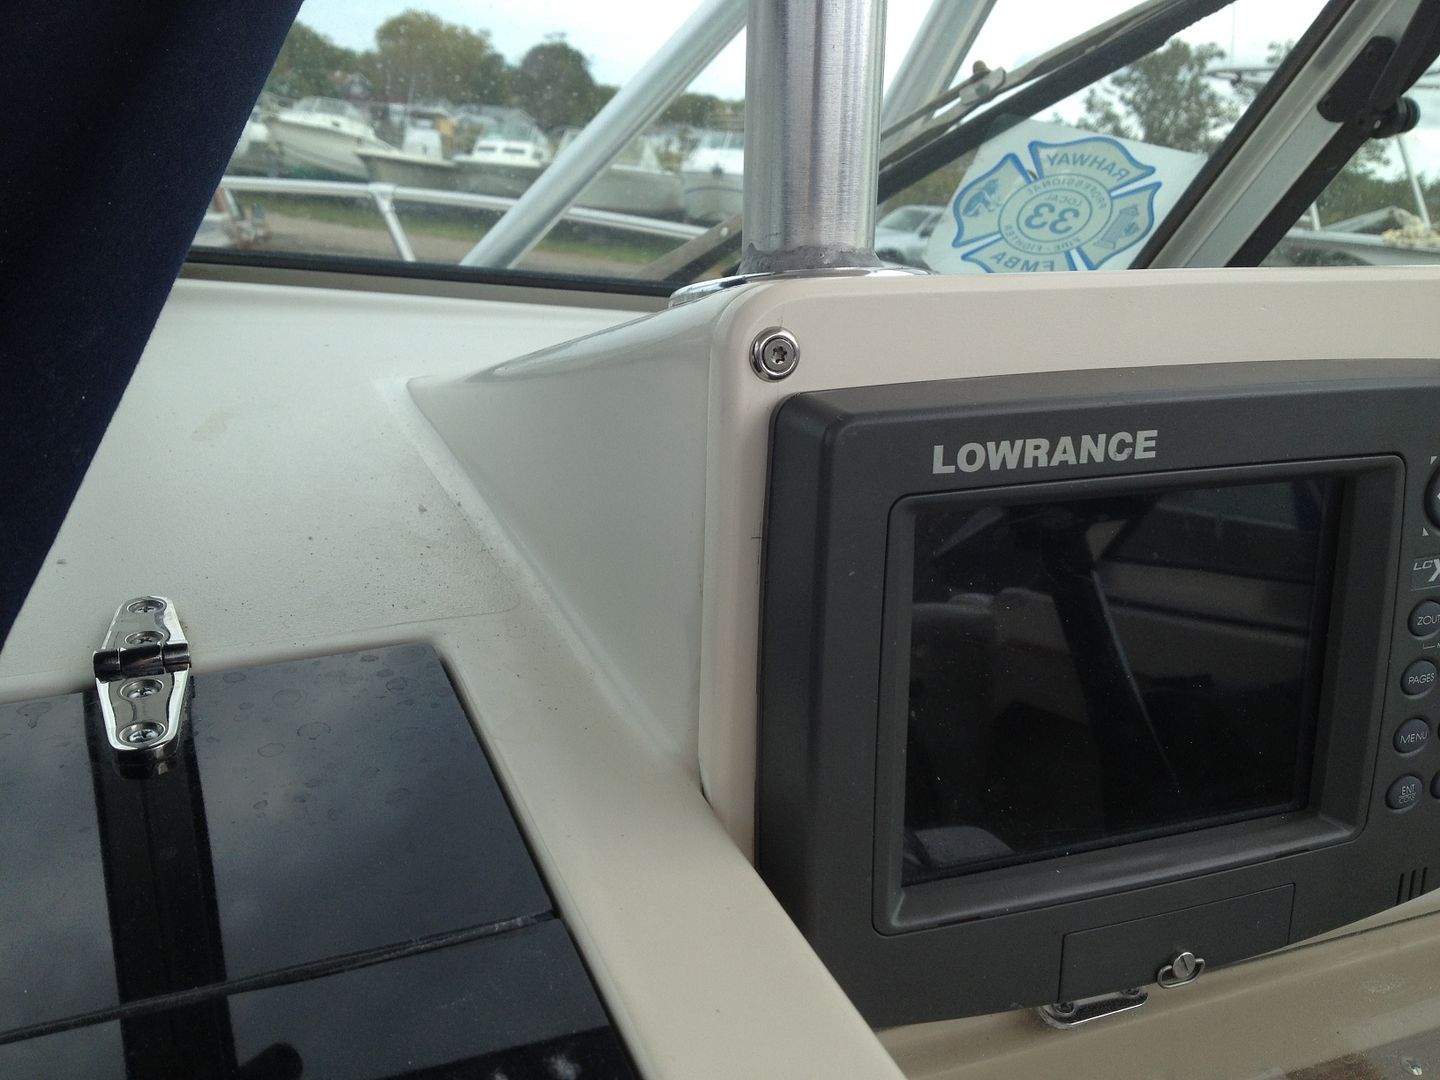
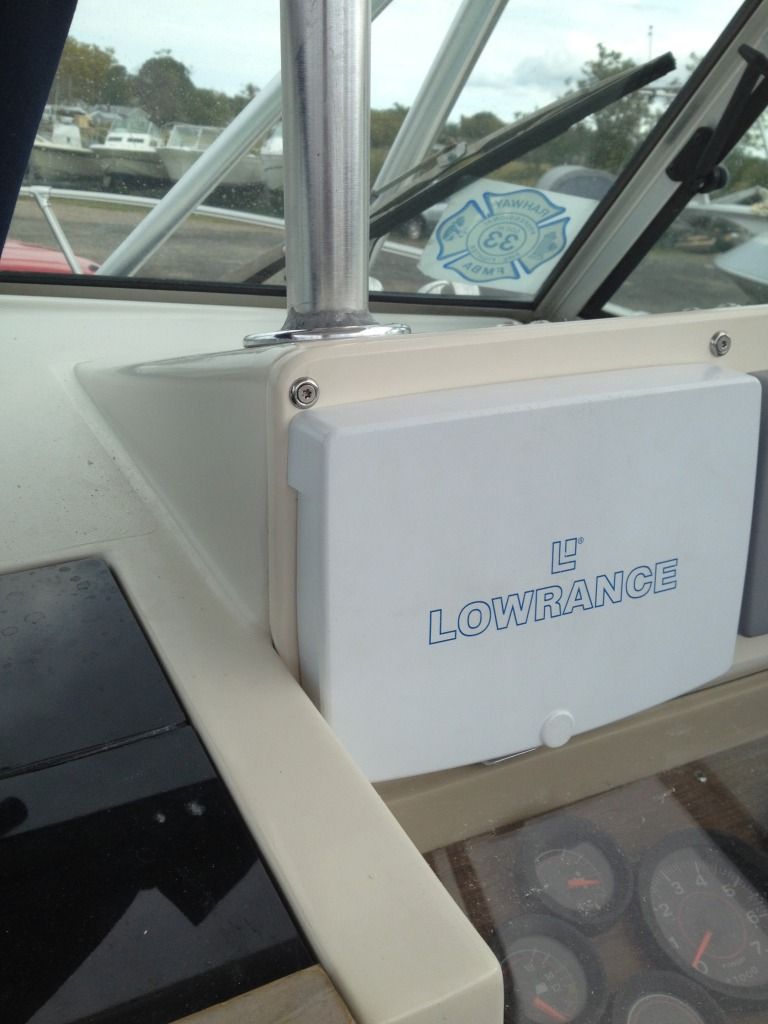
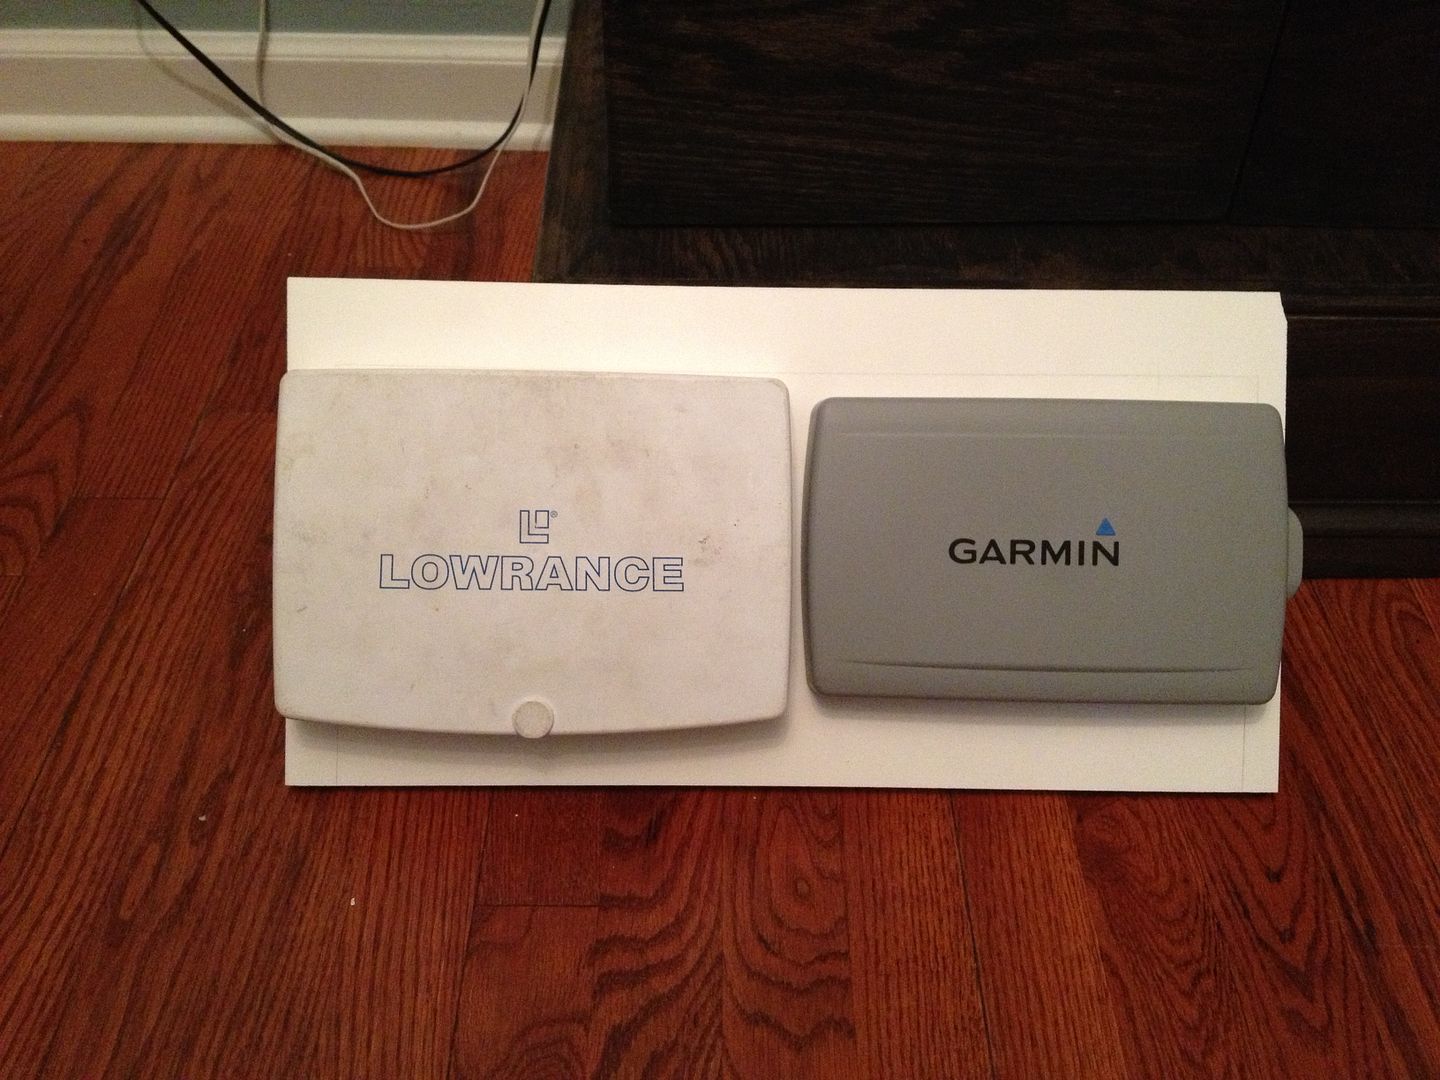
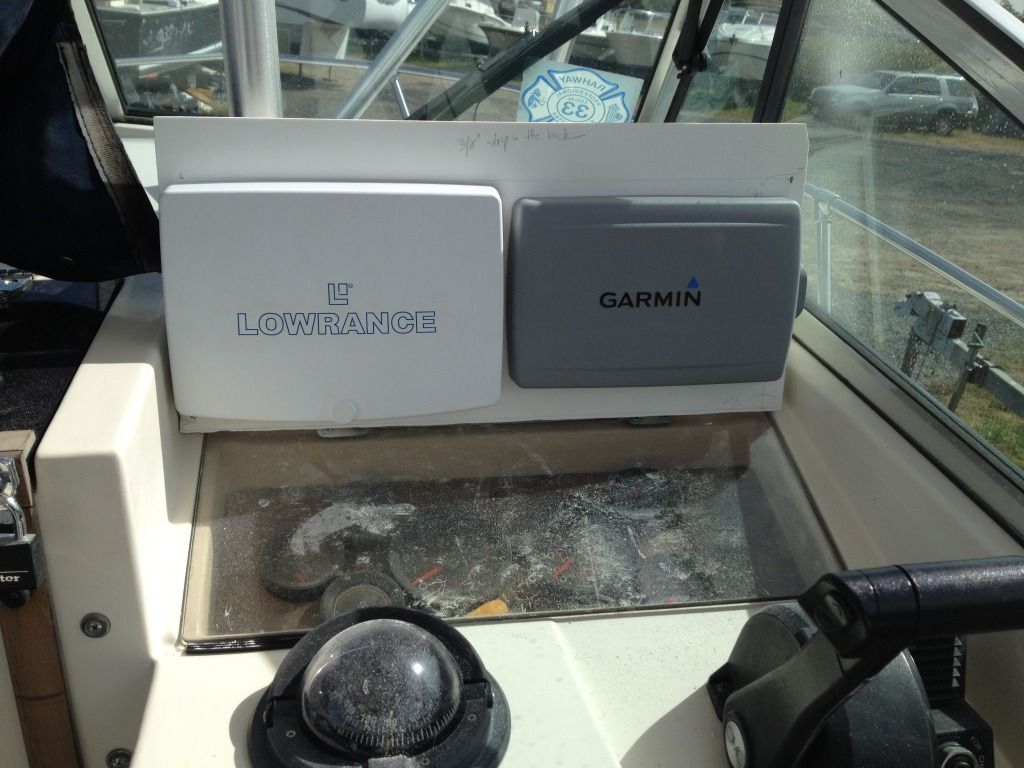
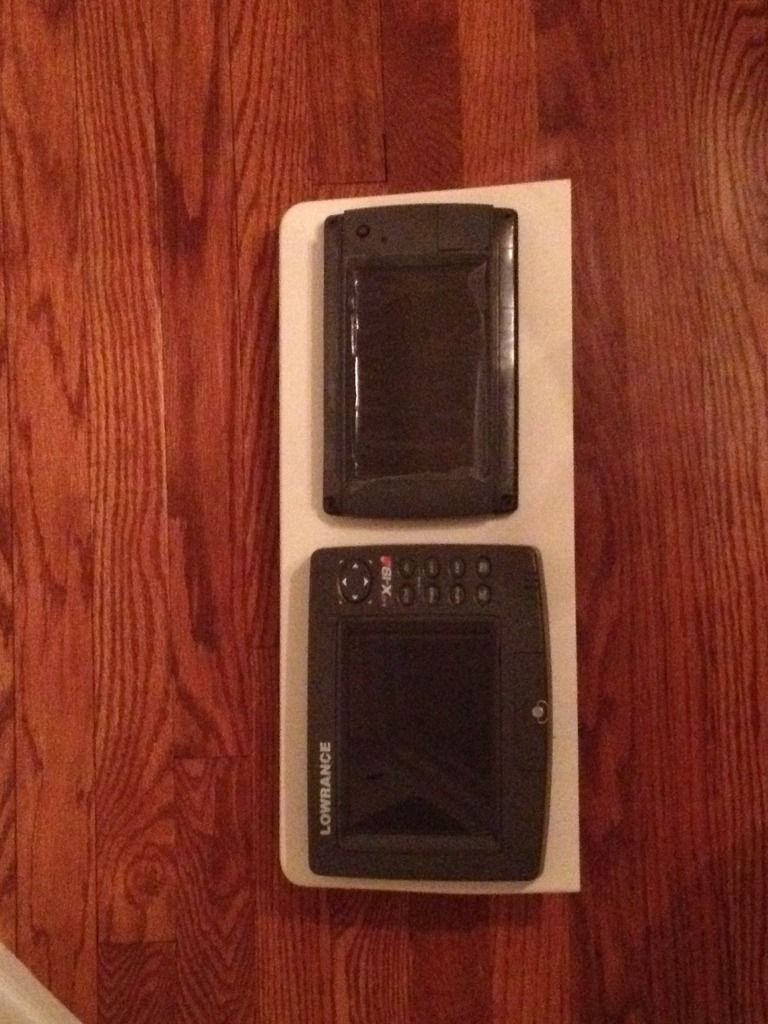
Two things tha inspired this little project were the mounting position of the Lowrance, PO had mounted it on top of the glove box and it blocked the forward view to the point where I could only drive while standing up. The other was the recent acquisition of a Garmin 24HD/740s combo and I wanted to keep both screens together.
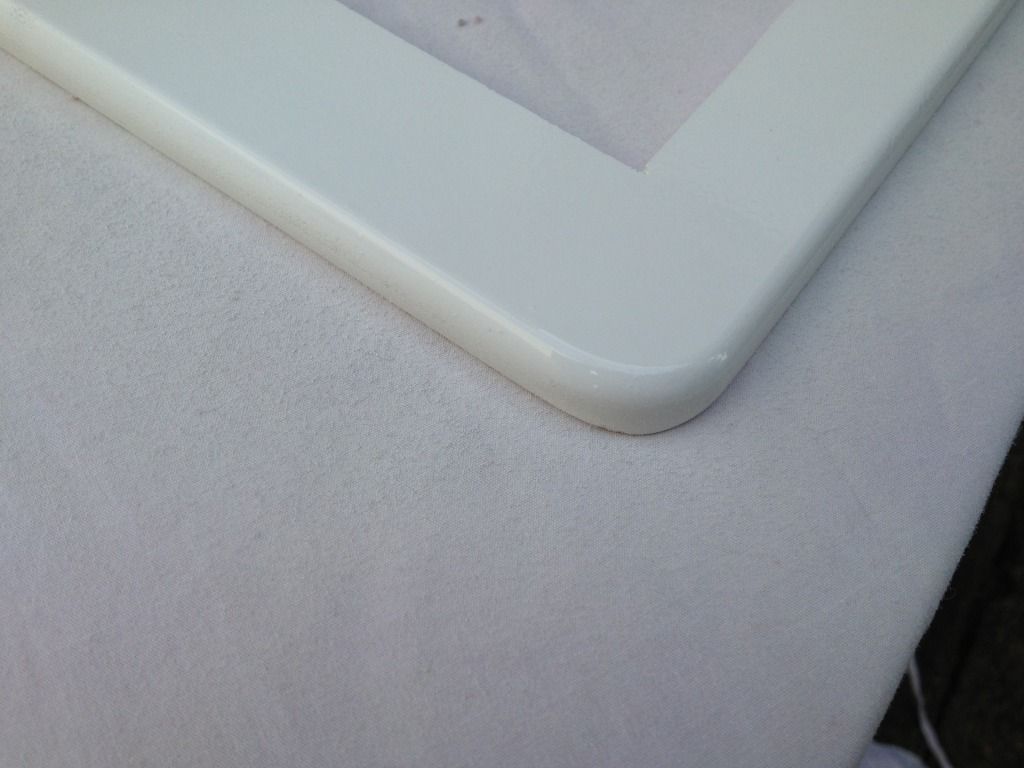
Make sure to sand the routed edges and sides smooth and when prepping for paint, clean all sides to be painted with acetone to give the primer a bit of extra grip.
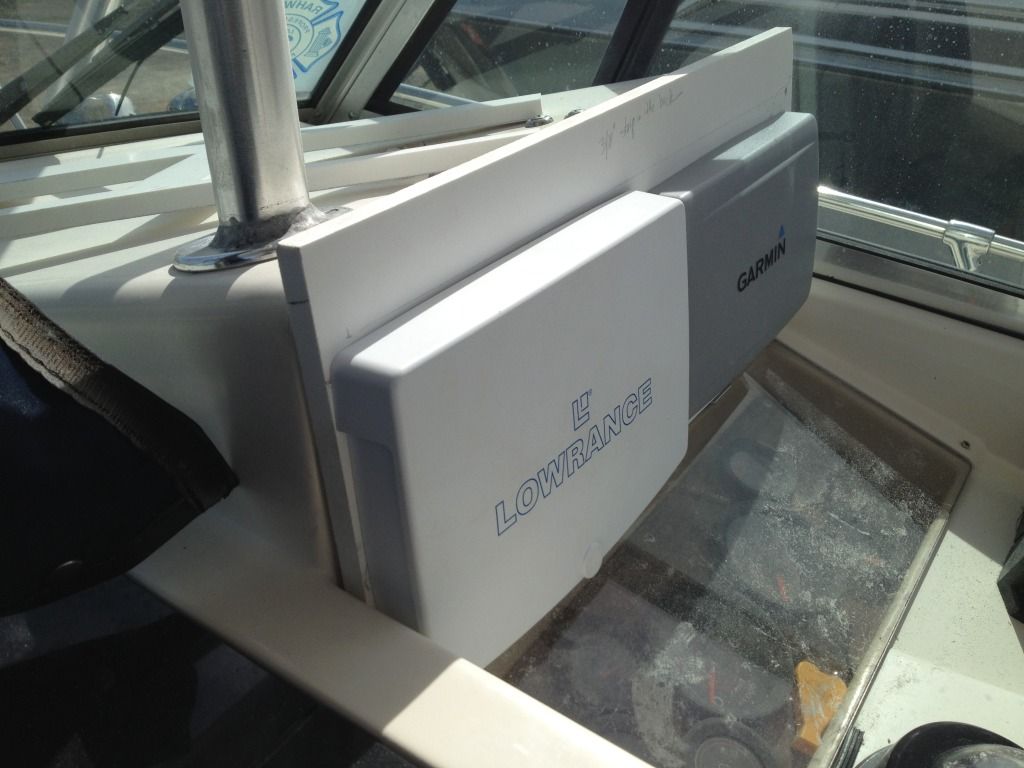
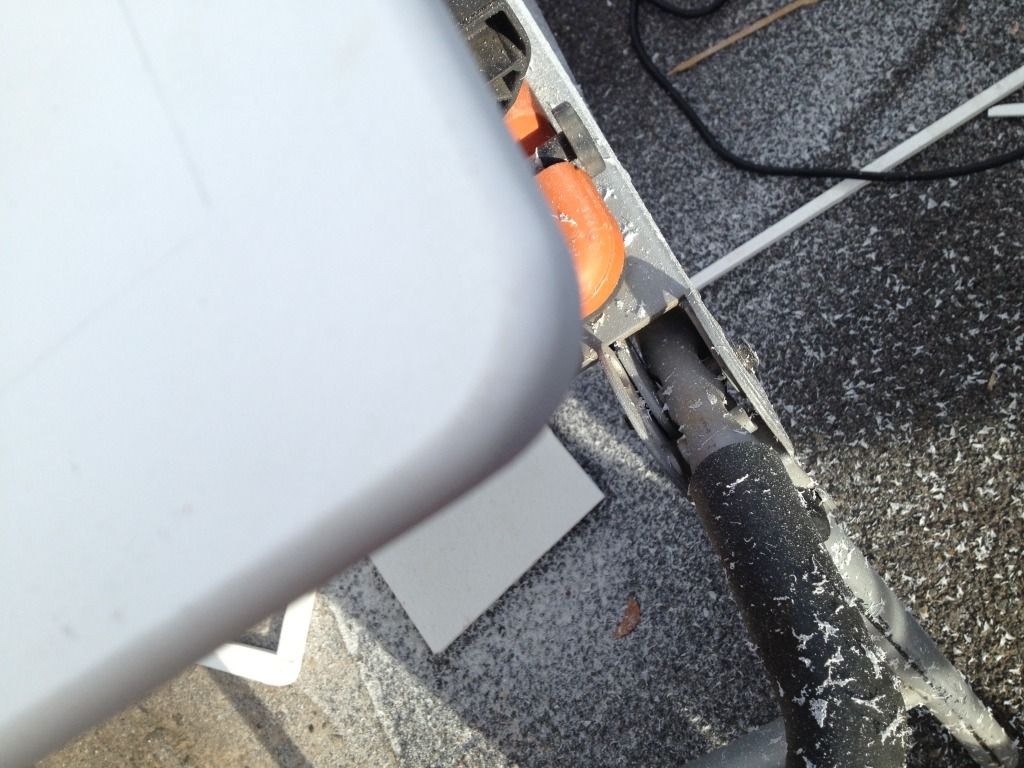
If I took all measurements correctly and scribed everything accordingly, my piece should follow the contour or the glovebox faithfully. Because the edges of the glovebox are not flat, I plan to caulk between the two pieces to ease the gap and let it blend a bit better.
So far the cost has been about $10 in. SS screws. You will need a table saw, jig saw, router sandpaper, primer and paint. I used Rustoleum PVC/plastic friendly paint and primer. I will try to have this finished and mounted by the weekend so I can hit the water a couple of more times before winterizing
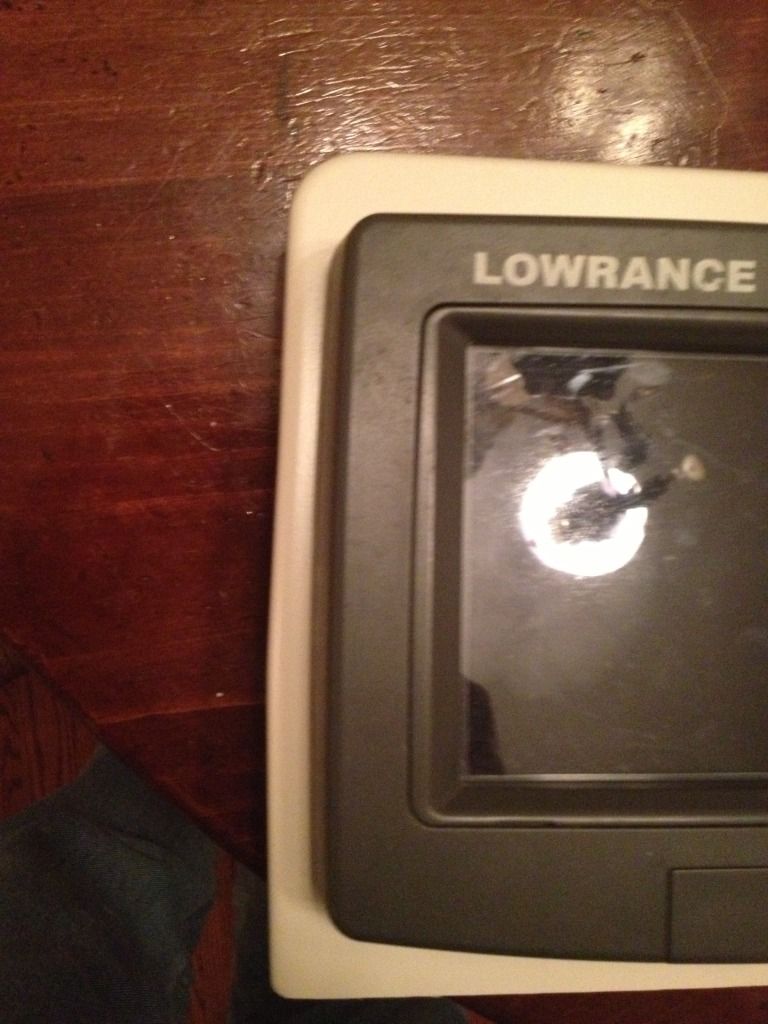
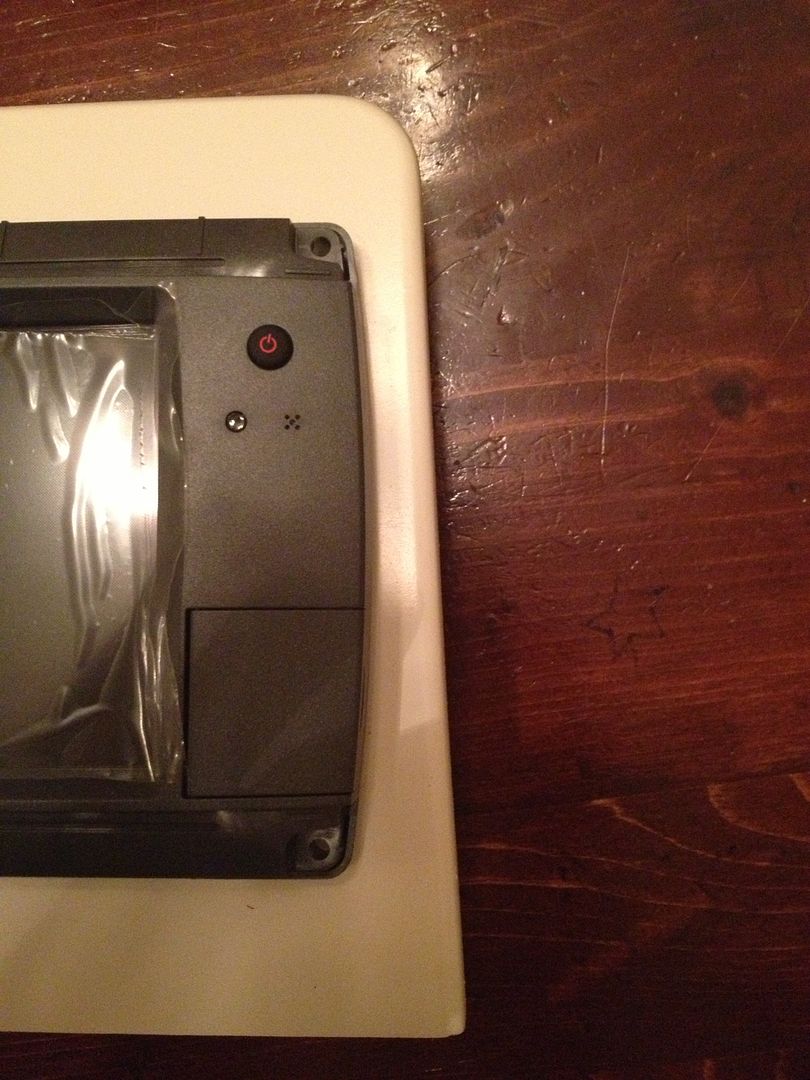
Below you can see pictures of the progress I made today. Let me know your thoughts, good and bad.

Because mine is an older model, and all I have seen posted here is newer models I figure this may help someone along the way.
Please note I had to compromise and cut the edges of my glovebox due to the size of my older Lowrance, (didn't want to cough out another $800 on a new gps/sounder) so my mod will not be easily reversed. Should you have smaller electronics, all you need to do is install the acrylic lid back and no one will ever know.
I used a piece of 1/2" PVC board (kleer brand) instead of starboard basically because I had it and because I have been using Kleer and Azek for years and have had great results in marine environments so no worries.
On the down side, if you don't have a piece laying around you'd have to buy a whole 4x8 sheet, as they don't make 1/2" board, only 3/4" which would have been too thick for my application.
Two things tha inspired this little project were the mounting position of the Lowrance, PO had mounted it on top of the glove box and it blocked the forward view to the point where I could only drive while standing up. The other was the recent acquisition of a Garmin 24HD/740s combo and I wanted to keep both screens together.
Make sure to sand the routed edges and sides smooth and when prepping for paint, clean all sides to be painted with acetone to give the primer a bit of extra grip.
If I took all measurements correctly and scribed everything accordingly, my piece should follow the contour or the glovebox faithfully. Because the edges of the glovebox are not flat, I plan to caulk between the two pieces to ease the gap and let it blend a bit better.
So far the cost has been about $10 in. SS screws. You will need a table saw, jig saw, router sandpaper, primer and paint. I used Rustoleum PVC/plastic friendly paint and primer. I will try to have this finished and mounted by the weekend so I can hit the water a couple of more times before winterizing
Below you can see pictures of the progress I made today. Let me know your thoughts, good and bad.