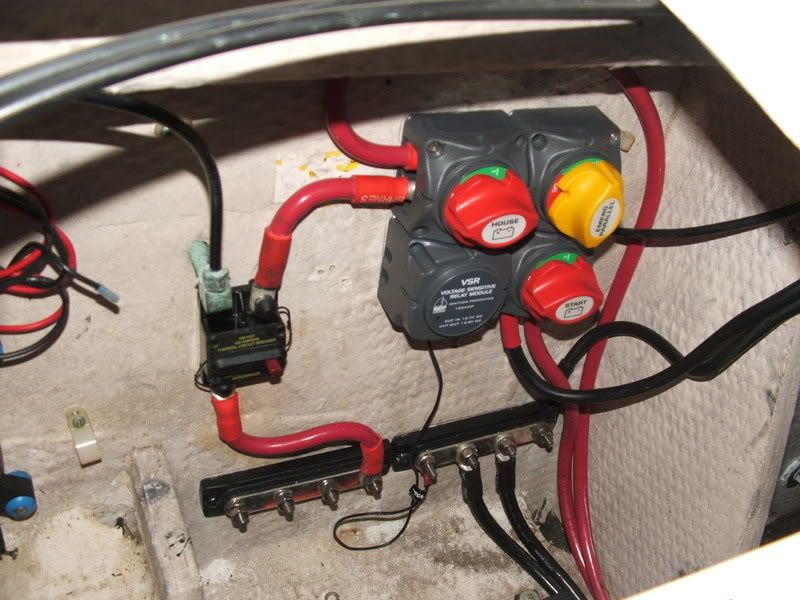
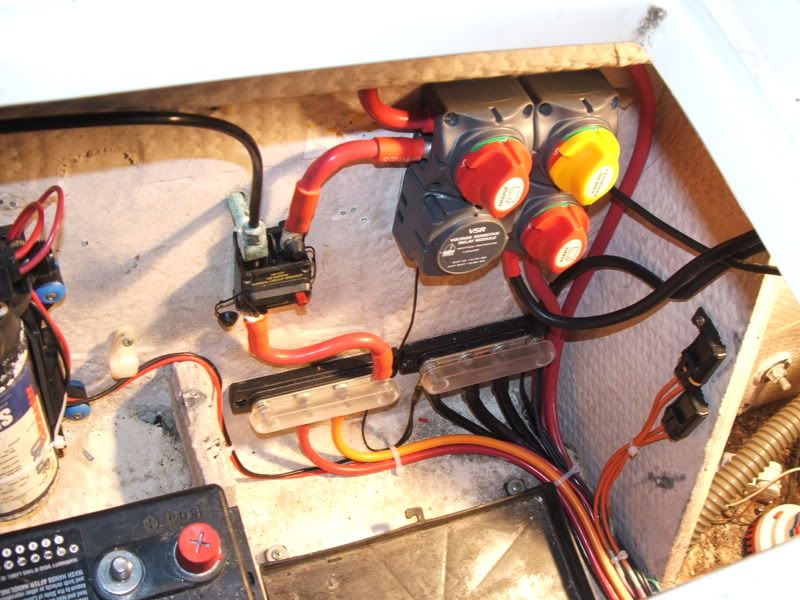
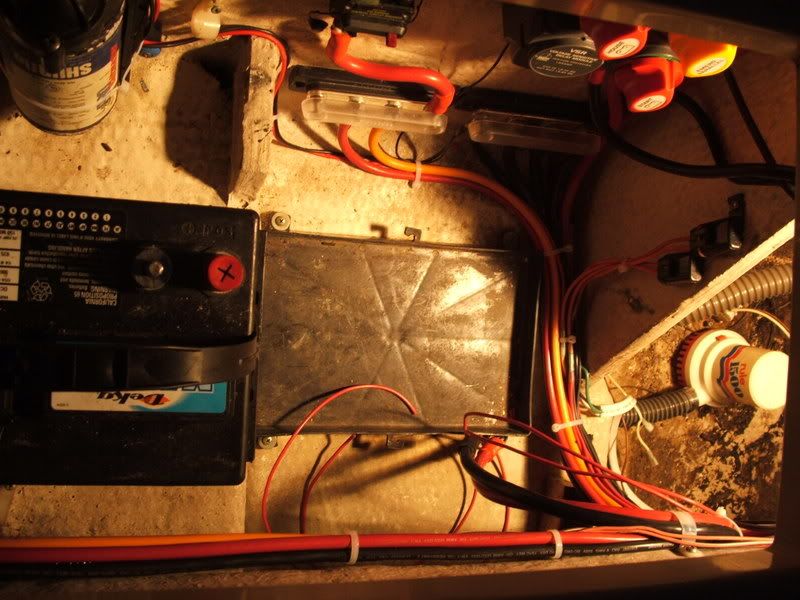
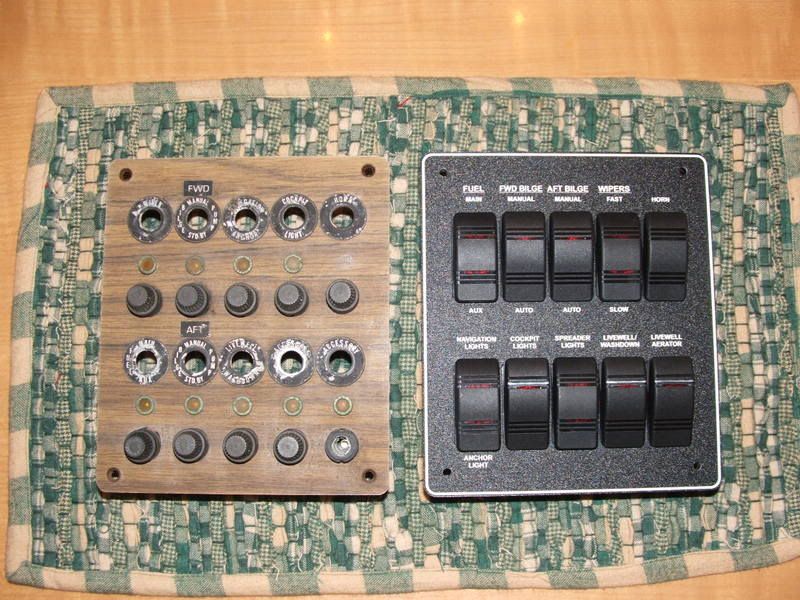
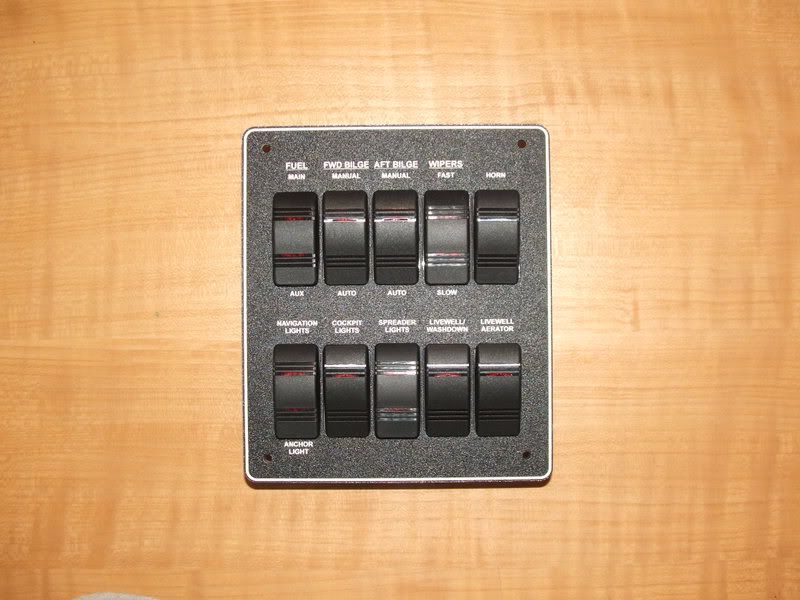
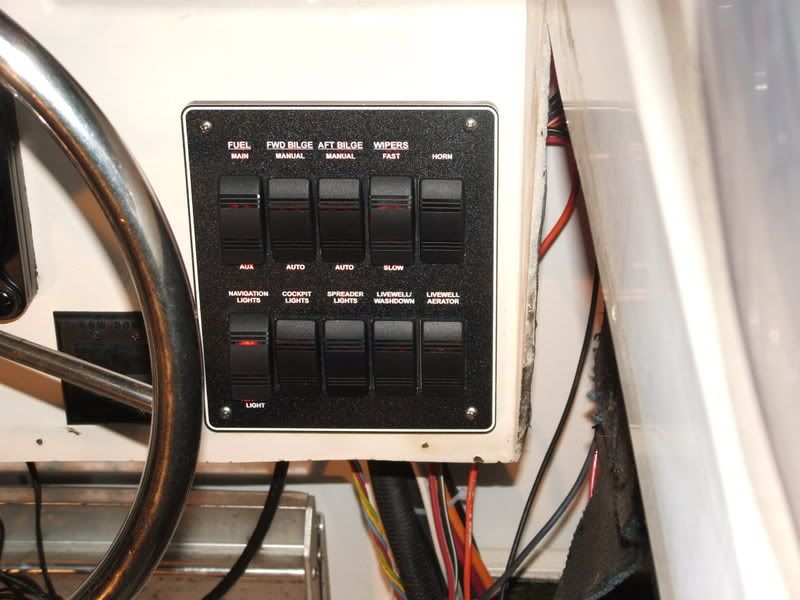
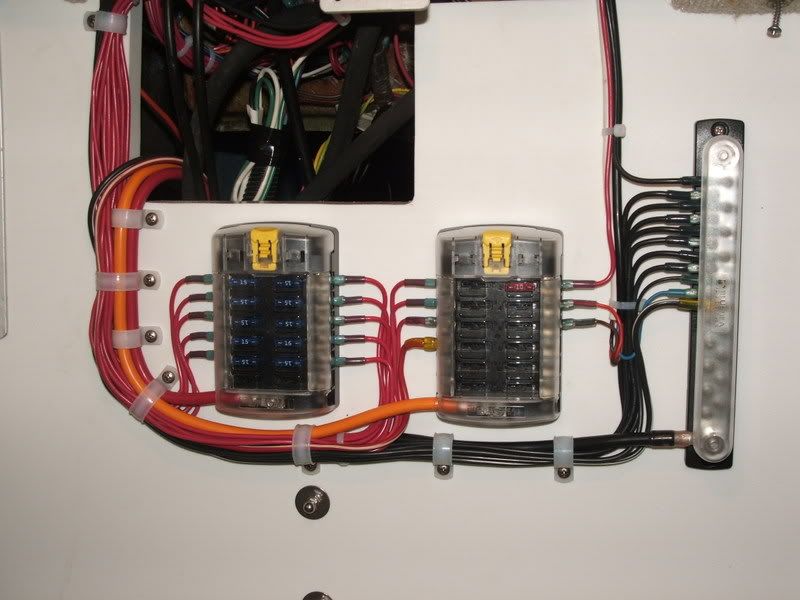
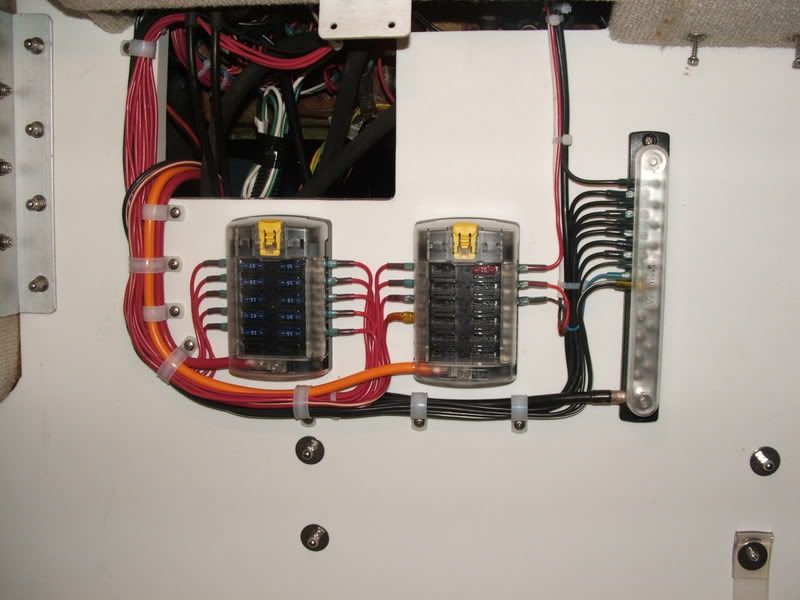
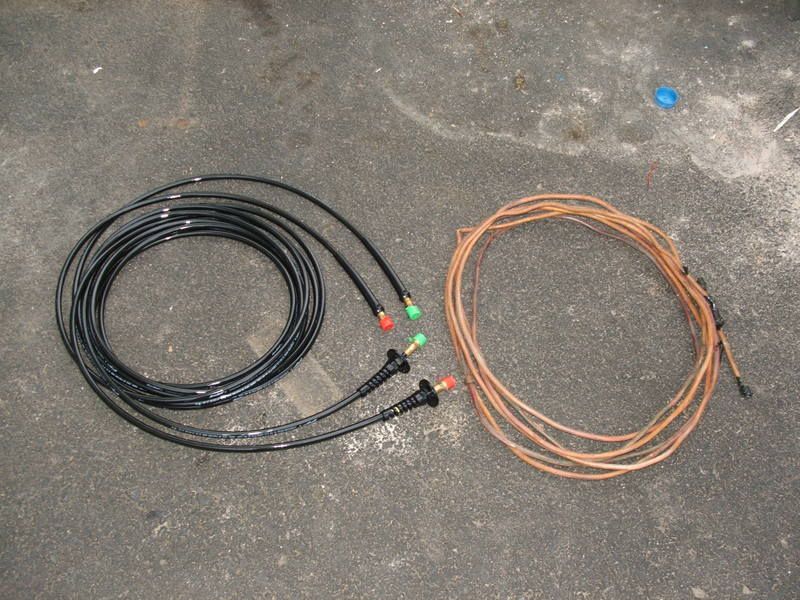
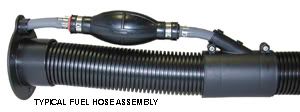
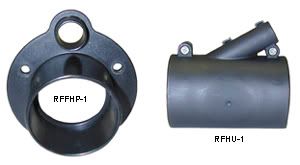
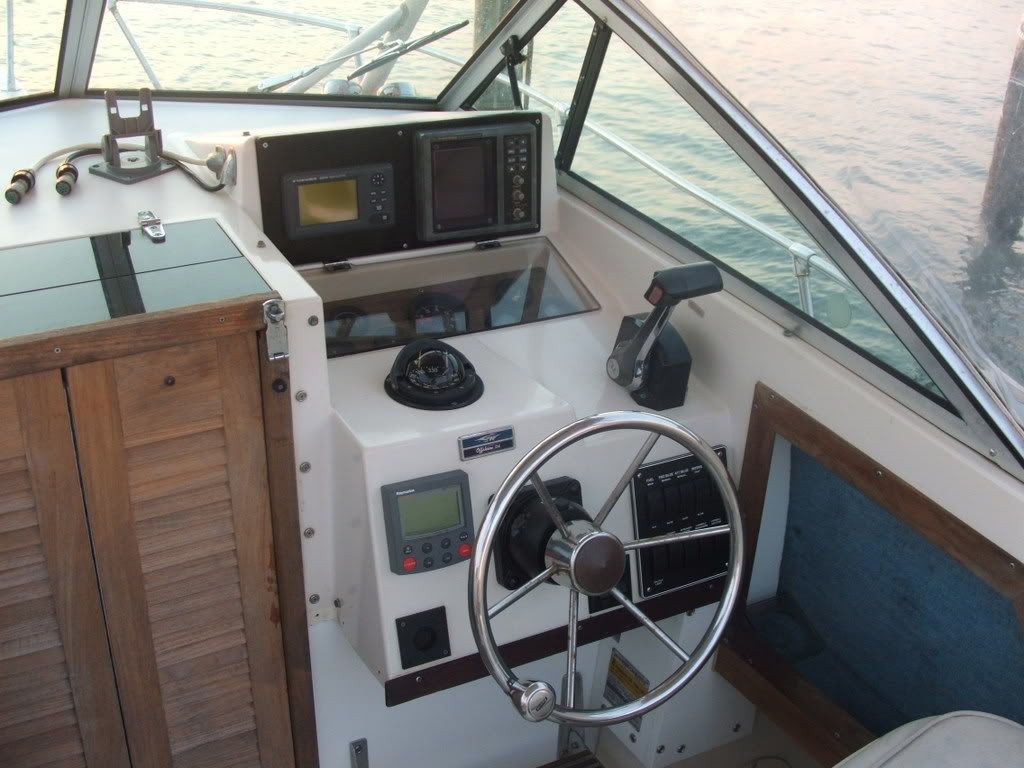
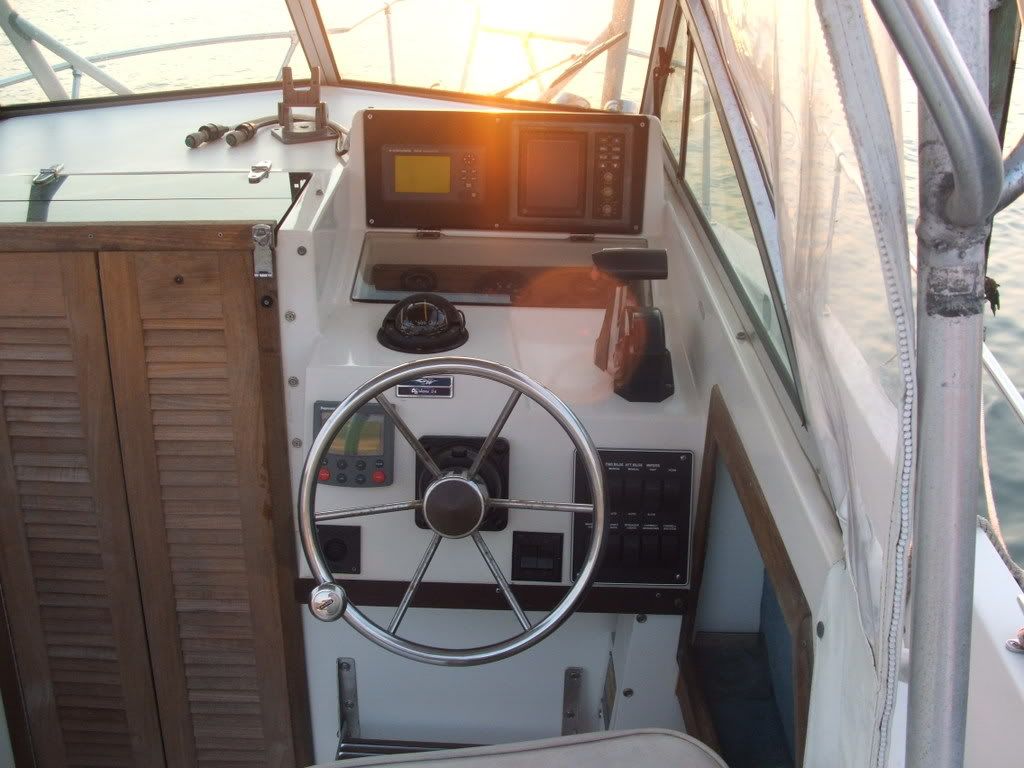
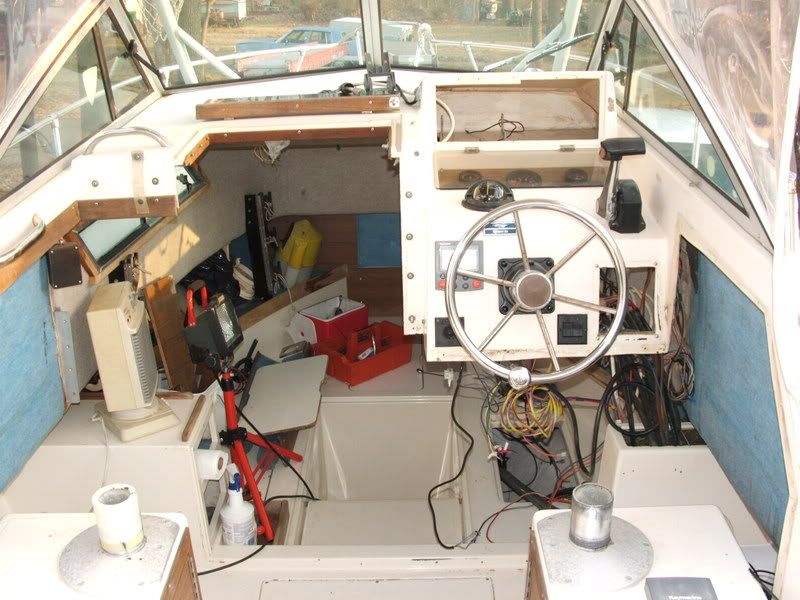
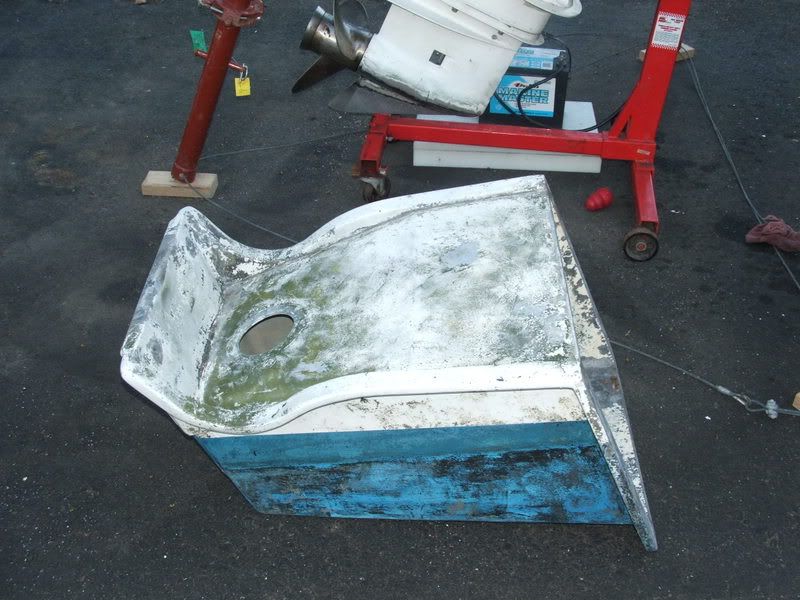
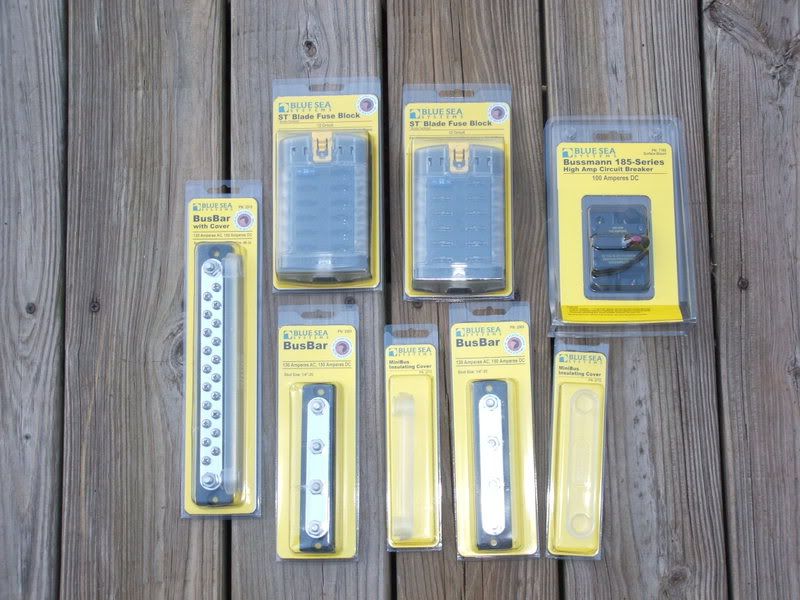
I have an 89' 242 Offshore with a 200 Johnson that Im going do start to upgrade a bit.First Im replacing the cabin bulkhead that rotted out with 3/4" Starboard.While I took out the old bulkhead I decided to take out all the wiring and redo that as well.It looked very unprofessional the way the previous owner/s had it wired.The switch panel will be replaced by a new panel from ScottC at Vector Imaging.I will redo all the wiring in the boat and have a dedacated house & engine batteries with a VSR.Wiring is sort of my thing I used to custom wire racecars,police,firetrucks,ems vechiles at my last job,so this will be a piece of cake.In addition to that I am going to replace the thru hulls with stainless and all the hoses that need it including the fuelhoses.Also the hardtop rear support tube needs to be welded,it had cracked in half mid way through last season.The only thing Id like to do that Im going to wait on is the two deck hatches over the fuel tanks that have soft spots.The reason is I just cant afford it right now,so maybe that will be next years project(Jawz might be getting a call for that one!).Also I forgot that if the funds will alow it I will be adding an onboard battery chager with shore power the only option the boat didnt come with from the factory.
Other than that ,that is my goal before the spring Stripers show up.The only thing now keeping me form finishing on time is the fact I broke my left hand and finger 2 weeks ago at work and might need surgery.They tell me another 4-6 weeks and should be good to go again.Until then the project is on hold but here are a few pics as I got started before I broke my hand.I will post up more pics as I progress.
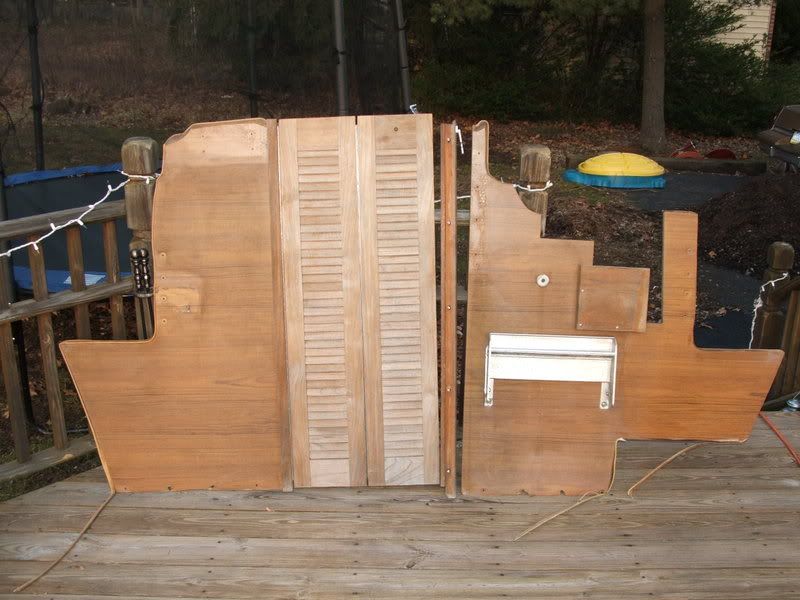
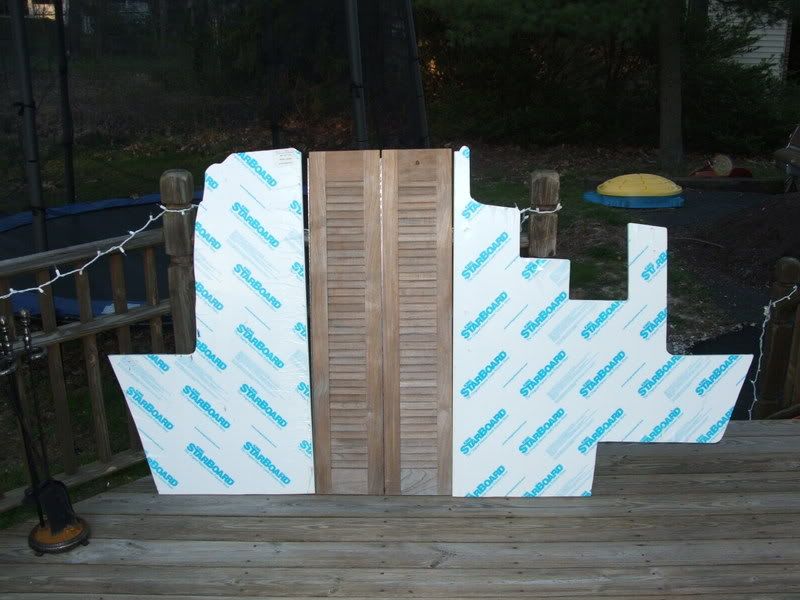
The bulkhead removed,forgot to take a pic with it in.
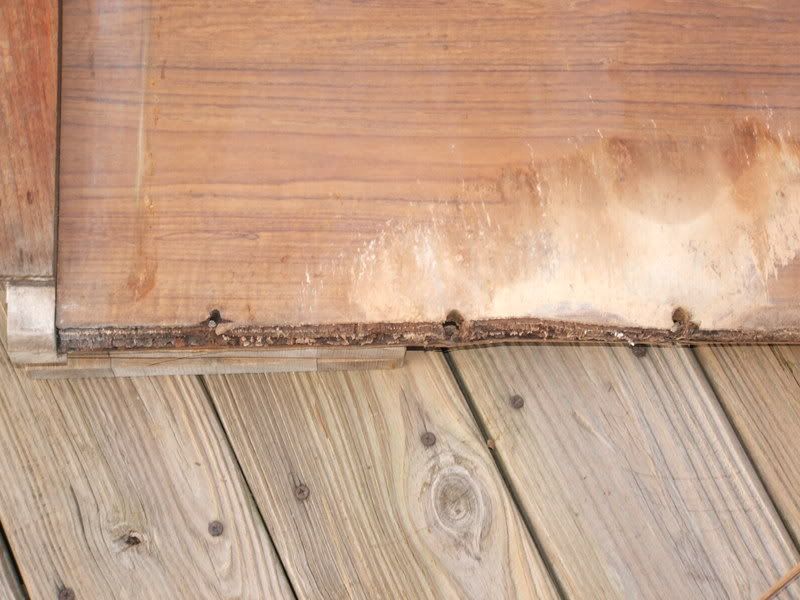
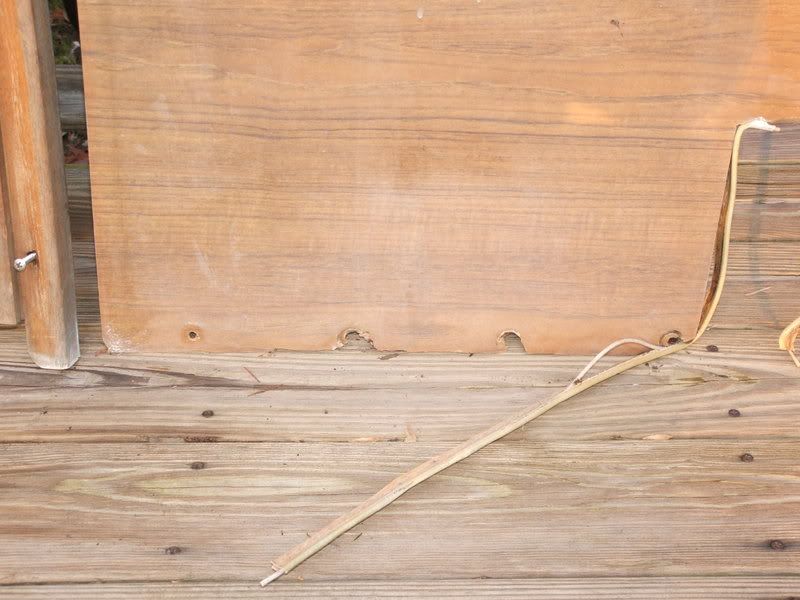
Old rotted bulkhead
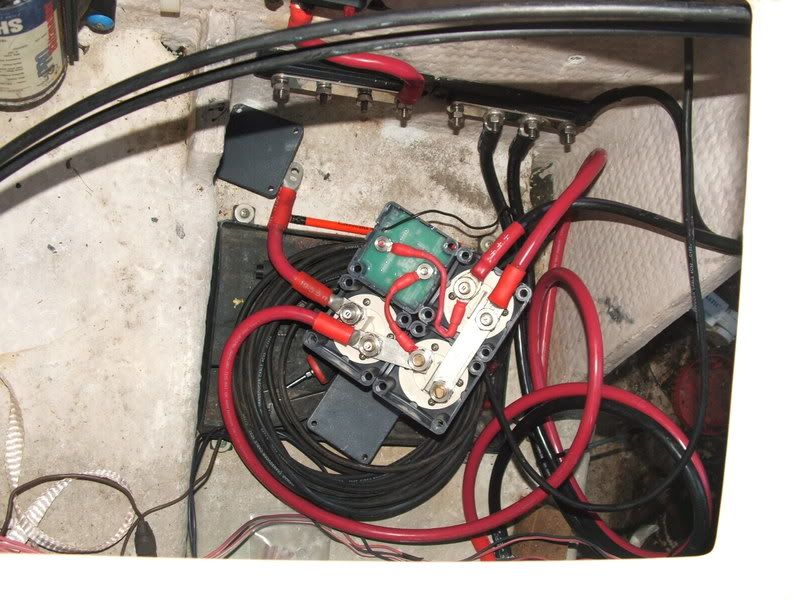
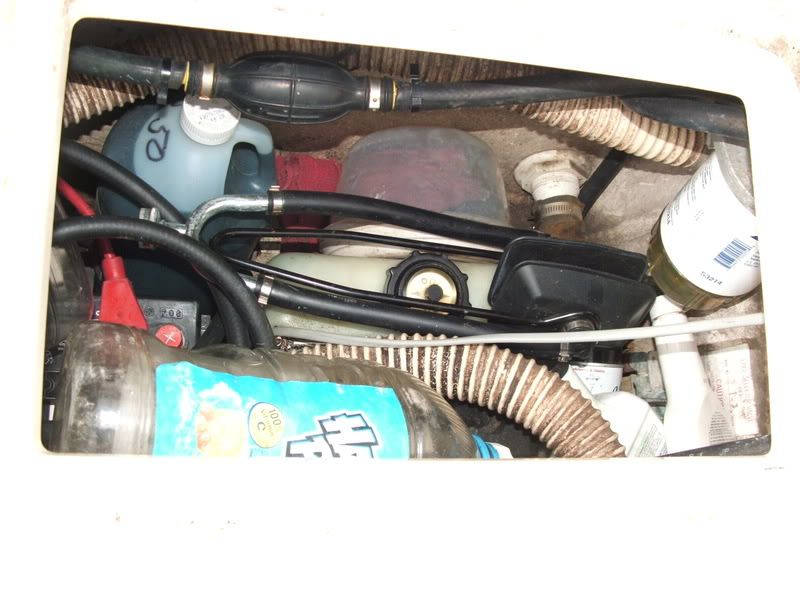
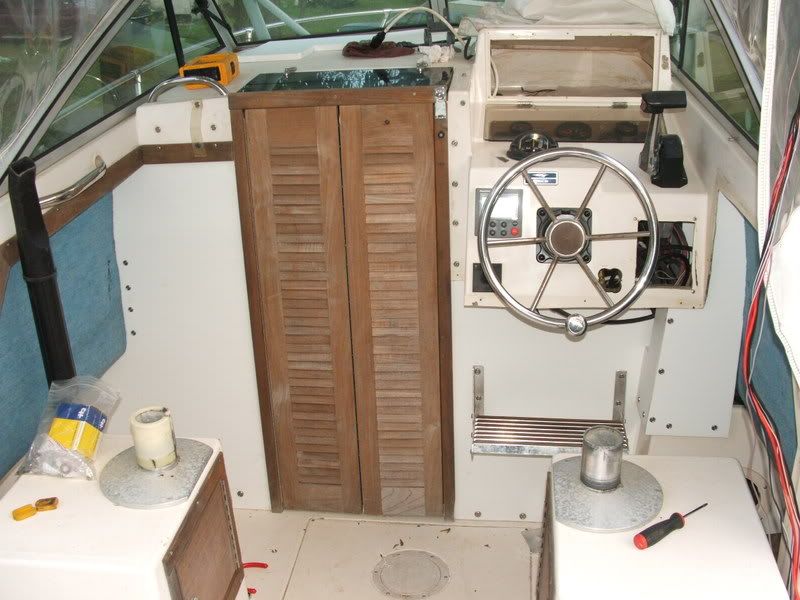
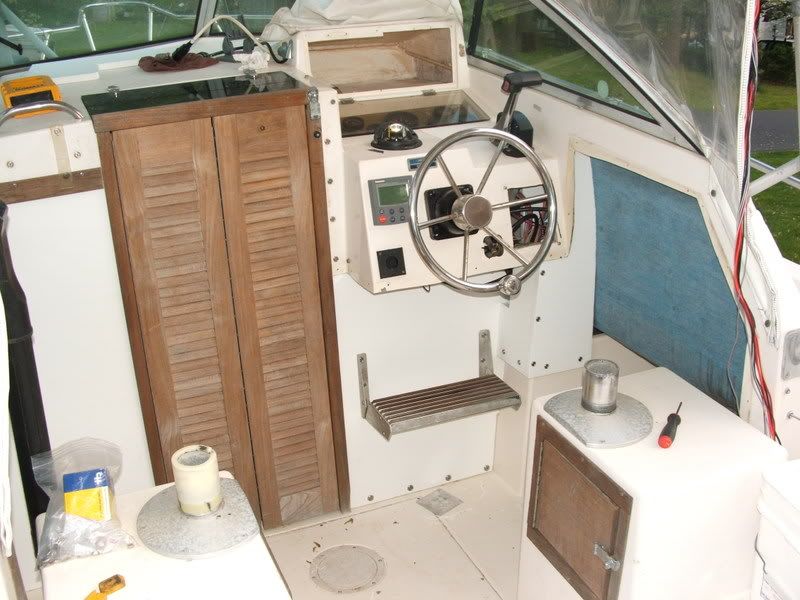
Old wiring under helm,already started to clean up the mess
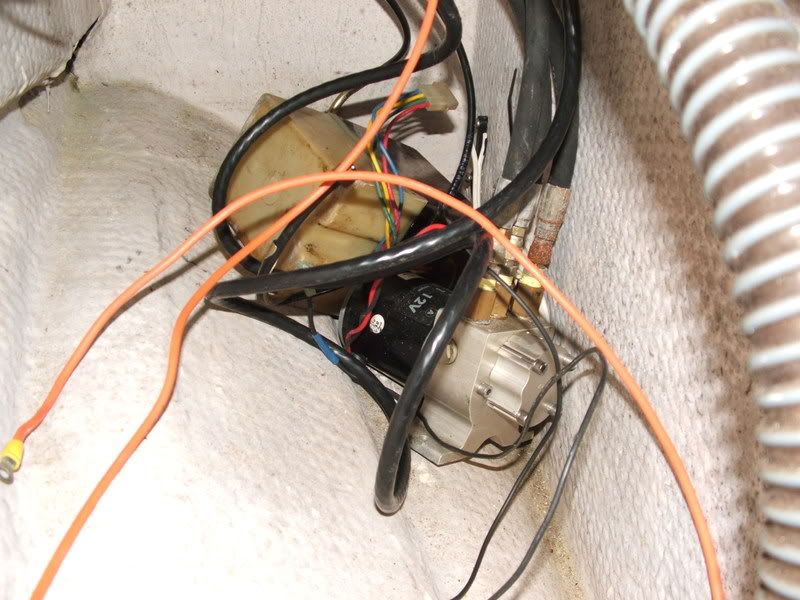
The trim tab and autopiolit pumps never mounted in cabin under the floor so that will be fastened correctly.
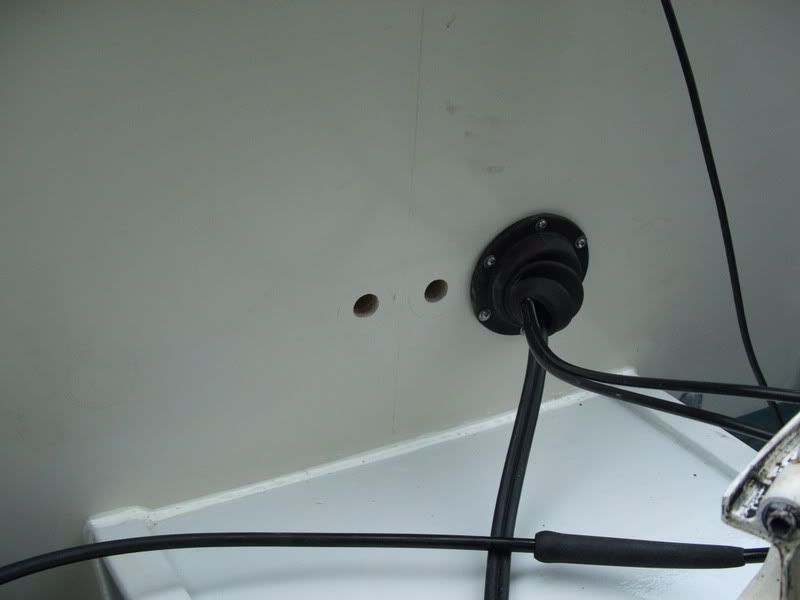
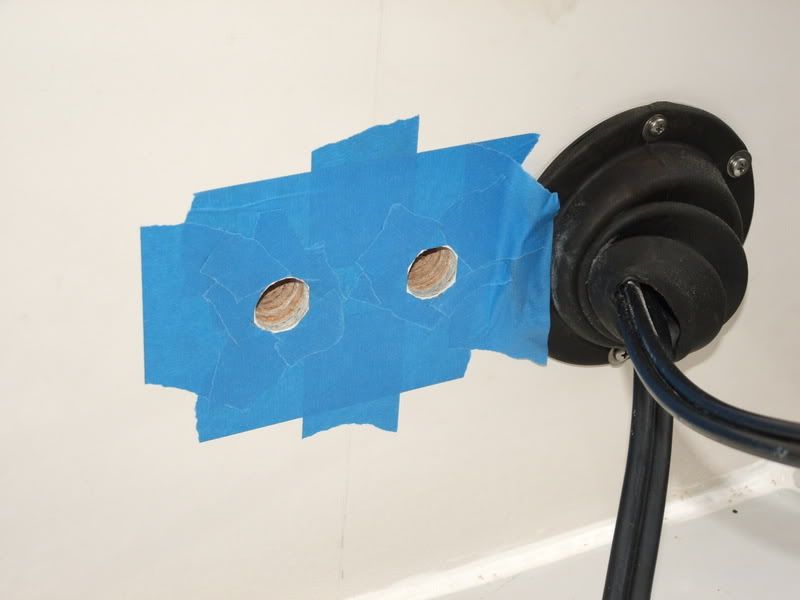
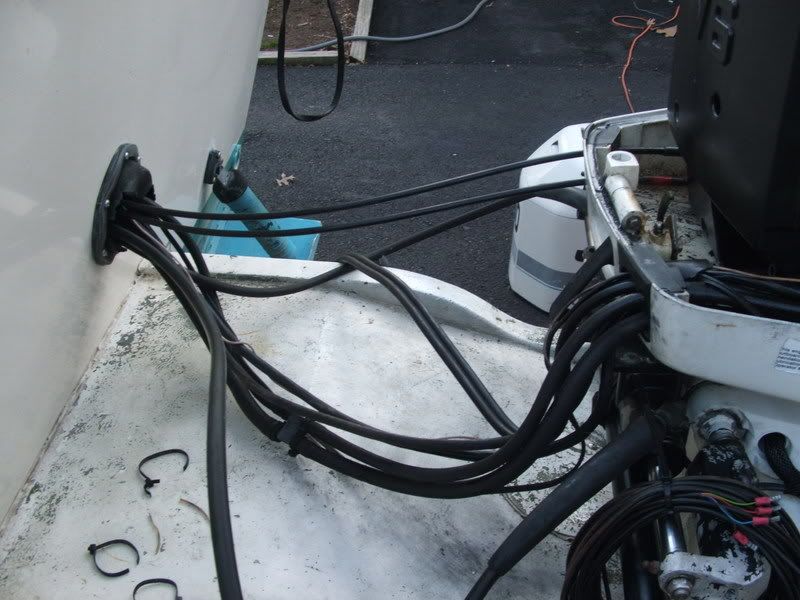
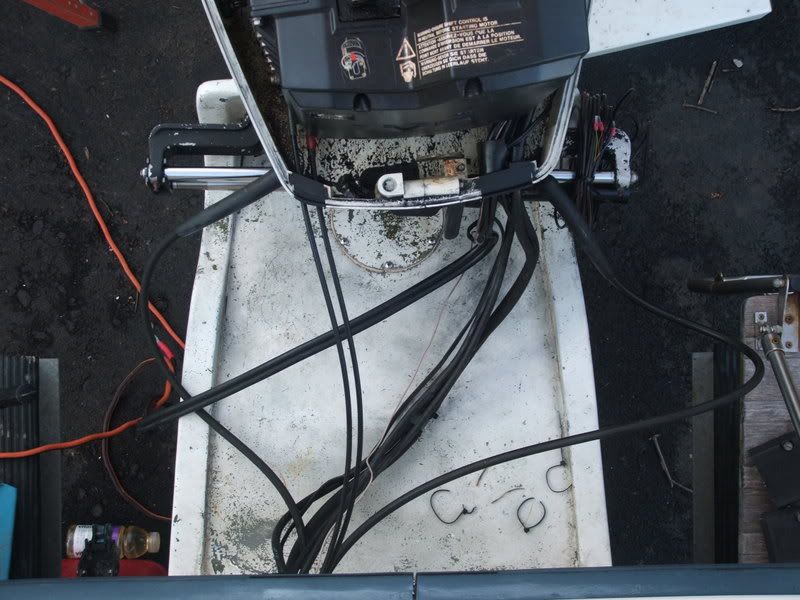
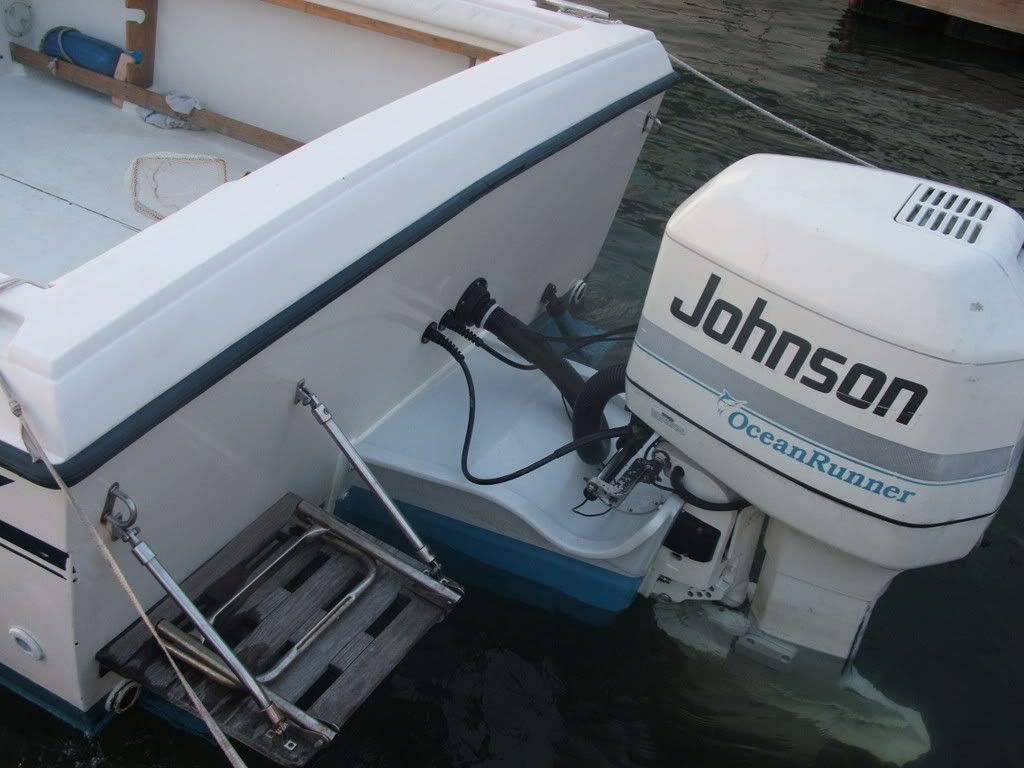
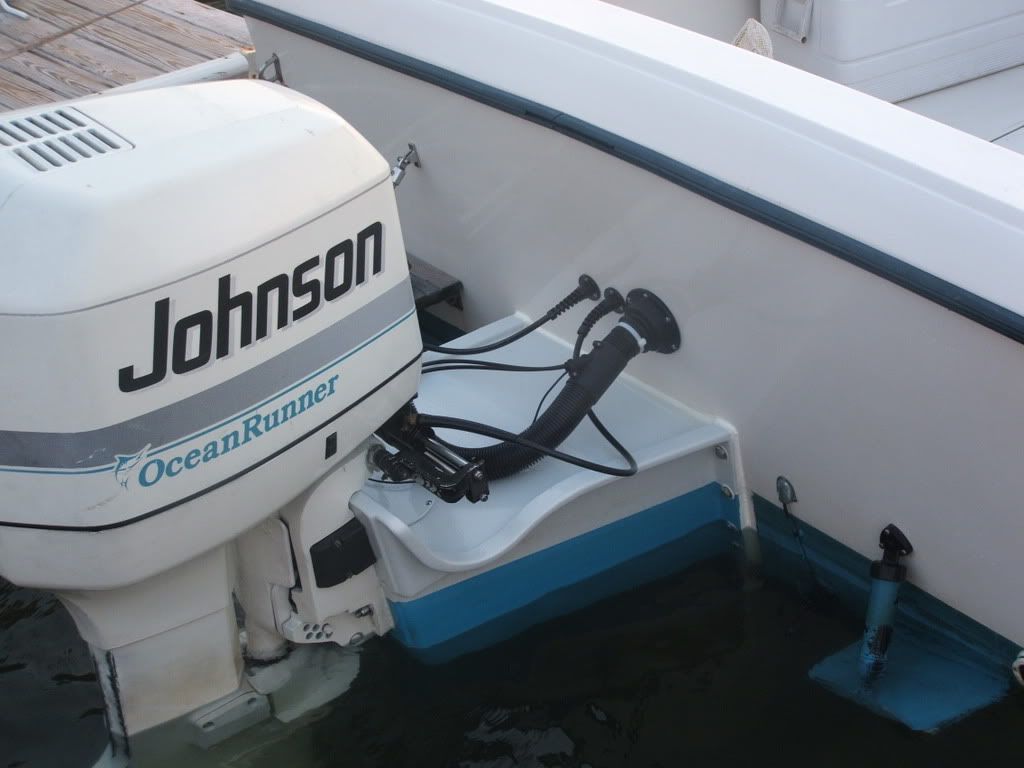
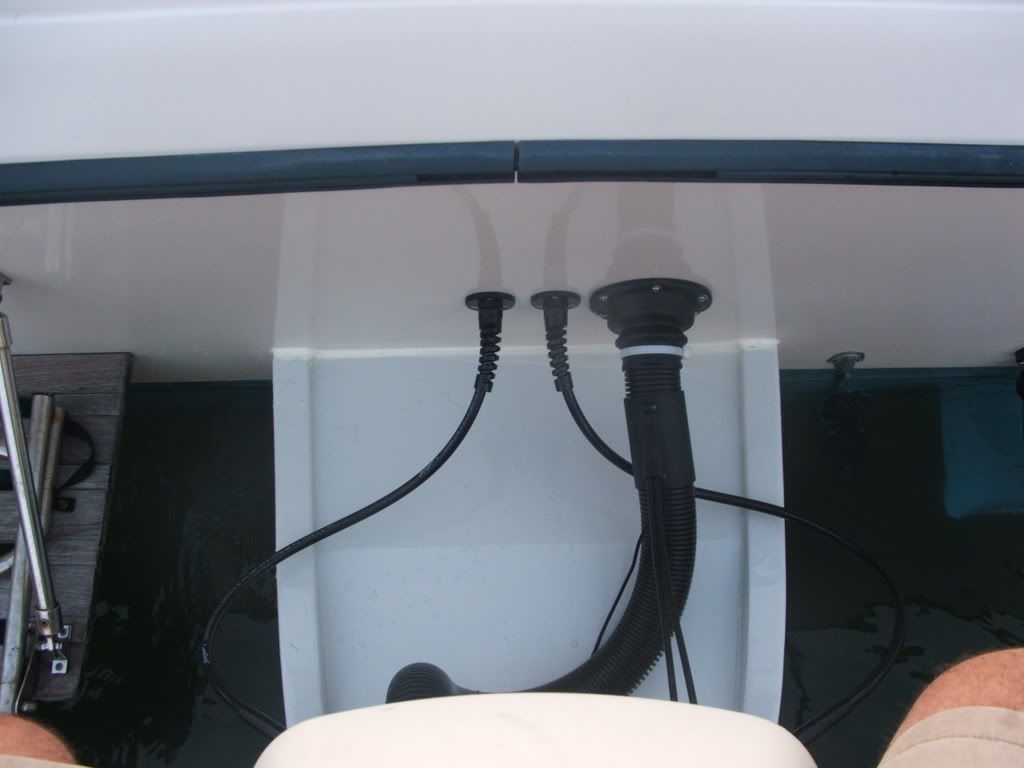
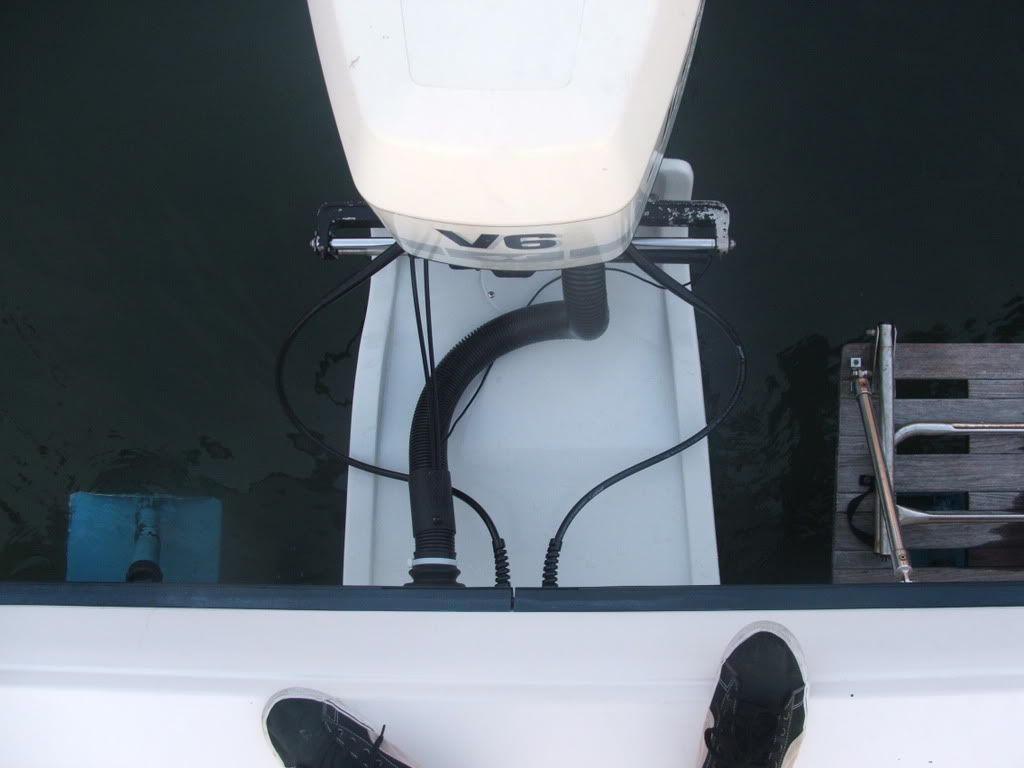
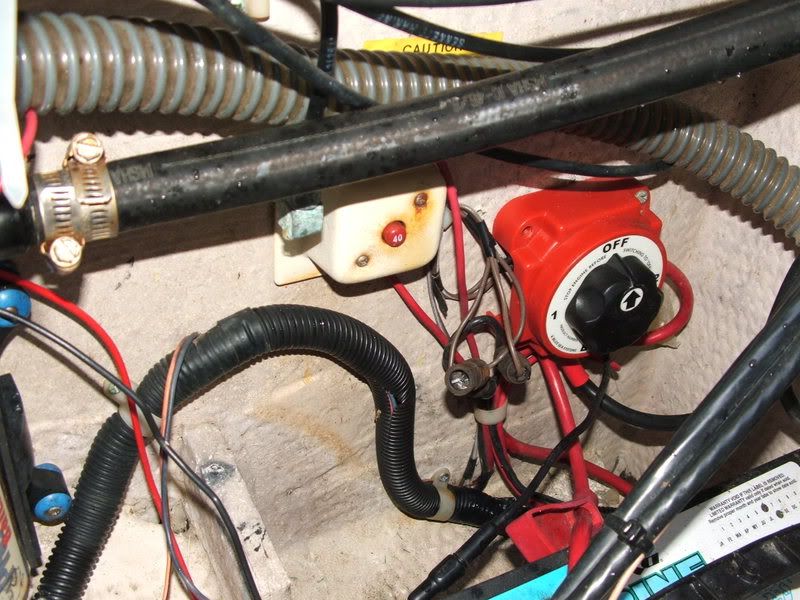
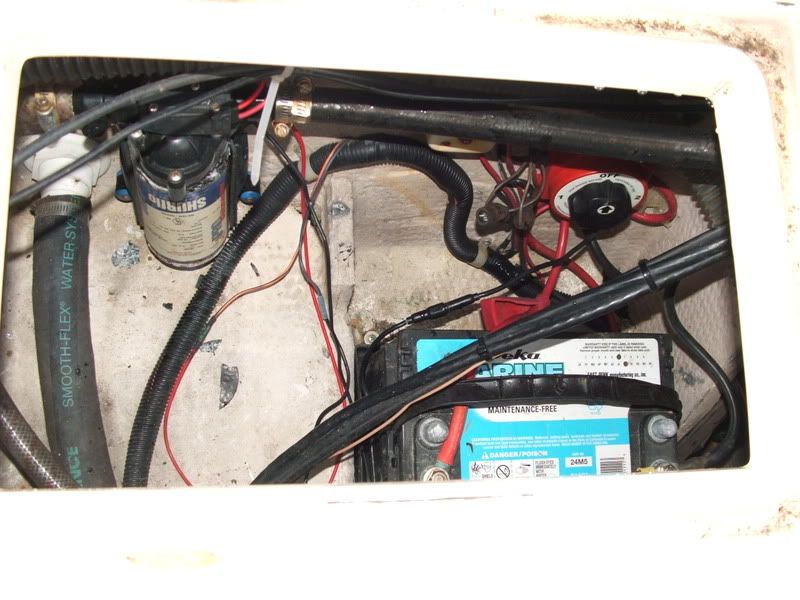
Tramsom wiring not that bad but not to my liking.
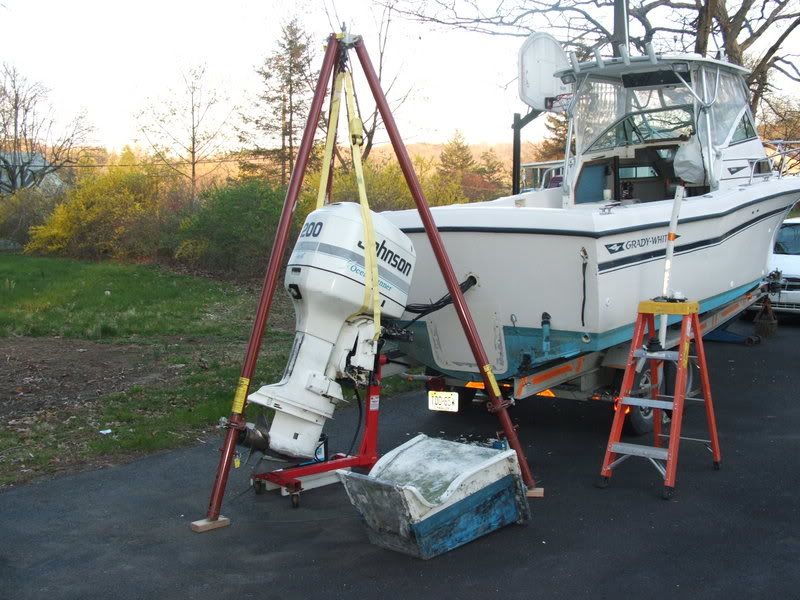
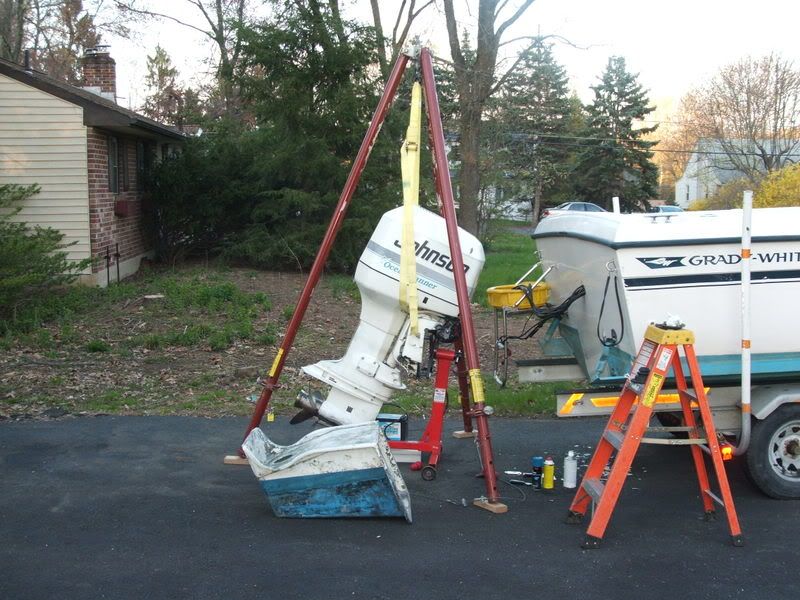
Hardtop support

Other than that ,that is my goal before the spring Stripers show up.The only thing now keeping me form finishing on time is the fact I broke my left hand and finger 2 weeks ago at work and might need surgery.They tell me another 4-6 weeks and should be good to go again.Until then the project is on hold but here are a few pics as I got started before I broke my hand.I will post up more pics as I progress.
The bulkhead removed,forgot to take a pic with it in.
Old rotted bulkhead
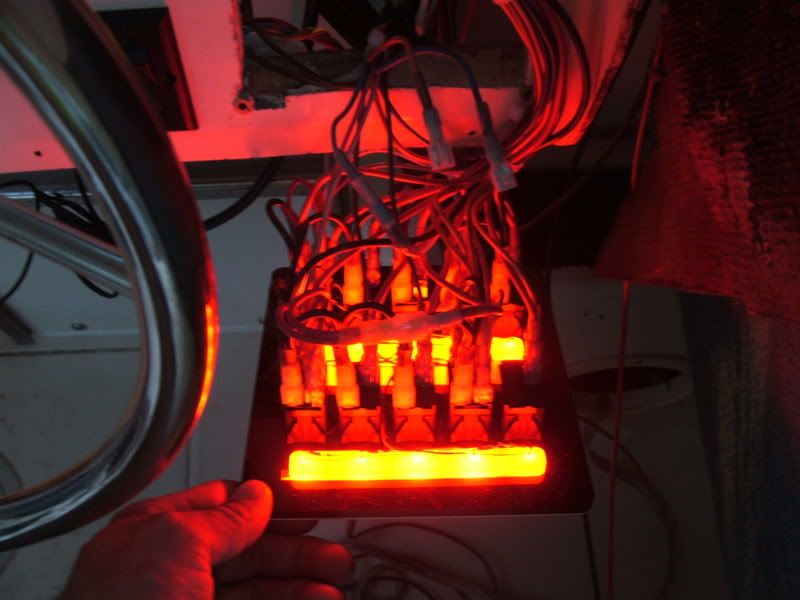
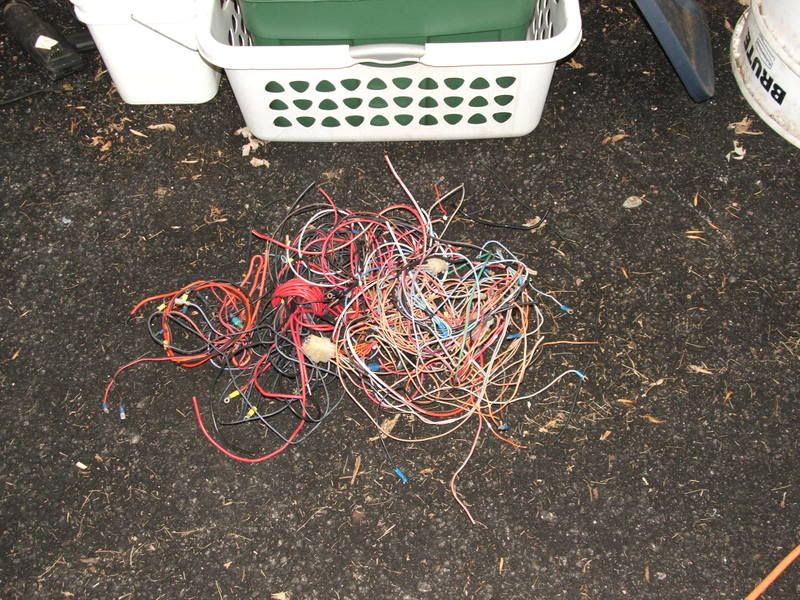
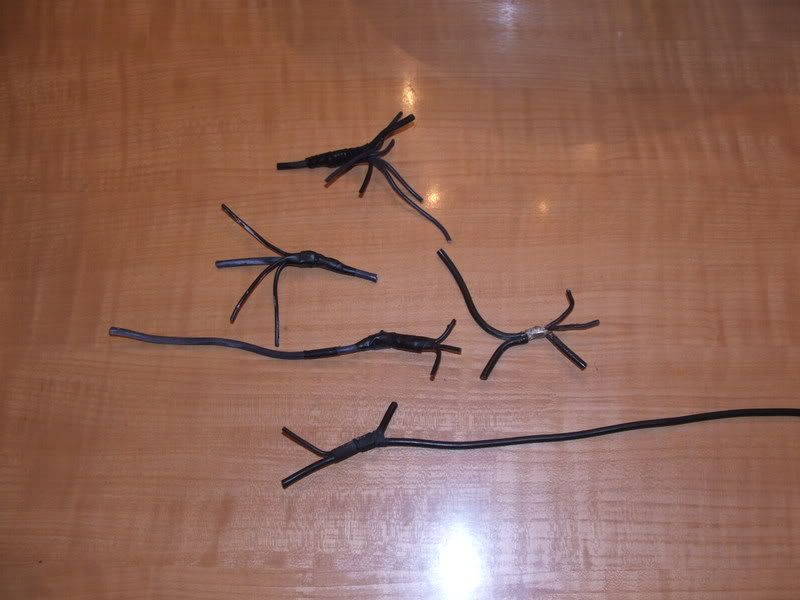
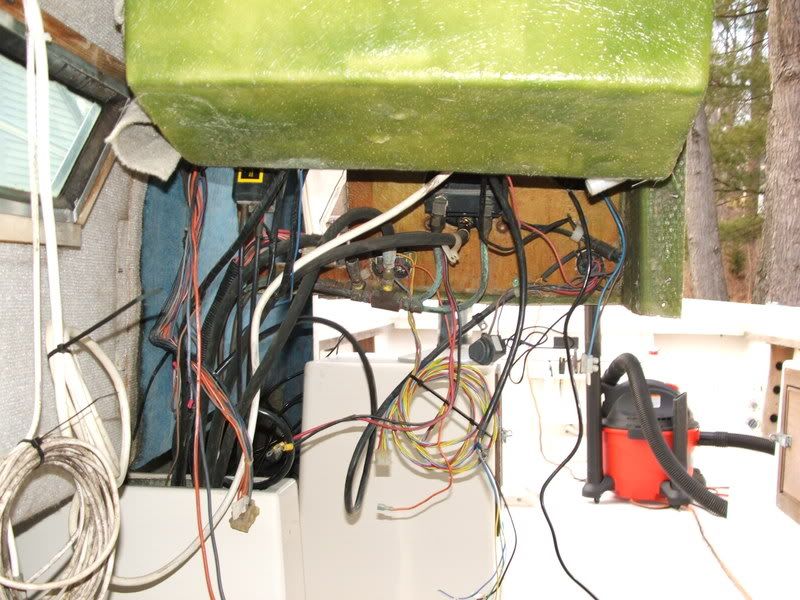
Old wiring under helm,already started to clean up the mess
The trim tab and autopiolit pumps never mounted in cabin under the floor so that will be fastened correctly.
Tramsom wiring not that bad but not to my liking.
Hardtop support
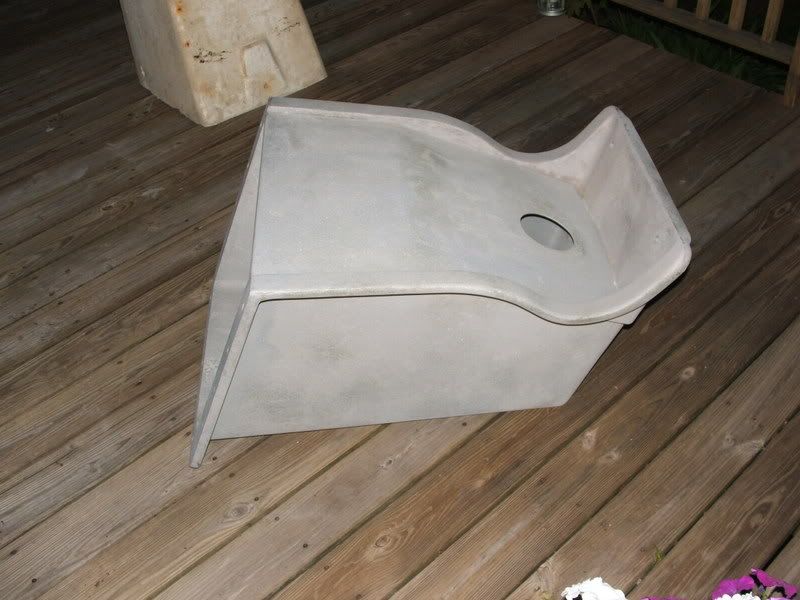
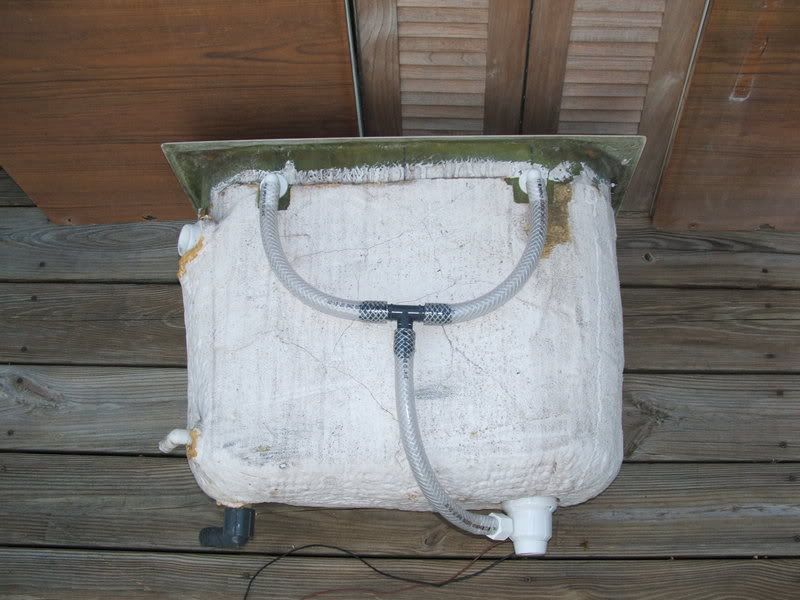
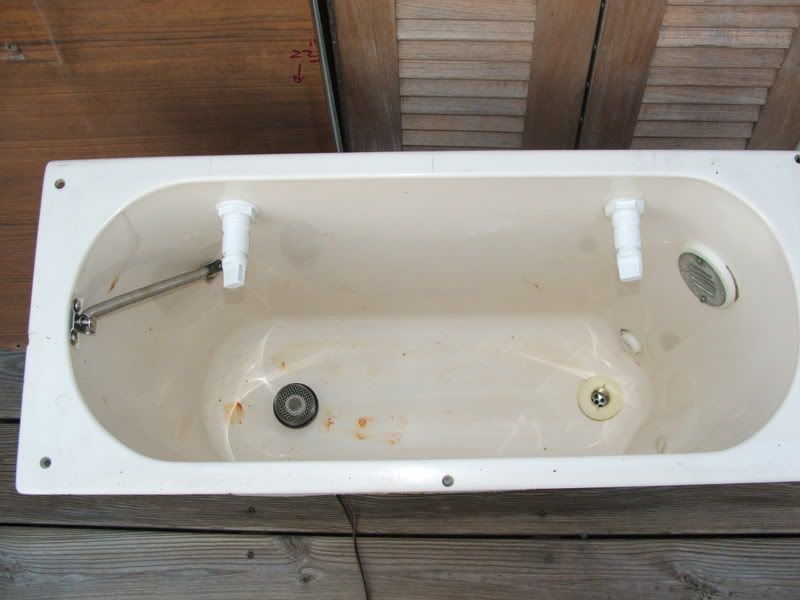
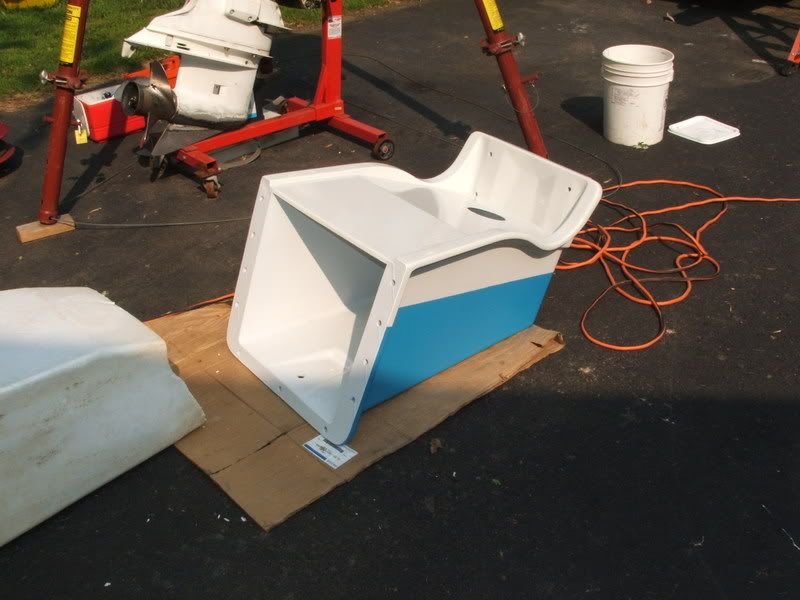
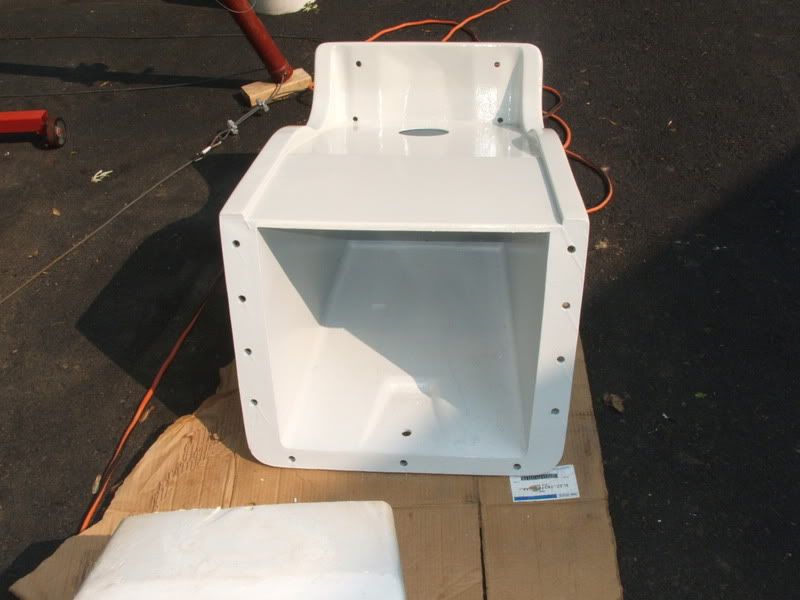
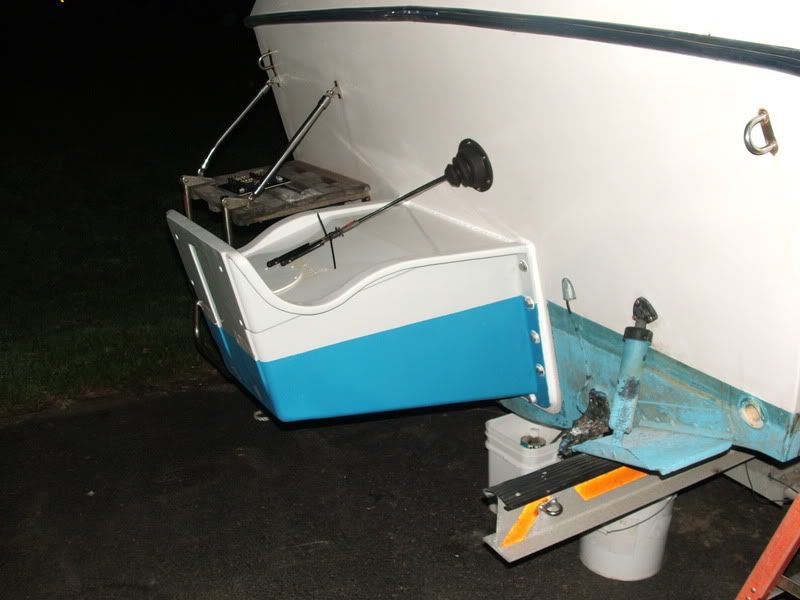
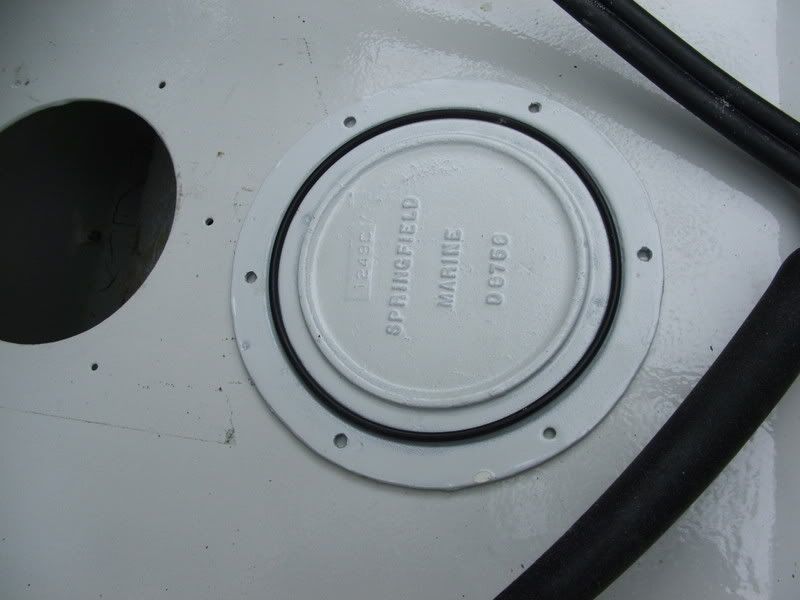
 I then painted the inside... first etch primed with DuPont Variprime... then a couple coats of white Imron(sorry Jim I just couldnt leave it bare even though it might not have mattered,I felt more comfortable with it coated)I used 3M 5200 to seal it to the transom with all new 1/2" SS bolts with SS nylocks.Here is some pics of it...