You are using an out of date browser. It may not display this or other websites correctly.
You should upgrade or use an alternative browser.
You should upgrade or use an alternative browser.
Gas Tank Hatch Recore
- Thread starter '84Offshore
- Start date
JeffN
Well-Known Member
DennisG01
GreatGrady Captain
- Joined
- Sep 1, 2013
- Messages
- 7,818
- Reaction score
- 1,543
- Points
- 113
- Location
- Allentown, PA & Friendship, ME
- Model
- Offshore
DennisG01
GreatGrady Captain
- Joined
- Sep 1, 2013
- Messages
- 7,818
- Reaction score
- 1,543
- Points
- 113
- Location
- Allentown, PA & Friendship, ME
- Model
- Offshore
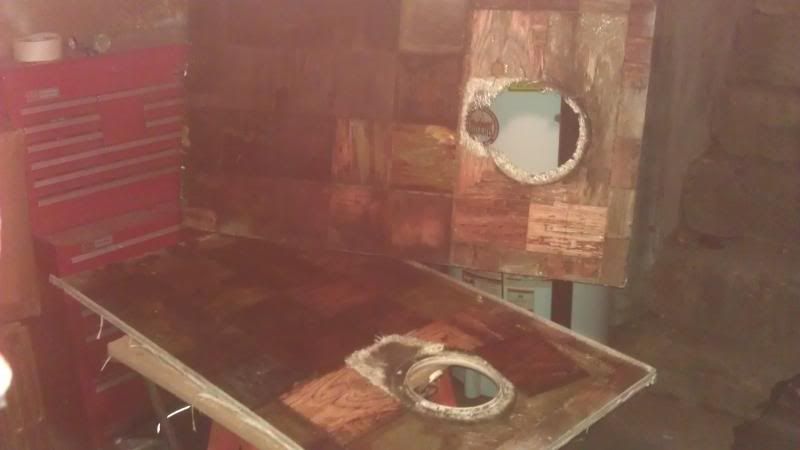
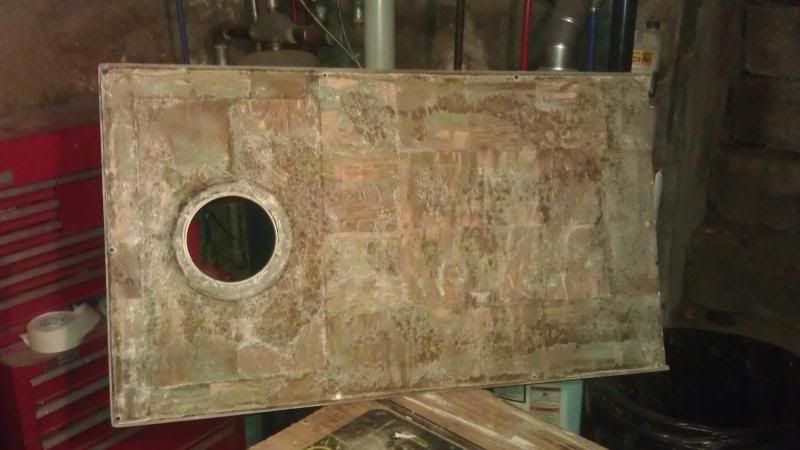
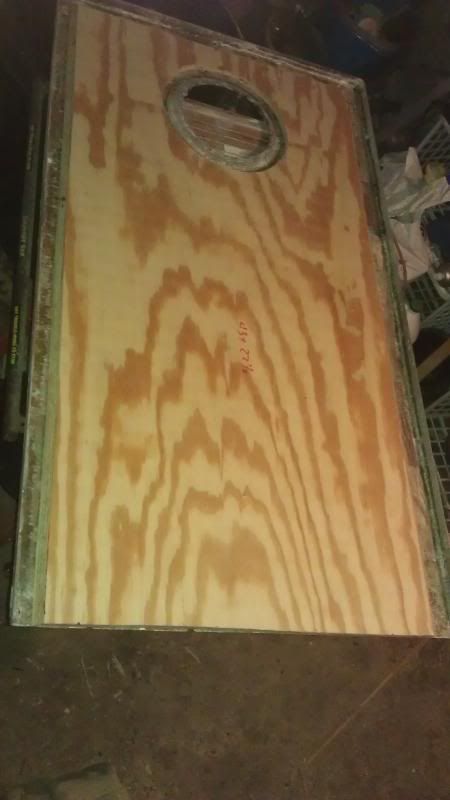
What's your plan of attack? Is the core 3/4"? My initial thought was use to pre coat the new piece of marine ply with a few coats, then glue down with thickened epoxy - sort of like tile flooring. Not sure if I'd even need to lay any glass? Thought about using Coosa, but not sure I need to go to that expense.
DennisG01
GreatGrady Captain
- Joined
- Sep 1, 2013
- Messages
- 7,818
- Reaction score
- 1,543
- Points
- 113
- Location
- Allentown, PA & Friendship, ME
- Model
- Offshore
Good thread, thanks for the link.
This, I'm hoping, will be a lot easier than my last large repair. I replaced some soft wood that was on the underside of the anchor locker deck on my Sundancer. BUT, I did it w/o removing the top skin so all the work was done through the anchor locker hatch and upside down, backwards, twisted and contorted! It came out nice and in the end, I decided to put some fake teak up there (Actually, really nice!) so if I would of thought of that first, I could of skinned it!
Yeah, I know what you mean about the mix ratio if you're doing it drop by drop. One or two drops one way or the other (depending on ambient temp) can make a big difference.
As you may have figured out by now, if you're mixing large batches of epoxy (or just in a container that keeps the epoxy in higher volume) it kicks really fast. A trick is to mix it up, then spread it out thin. If it stays in the container, it retains the heat thus causing it to kick quickly. You can spread it out on the working piece, or even a scrap of something. Anything will work - just as long as it's not contained too much.
If you're using the West system, they make not only a slow hardener, but also an extra slow hardener and both will give a noticeably longer working time. As it's getting colder outside, that will help, too.
DennisG01
GreatGrady Captain
- Joined
- Sep 1, 2013
- Messages
- 7,818
- Reaction score
- 1,543
- Points
- 113
- Location
- Allentown, PA & Friendship, ME
- Model
- Offshore
Oh... another way around having to put screws (from the deck hatch) into wood... You can overdrill the pilot hole to about 2-3 times the size of the screw. Then, come back and fill it with epoxy. Then redrill your pilot hole - this way you are only screwing into epoxy. If the hole would end up being so large that it would be visible on the floor side, only drill out the wood side.
When I install the new plywood I don't go all the way to the edge......maybe leave about an inch around the edges and put in a layer of mat.
Check out the end of this thread where gw204 gives his input........ viewtopic.php?f=3&t=19451
Check out the end of this thread where gw204 gives his input........ viewtopic.php?f=3&t=19451
DennisG01
GreatGrady Captain
- Joined
- Sep 1, 2013
- Messages
- 7,818
- Reaction score
- 1,543
- Points
- 113
- Location
- Allentown, PA & Friendship, ME
- Model
- Offshore
Sorry - I wasn't very clear. I did see that way - was just offering another way. Depending on the current thickness, adding that extra layer of glass (like you mentioned), is a good idea. In reality, it probably doesn't matter too much as it isn't in a real high stress load area, unless the current holes have gotten a little enlarged.
DennisG01
GreatGrady Captain
- Joined
- Sep 1, 2013
- Messages
- 7,818
- Reaction score
- 1,543
- Points
- 113
- Location
- Allentown, PA & Friendship, ME
- Model
- Offshore
Lookin!' good!
I was looking at my hatch today and, although I didn't measure it, I looked like 1/2". Does that sound correct? It looked like the rest of the floor is 3/4"?
I was looking at my hatch today and, although I didn't measure it, I looked like 1/2". Does that sound correct? It looked like the rest of the floor is 3/4"?
DennisG01 said:Lookin!' good!
I was looking at my hatch today and, although I didn't measure it, I looked like 1/2". Does that sound correct? It looked like the rest of the floor is 3/4"?
It is 1/2" in the one that I did..
DennisG01
GreatGrady Captain
- Joined
- Sep 1, 2013
- Messages
- 7,818
- Reaction score
- 1,543
- Points
- 113
- Location
- Allentown, PA & Friendship, ME
- Model
- Offshore
Cool, thanks guys. That'll save some weight and a few coins, as well.
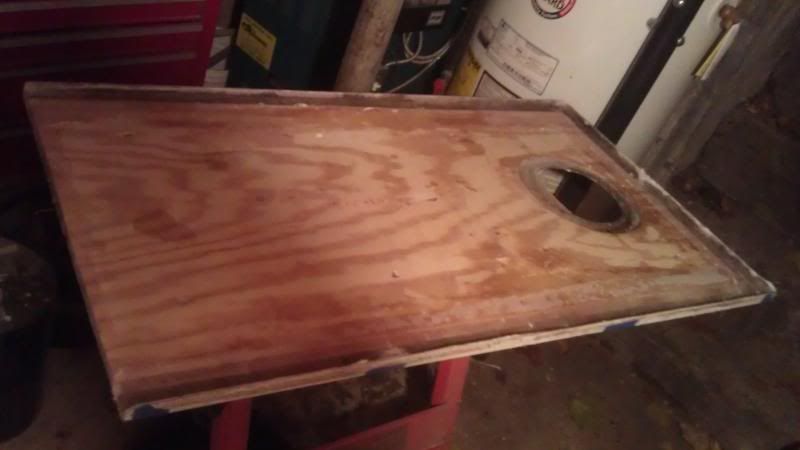
Offshore - I was thinking of either shaving the edges of the plywood to about a 45* or doing a fillet of thickened epoxy around the edges to make it easier to lay the glass over the edge. Did you do something similar? If not, does it really matter... in other words, was laying the fiberglass still pretty easy or did you get air gaps? It's hard to tell in the picture.
Offshore - I was thinking of either shaving the edges of the plywood to about a 45* or doing a fillet of thickened epoxy around the edges to make it easier to lay the glass over the edge. Did you do something similar? If not, does it really matter... in other words, was laying the fiberglass still pretty easy or did you get air gaps? It's hard to tell in the picture.
I cut the edges @ a 45* angle but I still think I got some air bubbles......I suck at this!
It's not pretty but it will be strong.
It's not pretty but it will be strong.
JeffN
Well-Known Member
'84Offshore said:I cut the edges @ a 45* angle but I still think I got some air bubbles......I suck at this!
It's not pretty but it will be strong.
As long as the core doesn't get wet again you are good to go and you won't have to deal with the process again. Like you have done keeping the screws that fasten the cover down out of the wood core is key I think. Nice to be almost done huh - post some pictures when you can.
Got to keep these old girls going :goodjob.
Working on winterizing mine today - water system done, motor oil changed, drive lube changed and helm area under canvas and inside of enclosure washed. Next weekend finish putting the motor to bed and empty all the stuff from the cabin. Then soon cover.


