

- Joined
- Aug 26, 2015
- Messages
- 34
- Reaction score
- 2
- Points
- 8
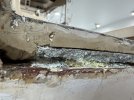
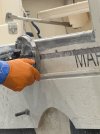
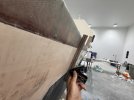
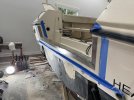
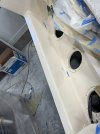
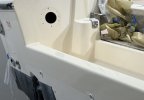
It’s no secret that Grady transoms are an issue for many of the models. Gallons of flexible sealant and a thin piece of aluminum angle to protect the most critical structure of the boat has always been a ticking time bomb. With a new pair of Yamaha F250 XCAs laying on the shop floor, I decided to eliminate the worry over transom moisture once and for all. After removing all of the sealant, corroded metal, and loose bits from the transom/ splash well joint, I filled the voids in the joint with structural epoxy putty, then faired it to a reasonable radius. Taking a router to the glass, I rabbetted out what was needed to lay up several alternating layers of mat and cloth, building back to meet the plane of the transom. West System epoxy and their fillers made easy work of the repair - and allowed for a few rounds of fairing any imperfections. As gel coat and epoxy are poor roommates, a tie coat of vinyl ester base coat and some wet sanding prepared a sound home for the Spectrum color matched gel coat and Duratec 904-001 mix @ 50:50. It sprayed like a dream, and laid down slick and glossy, which is always a relief. Now it’s time to redrill the motor mount bolt holes hang the new ponies!
Attachments
Last edited:
