Grady drive corrosion and soda blasting questions??

NJ-JOHN

Active Member
Joined
Aug 23, 2009
Messages
35
Reaction score
0
Points
0
Hi all,

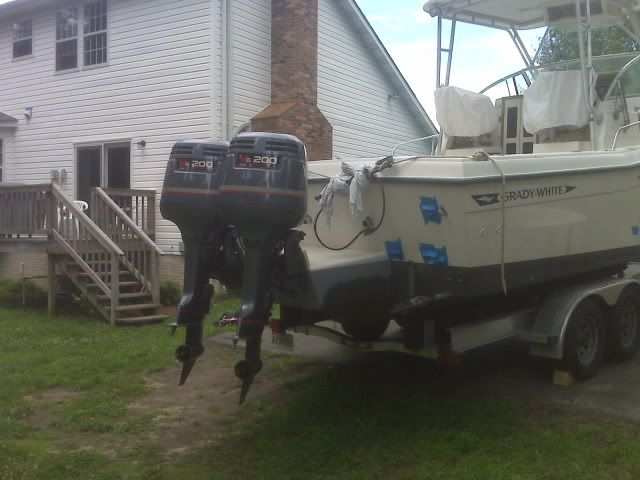
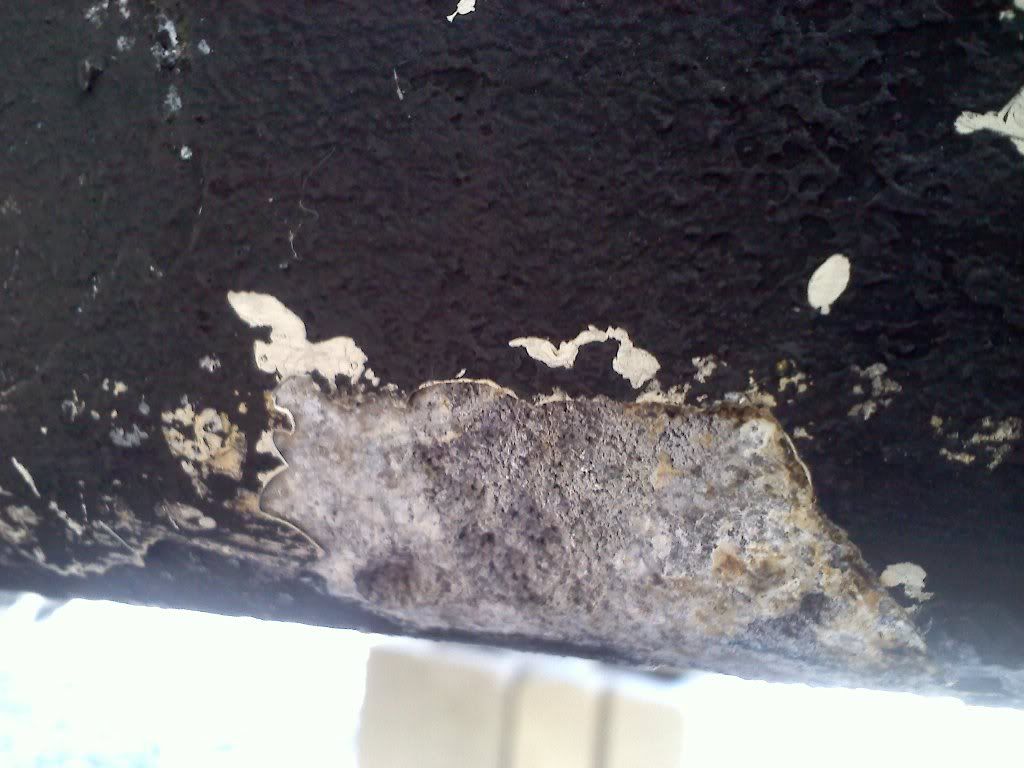
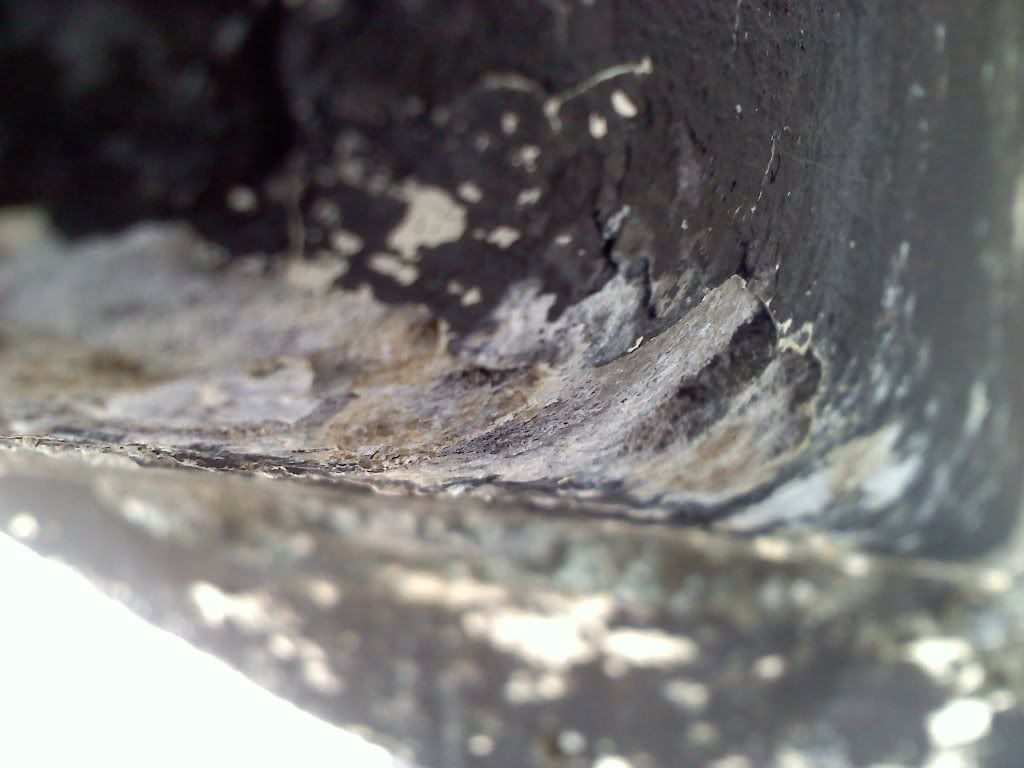
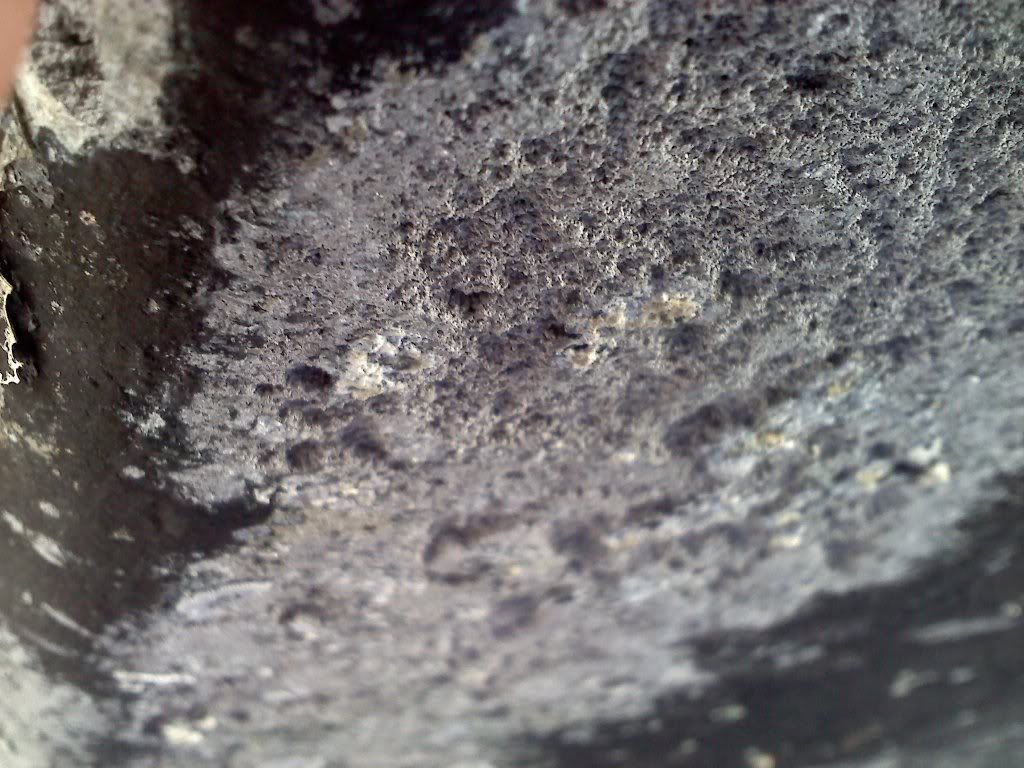
I've got 2 great seasons out of my 1990 228. Last year I did a mid-season bottom paint and zincs. There seems to be an electrical problem in the marina, the zincs were gone and now there is some 'minor' corrosion of the drive bracket, which I beleive is the term for the extended motor bracket. So please help me with these two questions.

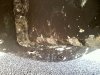
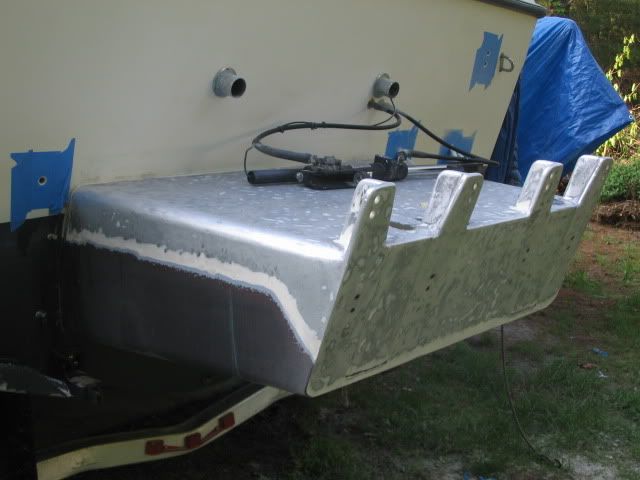
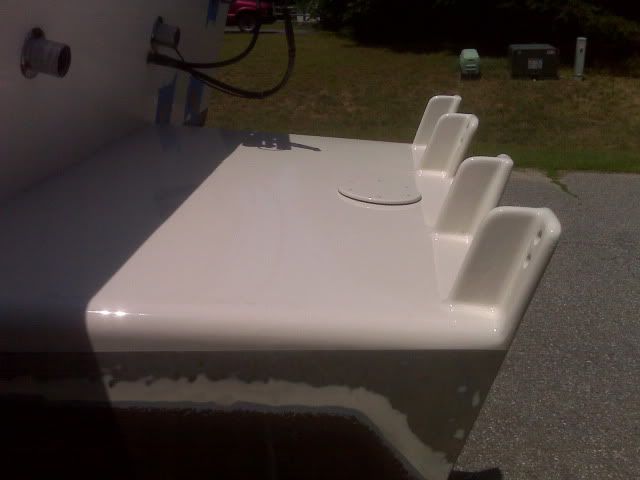
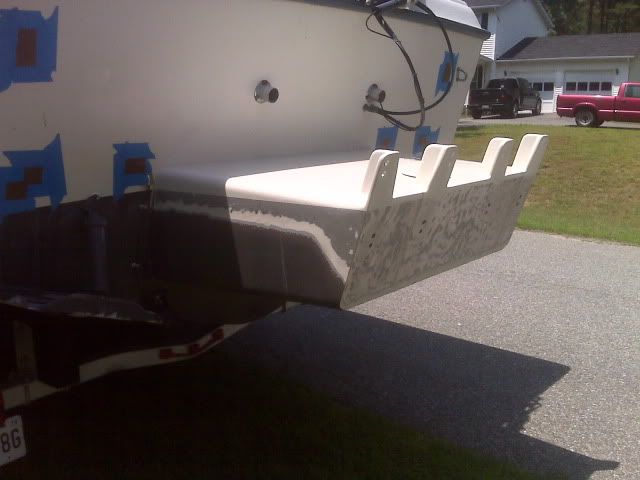
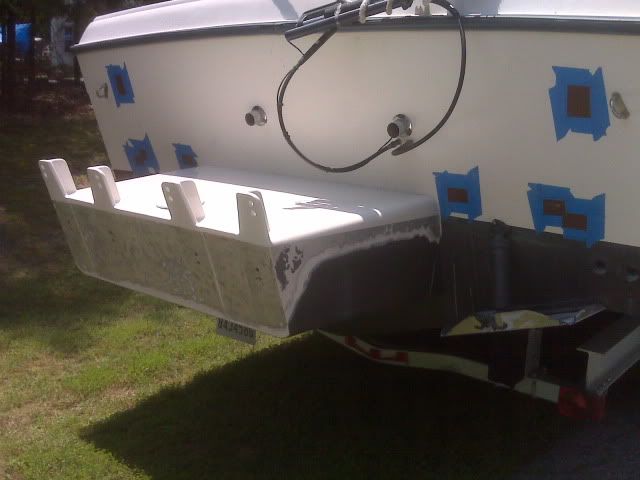
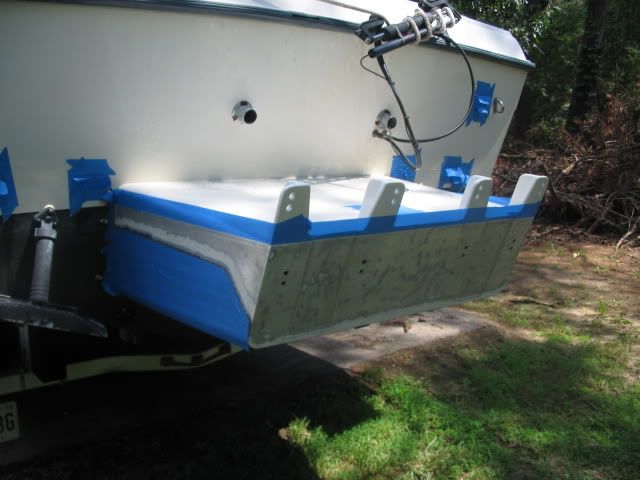
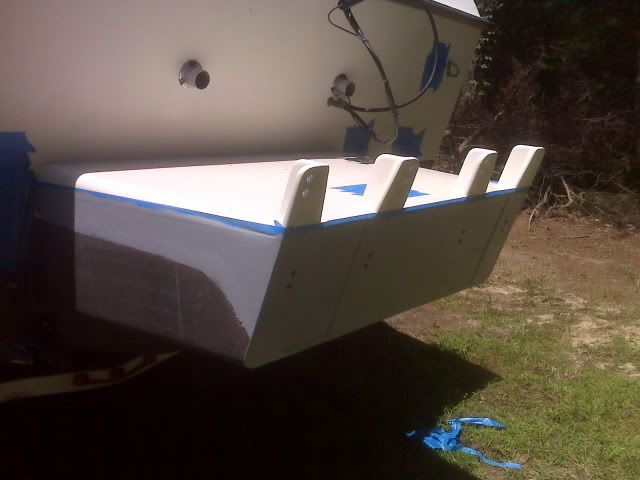
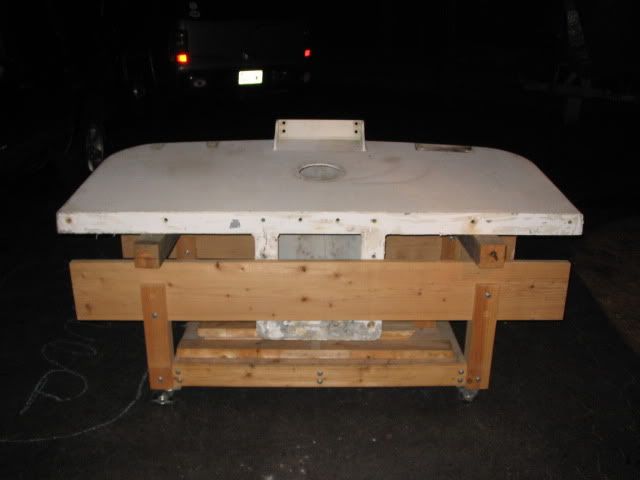
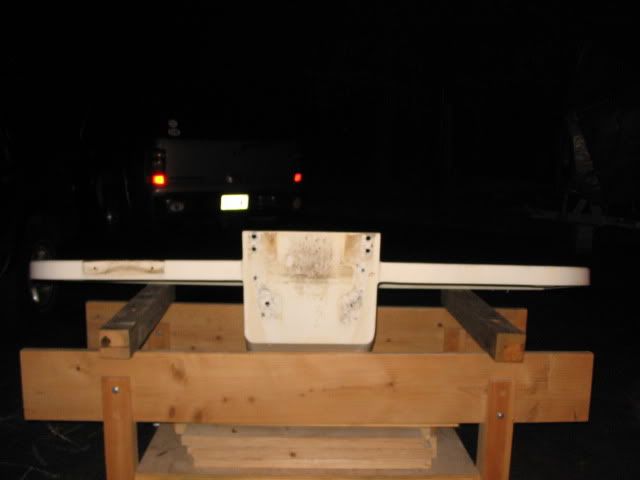
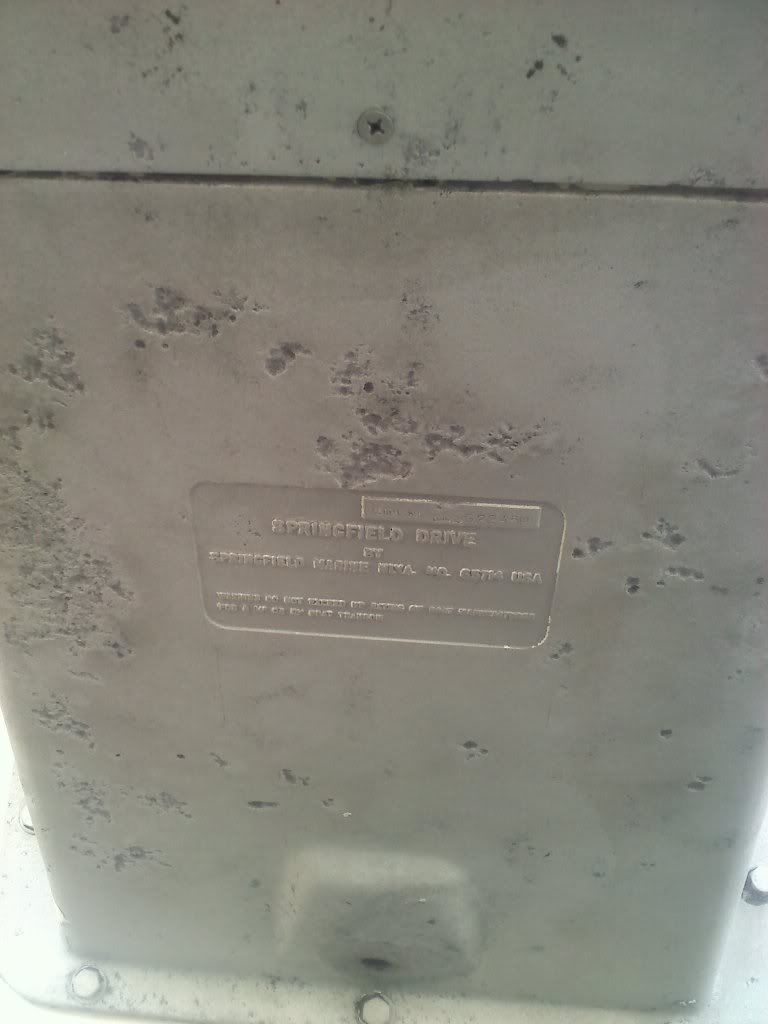
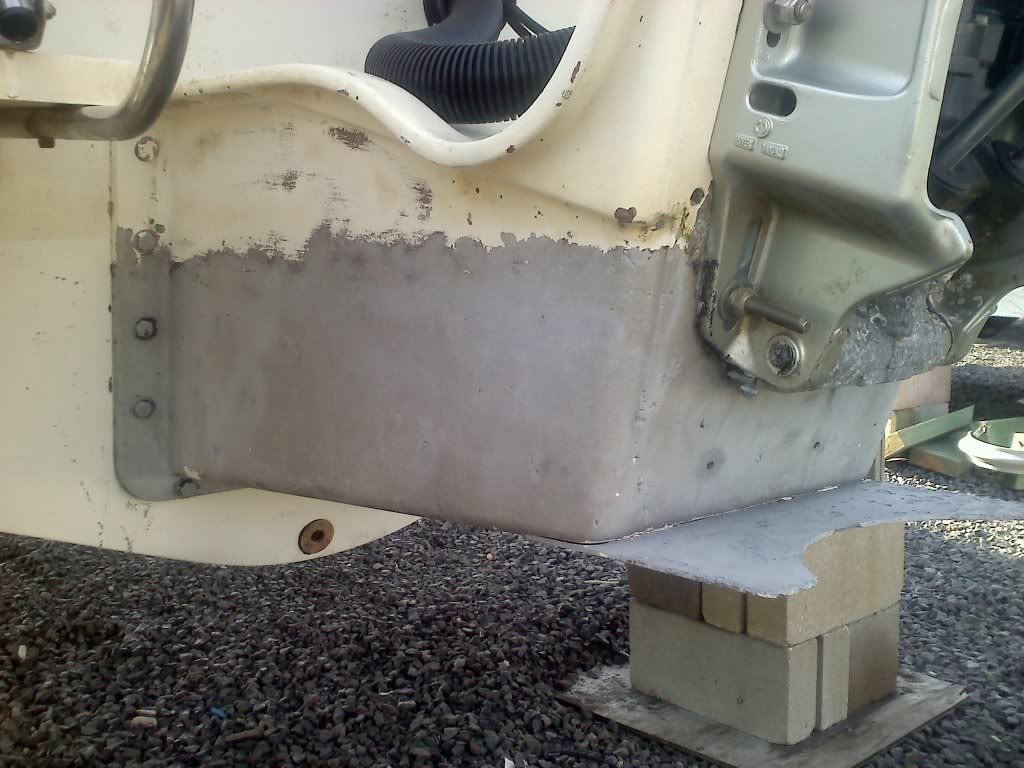
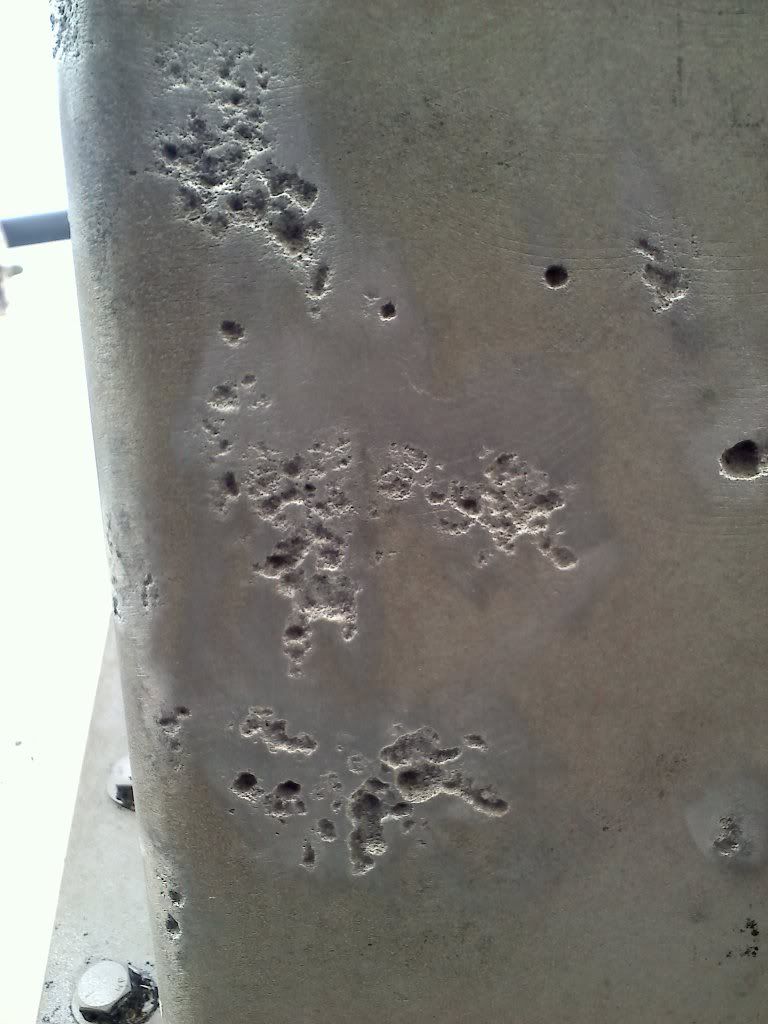
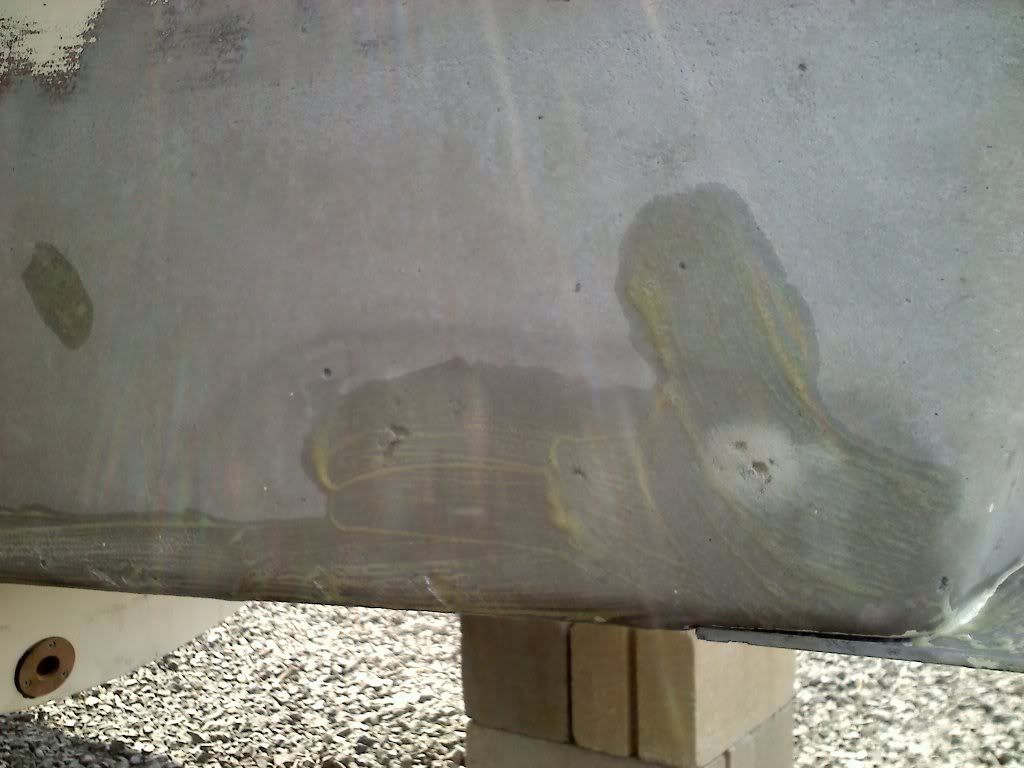
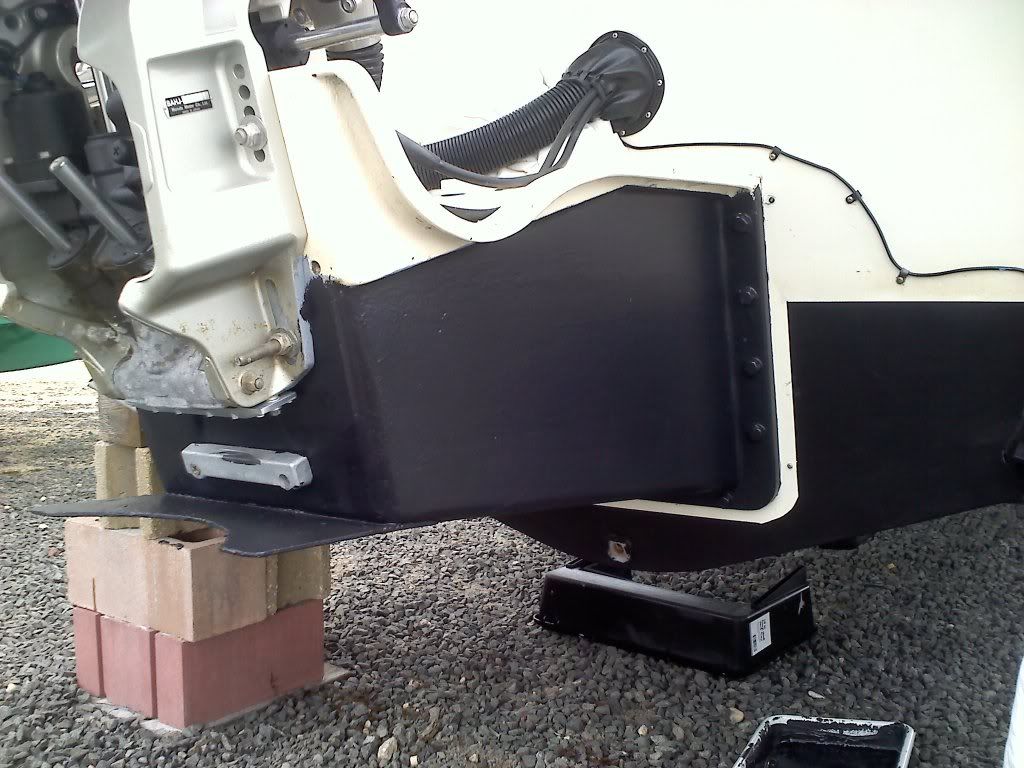
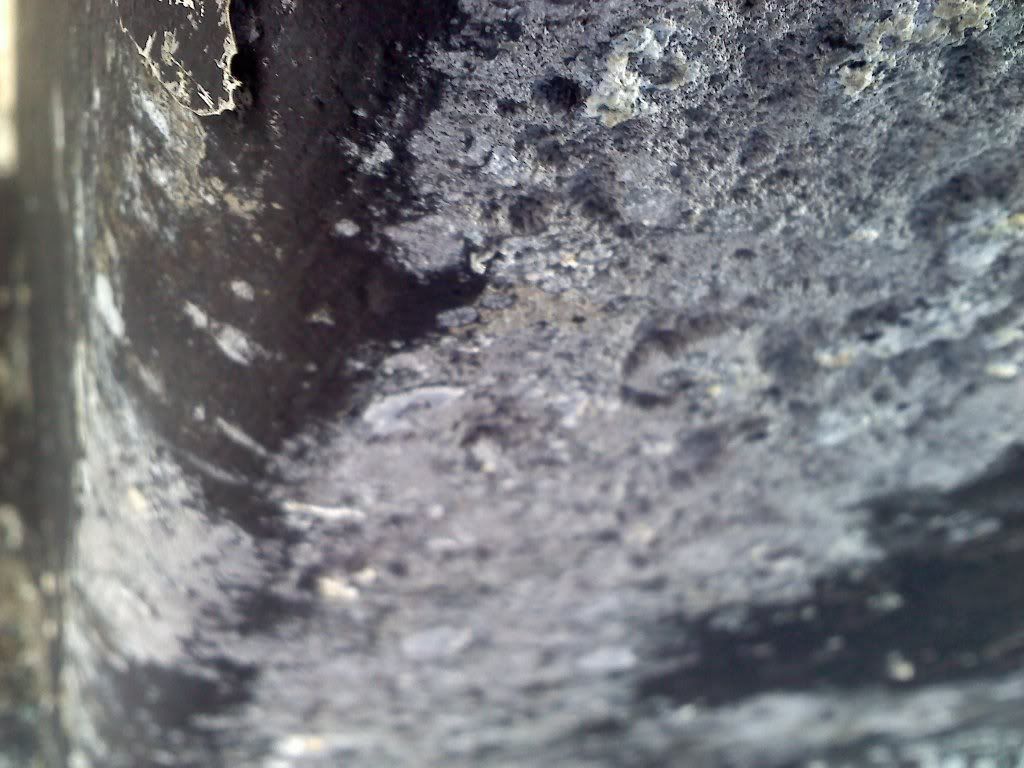
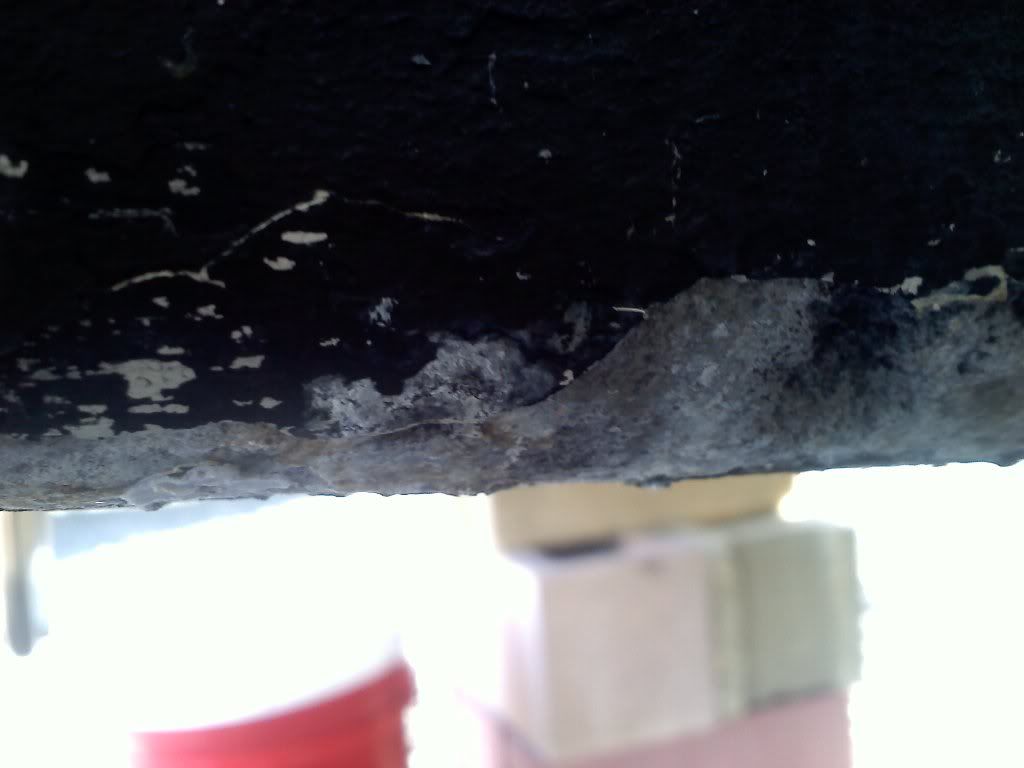
1) Motor bracket - The consensus among those more experience with boats have said there is a problem, but not a terrible one. The corrosion is limited to the bottom edges that run parallel to the hull. The old timers gave me a check list to perform this spring which included stripping the bottom paint from the aluminum bracket and applying a different kind. Additionally, I vaugly remember one suggestion to leave a 1" gap in the paint where the bracket bolts up to the hull(or I may be confused). Finally, install a zinc on the bracket to reduce additional electrolosis. If someone would be kind enough to list these steps in a more managable order I hope to begin this week. Also, I thought it may be a good idea to bondo the damage that has been done, but nobody else agrees, please help with that too.

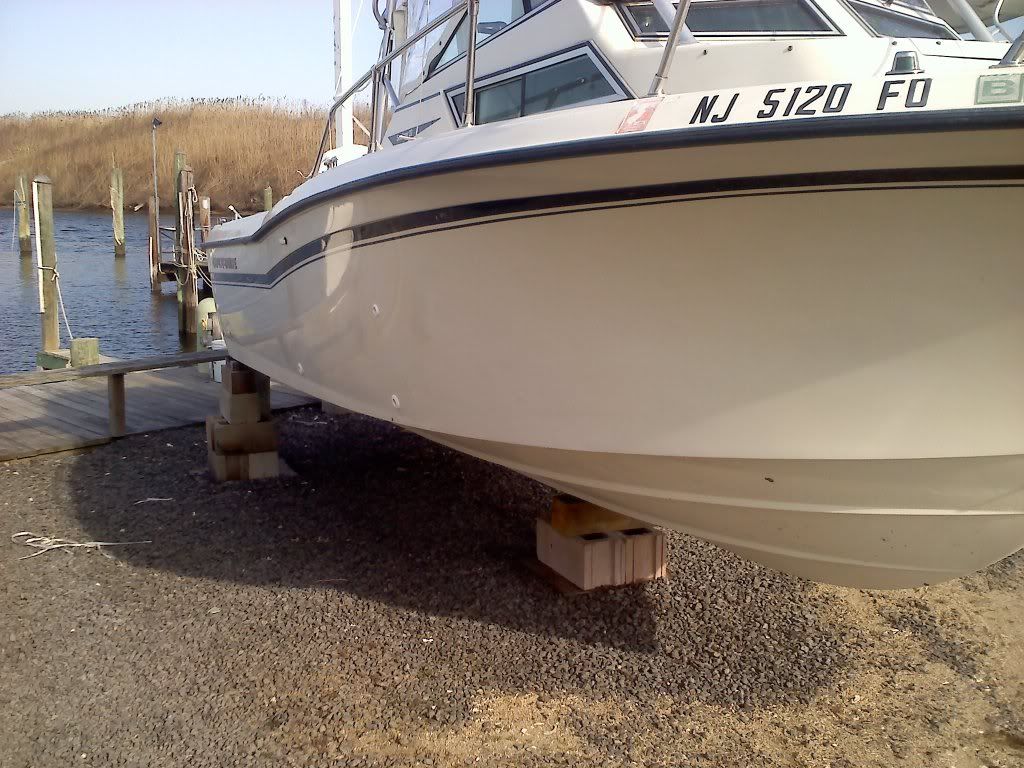
2) The time and $$ I spent on bottom paint was a waste. I think it is time to strip down and start fresh. Im unsure if I want to soda blast or call a farrow system guy. What first coat and paint should I use? Am I wasting more $$? I need a bit of guidance, please help.

Thanks, John

20110315091535.jpg


20110315091523.jpg


20110315091620.jpg


20110315091549.jpg


20110315091544.jpg


20110315091611.jpg
 

NJ-JOHN

Active Member
Joined
Aug 23, 2009
Messages
35
Reaction score
0
Points
0
Here is the bracket:
 

Attachments

  • mount.jpg
    mount.jpg
    234.2 KB · Views: 5,889

Grog

GreatGrady Captain
Joined
Sep 27, 2006
Messages
2,008
Reaction score
1
Points
38
It looks to be some serious corrosion on your bracket. If the paint is chipped on the bracket, the copper from the bottom paint will eat the aluminum thus the 1" space between the standard copper based bottom paint and anything aluminum (your bracket and your motor). If the marina or a nearby boat had faulty dockside power, the stray currents will eat the zincs first then work their way up to aluminum. My sailfish had a zinc mounted between the motors, I don't know where it is on your boat but if it wasn't there what was plugging the mounting holes? without seeing it in person, it's hard to say how bad it is but you may be shopping for a new bracket.
 

NJ-JOHN

Active Member
Joined
Aug 23, 2009
Messages
35
Reaction score
0
Points
0
Grog said:
It looks to be some serious corrosion on your bracket. If the paint is chipped on the bracket, the copper from the bottom paint will eat the aluminum thus the 1" space between the standard copper based bottom paint and anything aluminum (your bracket and your motor). If the marina or a nearby boat had faulty dockside power, the stray currents will eat the zincs first then work their way up to aluminum. My sailfish had a zinc mounted between the motors, I don't know where it is on your boat but if it wasn't there what was plugging the mounting holes? without seeing it in person, it's hard to say how bad it is but you may be shopping for a new bracket.

I've gotten a few opinions on the condition of the bracket and it seems to be fine. My greatest concern is what product I should use to touch up where the damage has occured. I will take a better set of photos once the paint is stripped and the aluminum can be seen without the poor condition of the paint complicating things.
 

uncljohn

Well-Known Member
Joined
Mar 24, 2006
Messages
419
Reaction score
0
Points
0
You need to get a grinder or heavy duty sander on that bracket and see how much of the corroded aluminum comes off. You've gotten opinions that says its fine, but that looks waaaay worse than my bracket (which was painted in copper-based paint).

Soda blasting is e great way to clean your hull & bracket. You'll end up w/ a sanded finish on the gelcoat, and will then need to barrier coat the hull, then you can apply bottom paint.

For the bracket, after you get all the corrosion off and fill any pocks/voids, then paint w/ metal primer and then a non-copper-based paint like Trilux.
 

gw204

Well-Known Member
Joined
Jan 31, 2005
Messages
2,481
Reaction score
22
Points
38
Location
St. Leonard, MD
Here's what I would do...

1. De-rig and remove the engine.
2. Remove the bracket from the boat.
3. Have the bracket sand or soda blasted. I'm not sure what effect sandblasting may have on the aluminum above the water line (I'm thinking of cosmetic impact - will it leave dimples or pits) so ask your blaster. The more aggressive sand will chip away at the corroded aluminum a bit better though and give you a cleaner surface to refinish though. If you choose to grind on it, use light pressure. A flap wheel will cut into the aluminum and leave grooves.
4. Etch the all corroded spots w/ Gray Marine Tex and allow to cure. Sand flush.
5. Re-etch all exposed aluminum above the waterline.
6. Prime above the waterline with an epoxy primer.
7. Paint above the waterline with an epoxy paint (like Awlgrip). Roll and tip if you want. I had the bracket on my old Sailfish sprayed. Allow paint to cure.
8. Tape off and etch the corroded areas below the waterline.
9. Immediately prime with several coats of Interprotect.
10. Re-install on boat.
11. Re-install engine.
12. Apply new bottom paint.

NOTE: I used traditional copper-based bottom paint on my old Grady drive and had zero issue with galvanic corrosion. The corrosion I had was right around the engine mounts and I believe appeared just as a result of the Gil-coat getting scratched and allowing contact w/ saltwater. So, I didn't take the entire bracket down to bare AL, basically just everything above the waterline, the engine mount surface and down about 2" below the waterline. Not saying that's right, but it's what I did.

Ready for paint
IMG_8090.jpg


Back from the painter
IMG00076.jpg


IMG00075.jpg


IMG00074.jpg


Ready for etching
IMG_8122.jpg


Primed w/ Interprotect
IMG00078.jpg


Motors back on
IMG00086.jpg
 

NJ-JOHN

Active Member
Joined
Aug 23, 2009
Messages
35
Reaction score
0
Points
0
Thanks Brian, I will do as you say with the exception of step 1&2. The soda blast guy is going to do the entire boat and there is zero damage above the water line. Im confident I can get this thing back where it should be. Unfortunatlly, the fallow system guy is booked for the next 2 weeks.
 

uncljohn

Well-Known Member
Joined
Mar 24, 2006
Messages
419
Reaction score
0
Points
0
I paid $700 for a 228 Seafarer to be soda blasted at the marina where my boat is on the hard. I think you can find places to do it for $400 if you take it to them. This is in MD.
 

richie rich

Well-Known Member
Joined
May 20, 2009
Messages
1,183
Reaction score
1
Points
0
Location
south windsor, CT
The steps for blasting, etching and priming with IP is the ticket, but you will still need to cover the Interprotect with a paint....use Trilux 33...made for aluminum below the waterline. The zinc should be already on the bracket as Grog mentioned...mine is the same, between the engines. Make sure the zinc sits on bare metal, not primer or paint or it won't work. Also, if you're not removing the bracket, pull each bracket bolt out one at a time and reseal the holes with epoxy and put fresh caulk on all your stainless bolts.....this will keep water from coming in and seperate the steel from the aluminum a bit.
 

NJ-JOHN

Active Member
Joined
Aug 23, 2009
Messages
35
Reaction score
0
Points
0
Ok, so the soda blast guys are jammed up, Im looking at a long labor intensive repair that MAY work out. So I have to consider a new bracket, can someone please provide a link or something for one? Thanks, John
 

gw204

Well-Known Member
Joined
Jan 31, 2005
Messages
2,481
Reaction score
22
Points
38
Location
St. Leonard, MD
You have tons of choices...

www.stainlessmarine.com
www.armstrongnautical.com
www.hermco.net (fiberglass and about the best you'll find)
www.dadmarine.com
www.dusky.com

Hermco, D&D and Dusky brackets bought direct from the manufacturer. The others are purchased through vendors. There's also a guy on www.thehulltruth.com that makes his own fiberglass brackets. He goes by the screen name "Bly" and I think he's in Jersey somewhere.

You can also find used ones on craigslist and/or various forums pretty regularly. I picked up a used full platform bracket several weeks ago from a guy off of THT.
 

Grog

GreatGrady Captain
Joined
Sep 27, 2006
Messages
2,008
Reaction score
1
Points
38
When I changed my bracket I went with Hermco. No zinc to worry about, no drain plug issues, if the finish gets chipped it's not a pain to fix, you can use any botton paint you want, and it added floatation. The bad part is they aren't cheap.
 

rml2112

Active Member
Joined
Jun 13, 2009
Messages
39
Reaction score
0
Points
0
Location
Savannah GA
I Did my Drive Bracket last year on my 228, I Got all the Gil-coat of with a DA sander had to grind out a Few deep areas of Corrosion, I Blended then out etched primed and Applied Topcoat
Didn't come out to bad. Took a couple of weekends of Work.

Bob
 

gw204

Well-Known Member
Joined
Jan 31, 2005
Messages
2,481
Reaction score
22
Points
38
Location
St. Leonard, MD
NJ-JOHN,

If you're intersted I have decided to sell my platform bracket and go w/ a non-platform bracket instead. It's a 30" setback Stainless Marine. Platform width is 76" if I remember correctly.

IMG_8553.jpg


IMG_8551.jpg


There is a small amount of corrosion on the face that sits up against the transom, but it's nothing serious. It could be mounted as is, or you could fill it w/ gray Marine Tex (that was my plan) and spot prime the areas. There is also a 1/4" bow in the face of the platform where it meets the transom. I don't know if this is by design or what, but people I have spoken with say it's not a big deal. The paint is in descent shape. Comes w/a bolt-on kicker bracket and there are swim ladder mounts welded to the bottom of the platform.

The only reason I'm selling is because buying a new non-platform bracket will same me time/money in the long run.

I need $800 to let it go. That's what I currently have invested in it ($675 + gas to run to NC and back to pick it up). Let me know if you're interested.
 

NJ-JOHN

Active Member
Joined
Aug 23, 2009
Messages
35
Reaction score
0
Points
0
Step 1:

Soda blast the entire boat. Lead time for Atlantic Geen Pro in NJ, 2-3weeks, cost $940. I will add that although it was more expensive than sand, the results are superior to the 2 other Gradys in the yard that just got sand blasted.

20110406090706.jpg


20110406085247.jpg


20110406085258.jpg
 

NJ-JOHN

Active Member
Joined
Aug 23, 2009
Messages
35
Reaction score
0
Points
0
Step 2: Grind down the last bit of corrosion and treat with 2 part aluminum wash.

20110407115622.jpg


20110407122147.jpg
 

NJ-JOHN

Active Member
Joined
Aug 23, 2009
Messages
35
Reaction score
0
Points
0
Step 3: Fill voids with Marine Tex Grey and grind down. Sorry, no pics.

Step 4: Sand and finish Marine tex.

Step 5: Another 2 part Aluminum wash, just to be safe as a few days passed since the last wash.

Step 6: Paint bracket with Interlux 2000E (3 coats), as well as the hull, leaving a 1" gap between bracket and hull.

Step 7: Paint bracket with interlux 33, 2 coats.

Step 8: Tap and install new zinc, after grinding area to bare metal.

20110412152242.jpg
 

NJ-JOHN

Active Member
Joined
Aug 23, 2009
Messages
35
Reaction score
0
Points
0
As this project come to a close I would like to thank all those who contributed there advice and helped the new guy out. The old timers in the marina gave it a good going over at each step and all gave a nod of approval. They must have known someone, somewhere was helping me. Thanks again.