- Joined
- Dec 17, 2018
- Messages
- 25
- Reaction score
- 11
- Points
- 3
- Age
- 39
- Model
- Gulfstream


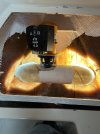
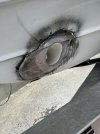
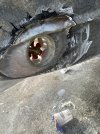
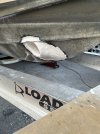
Glass cloth add strength. Fill and wrap glass outside and around the inside the tube 1/2". Finsh sand and gel coat.Absolutely. This was just a progress pic update. I get a few hours here and there to work on it and take pics.
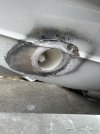
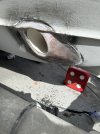
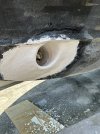
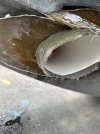
The inside of the tube is what I was referring to. Not sure if I want to add more layers of glass in there or not.
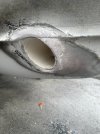
The tube is a Vetus fiberglass tube. Look at the photo further up in the post of the unfinished tube to see thickness.It appears the tube is fiberglass, not plastic. Is that correct? If so, I think you're good. Grab the motor by hand and shake it - does it feel solid? If not, add some more glass around the inside. But I think you'll be just fine if it's a glass tube.
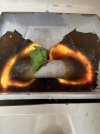
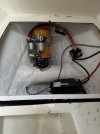
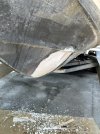
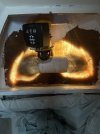
So...how did it all work out Doc?Almost ready for launch!
Amazing! It’s so awesome. SO glad I did this!So...how did it all work out Doc?