Decided to start a new thread to document my Formula project. Here's how it all began: viewtopic.php?t=14217
Now for the good stuff... :lol:
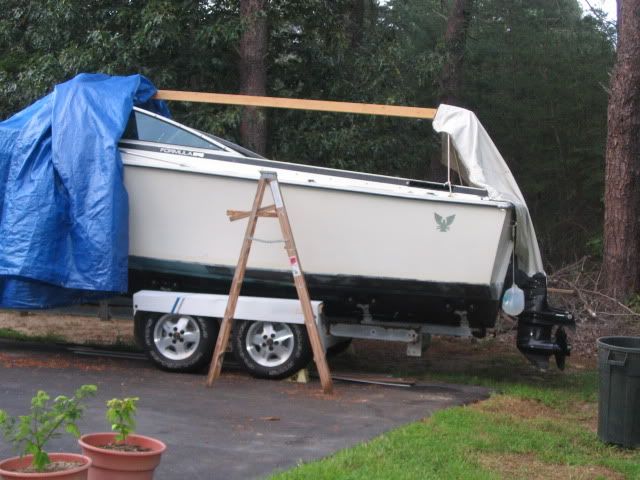
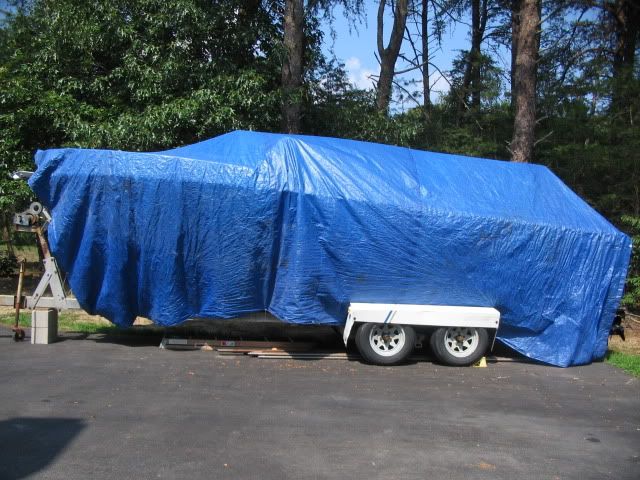
Before I could really do much with the gas tank hatch or fuel lines, I decided I had better tarp the darn thing to keep it from getting any more wet than it already is. So, I put up a crude frame using some 2x4s left over from my Sailfish frame and got it covered up.
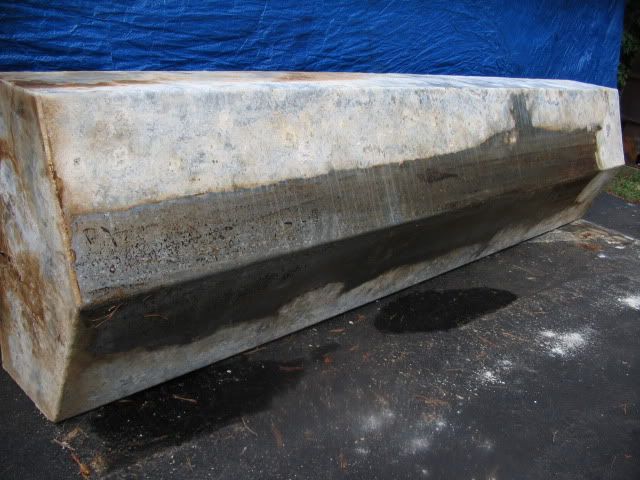
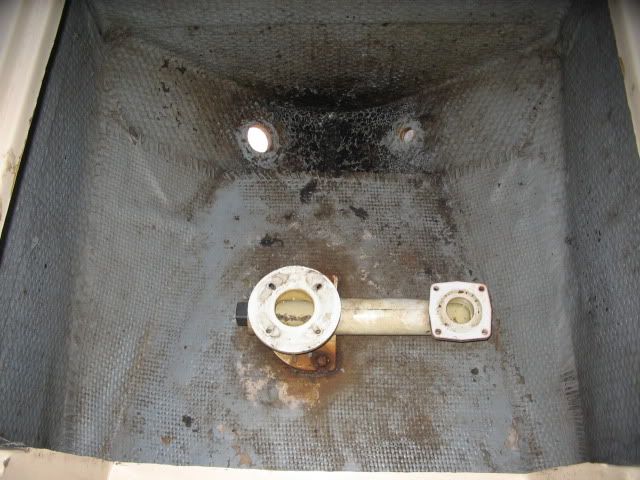
Then I got sidetracked and ended up pulling out the pottie. It may get reused in the future, but for now I'm going to put some new bronze thru hulls in the intake/discharge holes and cap them w/ bronze seacocks.
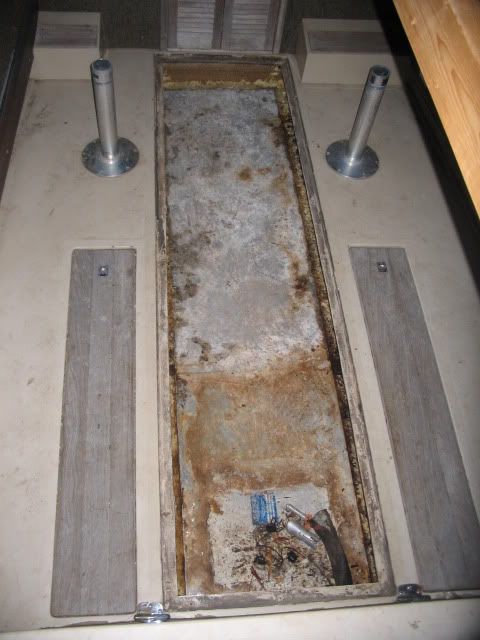
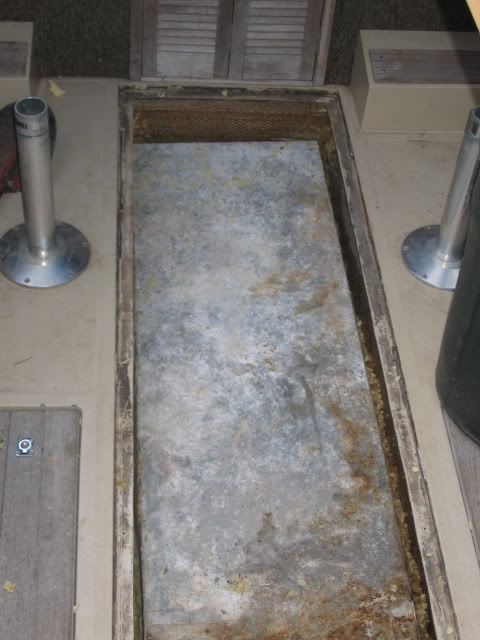
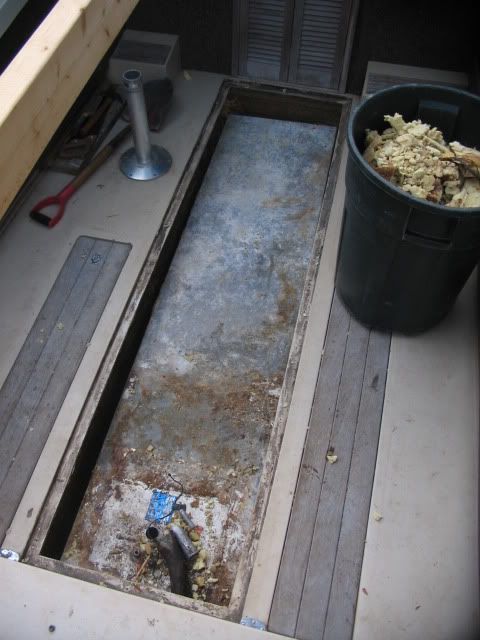
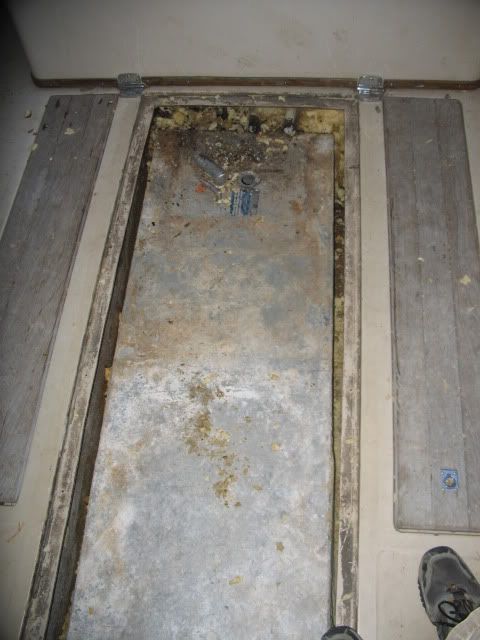
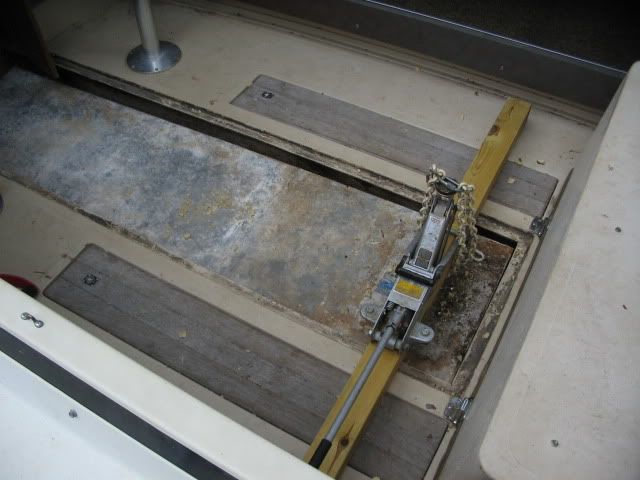
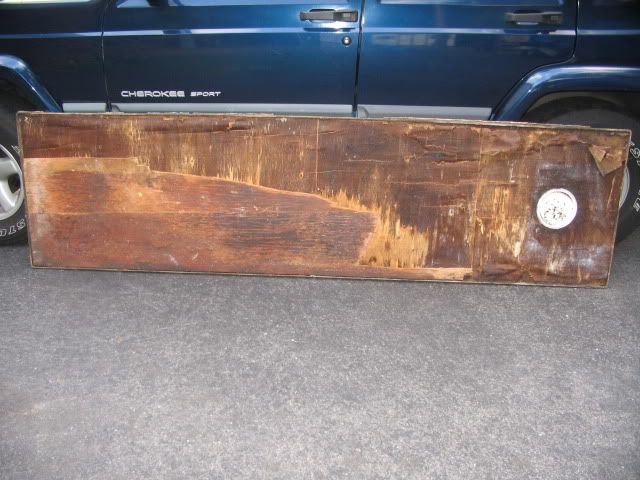
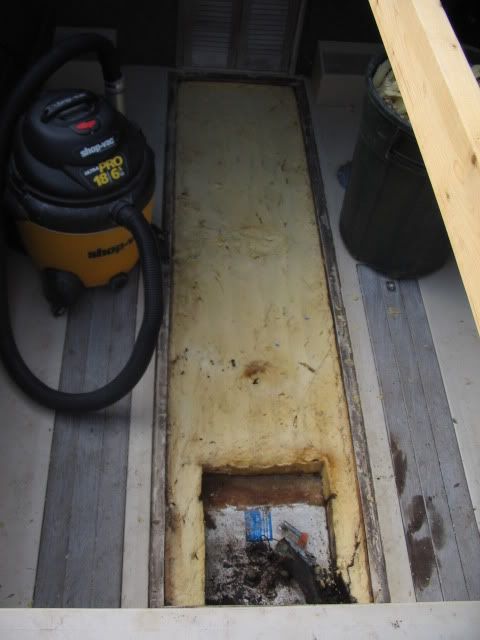
Then I proceeded to pull up the gas tank hatch. I already knew the core of it was rotten and the tank was covered with so much foam that the hatch wasn't flexing because the foam was supporting it. No glass over the 1/2" core of the hatch. It was doomed righ from the start.

Yuck... :cry:
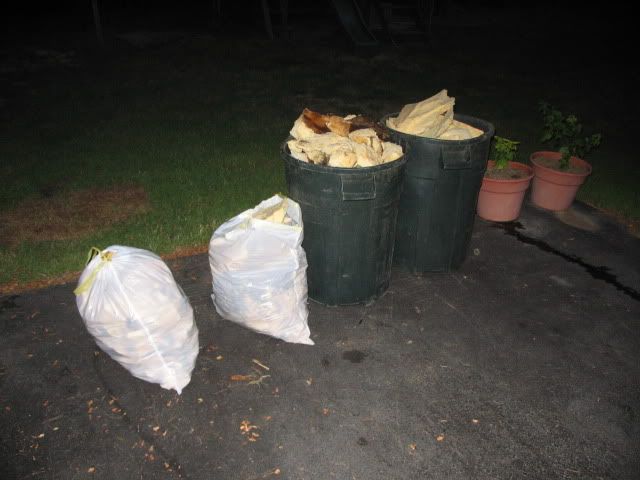
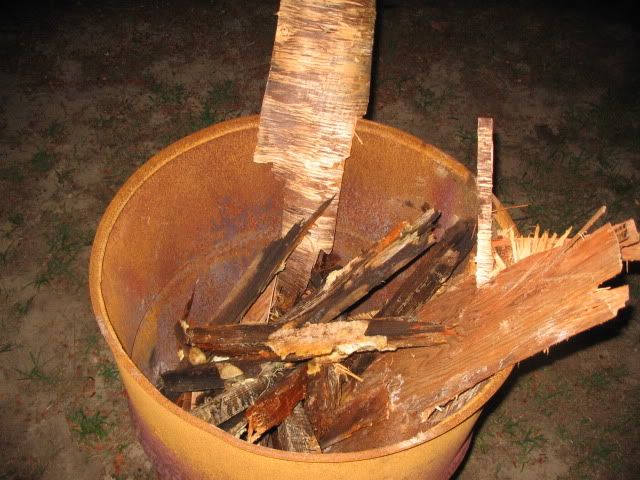
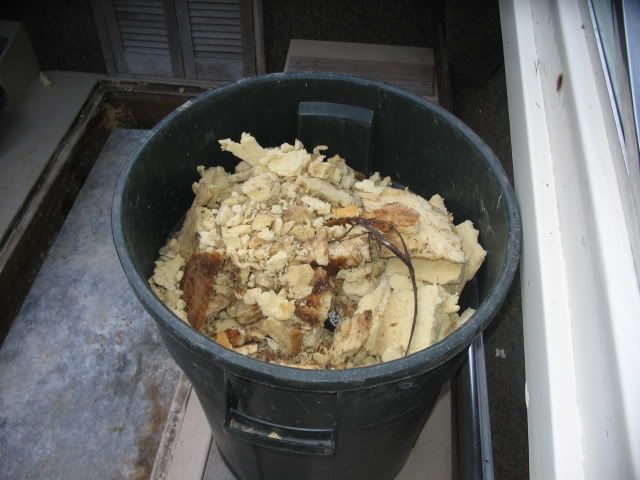
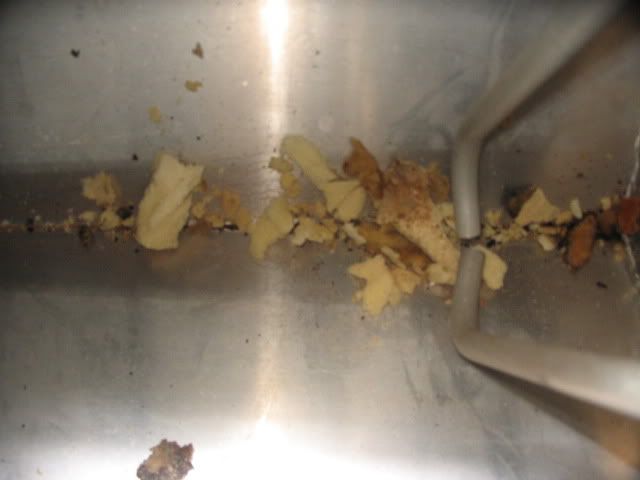
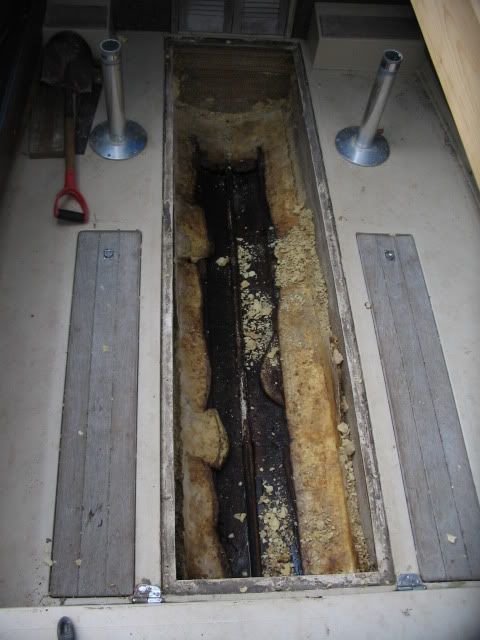
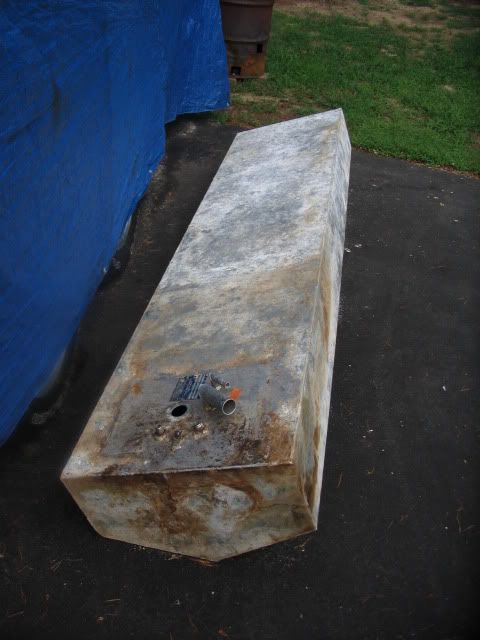
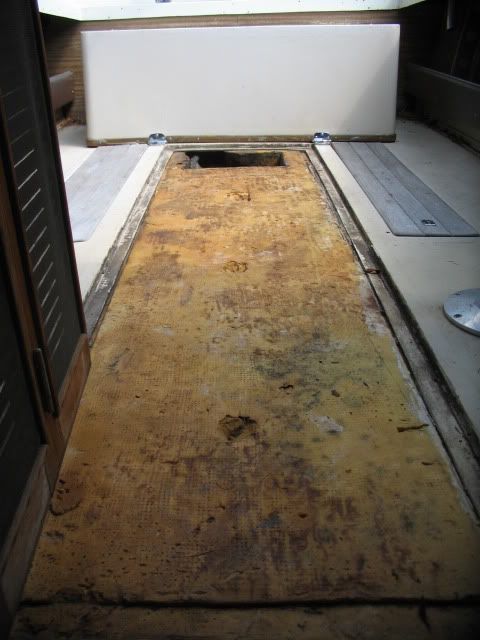
The new hatch core will be at least 1/2" ply with two layers of 1708 or 1808 over it. So, I need some clearance for the extra thickness. A shovel made pretty quick work of the top inch or 2" of foam. Some dry, some not so dry. I filled an entire garbage can. I thought about pulling it all out and exposing the top of the tank, but I'm kind of afraid of what I might find... I will not be replacing the tank yet. That will come with the repower in a year or two...if it holds out that long. What do you guys think? Leave the foam on top of the tank, or dig it out?
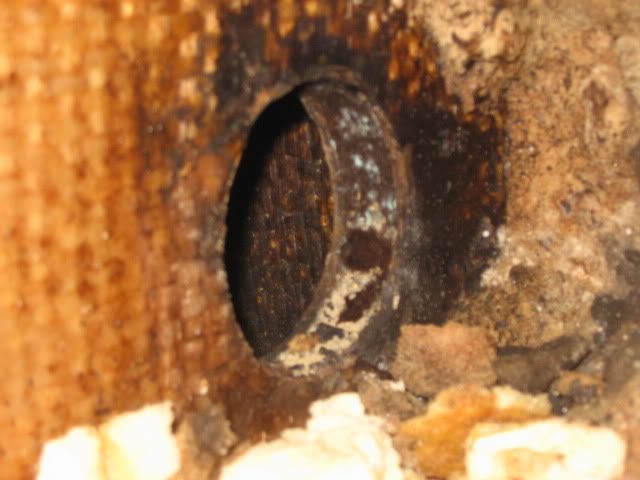
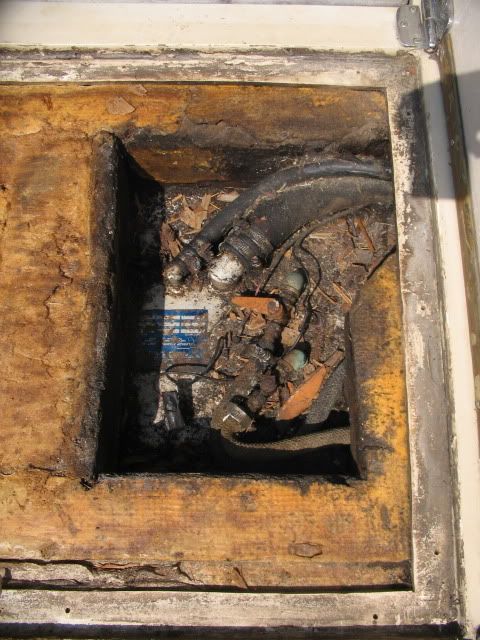
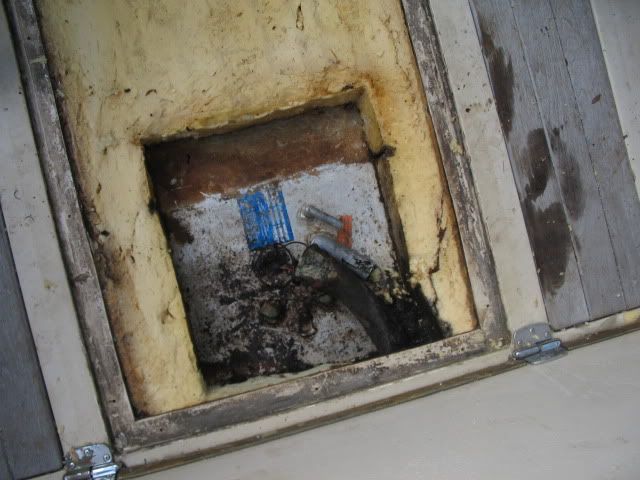
Anyway, next on the agenda was fuel lines. I pulled all but the main fill line out. It makes a hard bend as it enters the tank compartment from the engine compartment and I was afraid if I pulled it all the way out w/out having the new hose attached, I would have a super difficult time of getting the new one in. So, it stayed for now. The rest of the vent and supply lines came out though. I also took off the shutoff valves and gas fill port. The handles have rusted off the vales so they are worthless and need to be replaced. No sealant under the cas fill port. All of the fittings on the tank came off very easily.
I got the flame arrestors on the engines cleaned up real good and sent my wife out for some fresh gas. I blew out the fuel pumps and lines on the motors and reconnected the batteries. I had also attempted to put the NPT drain plugs back in the exhaust manifolds, but no dice. The threads were pretty rusted up so I need to clean them out. Hopefully I can find a NPT thread chaser somewhere. Decided to try and start 'em up anyway. The port was very tempermental, and although it would start, it wouldn't stay running. Looks like carb rebuild is in order there. Same thing on the stbd. :cry: I fired them up again yesterday AM, and this time the stbd. stayed running, but not the port. Oil pressure seemed OK on both, but hard to tell when you have to work the throttle all the time to keep it breathing... Now that I know they'll run, I guess I can throw some $$$ at them.
Plugs appear to be pretty new, so I'm going to clean and reuse them. But, I'll probably go ahead and do caps, rotors, wires, t-states, belts, hoses, etc. and see how she reacts to that stuff. Carbs should be pretty easy to do, but the Seloc manual that came with the boat is crap.
Parts order went it to Boatfix a few days ago. It contained the bronze thru-hulls and seacocks, new anti-siphon and shutoff valves and some other misc. stuff. Hopefully it all comes in today.
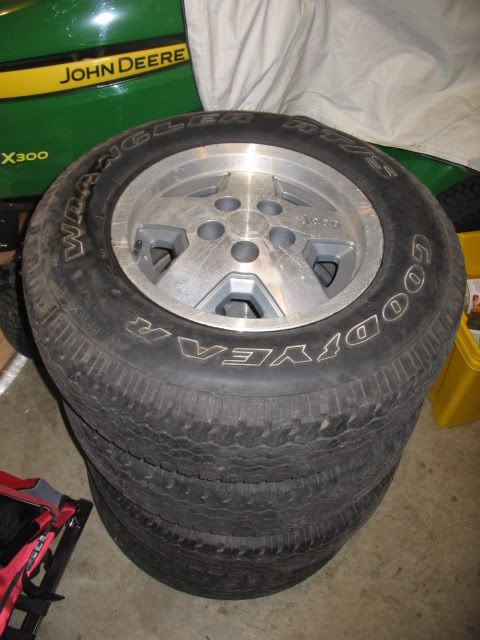
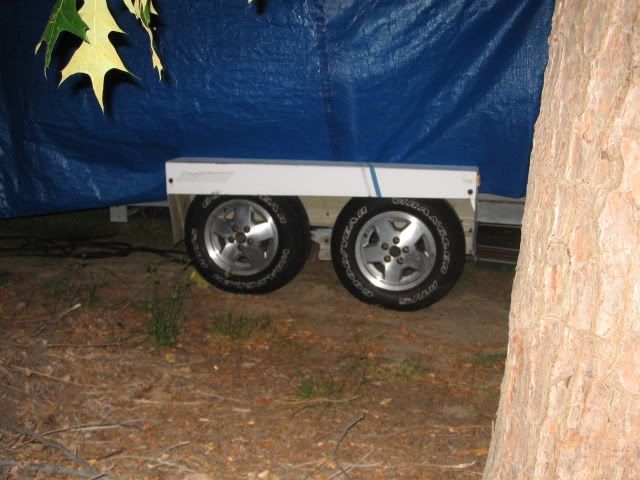
I have also since discovered that my trailer is way undersized. 5600 lbs. GVWR, 4100 lbs. capacity. Formula lists the dry weight of the boat at 5900 lb.s :cry: So, a different trailer is eventually in order. But due to budget constraints, this one will have to work for now. I was going to put new ST215/75R14 tires on it (the ones on there now are the original 195/75B14s...and very dry rotted), but if I'm going to sell it in a year or so, why bother? So, I'm looking around for some large used 14" tires, or 15" rims and tires to make due with for now. I'm only going to be doing short hauls anyway and this one has lasted 34 years...
Now for the good stuff... :lol:
Before I could really do much with the gas tank hatch or fuel lines, I decided I had better tarp the darn thing to keep it from getting any more wet than it already is. So, I put up a crude frame using some 2x4s left over from my Sailfish frame and got it covered up.
Then I got sidetracked and ended up pulling out the pottie. It may get reused in the future, but for now I'm going to put some new bronze thru hulls in the intake/discharge holes and cap them w/ bronze seacocks.
Then I proceeded to pull up the gas tank hatch. I already knew the core of it was rotten and the tank was covered with so much foam that the hatch wasn't flexing because the foam was supporting it. No glass over the 1/2" core of the hatch. It was doomed righ from the start.
Yuck... :cry:
The new hatch core will be at least 1/2" ply with two layers of 1708 or 1808 over it. So, I need some clearance for the extra thickness. A shovel made pretty quick work of the top inch or 2" of foam. Some dry, some not so dry. I filled an entire garbage can. I thought about pulling it all out and exposing the top of the tank, but I'm kind of afraid of what I might find... I will not be replacing the tank yet. That will come with the repower in a year or two...if it holds out that long. What do you guys think? Leave the foam on top of the tank, or dig it out?
Anyway, next on the agenda was fuel lines. I pulled all but the main fill line out. It makes a hard bend as it enters the tank compartment from the engine compartment and I was afraid if I pulled it all the way out w/out having the new hose attached, I would have a super difficult time of getting the new one in. So, it stayed for now. The rest of the vent and supply lines came out though. I also took off the shutoff valves and gas fill port. The handles have rusted off the vales so they are worthless and need to be replaced. No sealant under the cas fill port. All of the fittings on the tank came off very easily.
I got the flame arrestors on the engines cleaned up real good and sent my wife out for some fresh gas. I blew out the fuel pumps and lines on the motors and reconnected the batteries. I had also attempted to put the NPT drain plugs back in the exhaust manifolds, but no dice. The threads were pretty rusted up so I need to clean them out. Hopefully I can find a NPT thread chaser somewhere. Decided to try and start 'em up anyway. The port was very tempermental, and although it would start, it wouldn't stay running. Looks like carb rebuild is in order there. Same thing on the stbd. :cry: I fired them up again yesterday AM, and this time the stbd. stayed running, but not the port. Oil pressure seemed OK on both, but hard to tell when you have to work the throttle all the time to keep it breathing... Now that I know they'll run, I guess I can throw some $$$ at them.
Plugs appear to be pretty new, so I'm going to clean and reuse them. But, I'll probably go ahead and do caps, rotors, wires, t-states, belts, hoses, etc. and see how she reacts to that stuff. Carbs should be pretty easy to do, but the Seloc manual that came with the boat is crap.
Parts order went it to Boatfix a few days ago. It contained the bronze thru-hulls and seacocks, new anti-siphon and shutoff valves and some other misc. stuff. Hopefully it all comes in today.
I have also since discovered that my trailer is way undersized. 5600 lbs. GVWR, 4100 lbs. capacity. Formula lists the dry weight of the boat at 5900 lb.s :cry: So, a different trailer is eventually in order. But due to budget constraints, this one will have to work for now. I was going to put new ST215/75R14 tires on it (the ones on there now are the original 195/75B14s...and very dry rotted), but if I'm going to sell it in a year or so, why bother? So, I'm looking around for some large used 14" tires, or 15" rims and tires to make due with for now. I'm only going to be doing short hauls anyway and this one has lasted 34 years...