flush dash panel for 2004 282 Sailfish. Anyone done this?

Bob Coco

GreatGrady Captain
Joined
Sep 11, 2009
Messages
102
Reaction score
0
Points
0
Location
Sag Harbor, NY
I recently bought a 2004 Sailfish which has the 2 piece smoked plexiglass doors at the dash. I just bought a second Raymarine C-80 and it's tight in there with 2 units. Also the floor level from left to right is different in height.
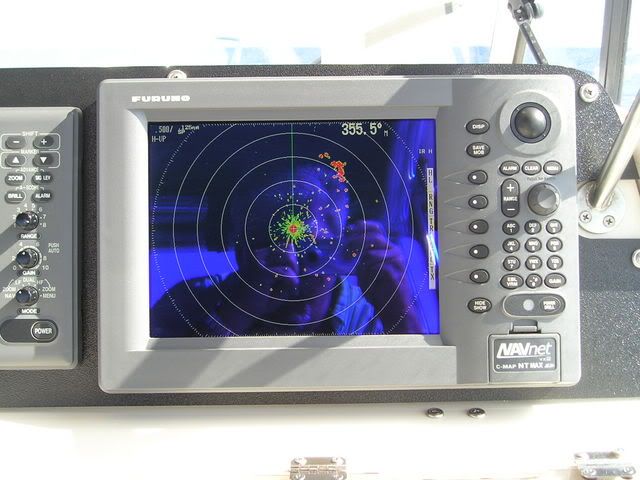
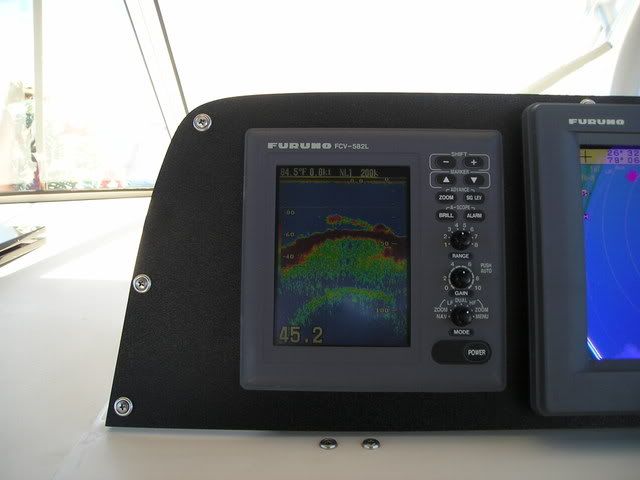
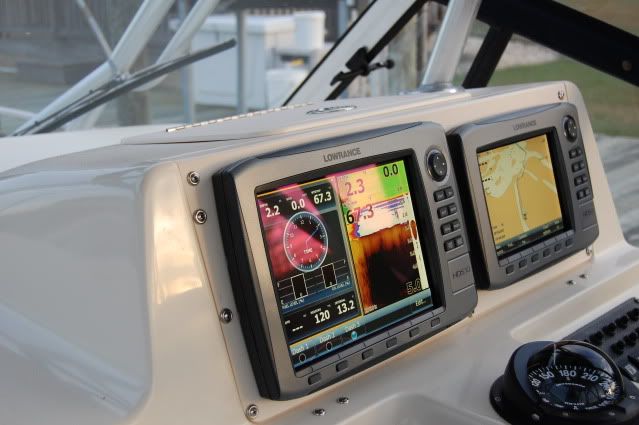
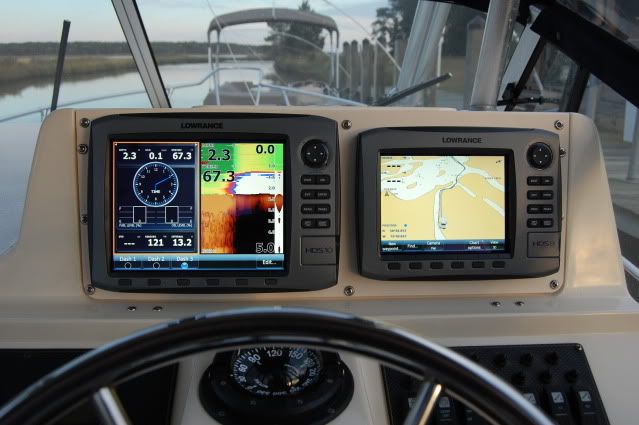
Has anyone on here done this modification. I think it's a fairly straight forward job if I can find the white material in a sheet. I would like to see a photo of someones 2004 and down 282 Sailfish. I think 2005 was the newer flush dash design?

Thanks, Bob
 

Capt Bill

GreatGrady Captain
Joined
Mar 23, 2005
Messages
805
Reaction score
45
Points
28
Location
First State
Model
Sailfish
There a few owners here who have done this; you can probably find some threads using the search function. I'll start you off with a link to a thread, with pics, of my previous electronics flush-mount. I have sice sold that equipment, and have made a new panel for the new displays. I'll try to get a picture posted up tomorrow.

http://www.greatgrady.com/forum/viewtop ... highlight=
 

Bob Coco

GreatGrady Captain
Joined
Sep 11, 2009
Messages
102
Reaction score
0
Points
0
Location
Sag Harbor, NY
That looks exactly how I imagined.

Thank You Capt. Bill That's exactly how I thought it would look. Where do you get that white material and what is it called? I guess I can use the doors as a template. It makes the screens so much more visable.

Thanks again, Bob
 

Bob Coco

GreatGrady Captain
Joined
Sep 11, 2009
Messages
102
Reaction score
0
Points
0
Location
Sag Harbor, NY
Thanks Bill

Thank you for the links and specs. I will research this and order the star board and an access hatch as well. Finish carpentry is my profession so I will be sure to make it look as if it were built that way. I will start this project in November once the boat is on the trailer for the winter. I am also installing a thru hull transducer instead of the glued in unit which is presently installed and I'm looking into FLIR as well. I will need to add an additional display for this as well. The C machines don't have a video input. I am thinking of hanging that diplay below the overhead boxes for convienence of use. I have to start looking for an inexpensive waterproof display just for the FLIR.

Thanks again for your photos and links. When I'm through with my project I will be sure to post it as well.

Bob
 

Gary M

Well-Known Member
Joined
Jun 2, 2006
Messages
475
Reaction score
10
Points
18
Location
Ft. Lauderdale
On my 2001 Marlin, we had the spilt doors and a quickly made flush job was done at the dealer for the original electronics. When I upgraded to a 10" NavNet with the 7" Furuno FF next to it, we needed even more room. We decided to use the entire face of the that entire comparment to work with.

My Marine electrician is not a big fan of using Starboard for flush mounts. Can't recall exactly why but I think that it had to do with Starboard not holding up well for years in the sunlight, heat and holding up the weight of the units. We used a hard, black plastic with a rough face/finish to it. In order to "work around" the side windshield metal brace tube, we cut a U shaped area out and just went around the mount's base that screws into the compartment face. If we tried to screw the brace's flat face onto the new black plastic, it changed the angle of the brace and it wouldn't work......

We ended up needing a tad more space than the factory opening but with the new face plate covering the entire front of the compartment, we were able to cut out enough to make it all fit.

Here are some photos that show a bit of how it came out.......

Abaco2007017.jpg


OBB-Abaco2009010.jpg


Bahamas027.jpg


Bimini2009056.jpg
 

Capt Bill

GreatGrady Captain
Joined
Mar 23, 2005
Messages
805
Reaction score
45
Points
28
Location
First State
Model
Sailfish
Finally got a photo of the new HDS-10 & 8 installation:

DSC_0473.jpg


DSC_0472.jpg


It would have been nice to have 2 HDS-10's, but I didn't have room for them unless I made the irreversable decision to cut into the face of the electronics box, and overlay the entire width with a flush-mount board. The way I did it, the original black plexi doors could always be re-installed; not that anyone would ever want to, but this arrangement worked out well.
 

jekyl

GreatGrady Captain
Joined
Sep 15, 2007
Messages
542
Reaction score
0
Points
0
Age
70
Location
Townsville Australia
Looks great Bill. I particularly like the fact that you have retained access to the area behind.I find the lower box a great place to throw tide charts and maps for immediate use.
 

GW VOYAGER

GreatGrady Captain
Joined
Aug 5, 2009
Messages
300
Reaction score
11
Points
18
Location
Bainbridge Ga.
Bob another option instead of starboard would be visit a local trophy shop
that makes plastic signage. They should have a great color selection and you can get it up to 1/2 inch thick and they should be able to laser anything you would like on it. My son ownes an engraving shop and we did this install.
It looks better than this pic because I snapped it before I cleaned the surrounding area I also used pure white and as you can see grady white is an off white.
The plastic is made to withstand uv sunlight so it holds up for years.

DSCF0476.JPG
 

Offshore24NJ

Active Member
Joined
Sep 15, 2009
Messages
37
Reaction score
0
Points
6
Location
NJ
Gary M said:
On my 2001 Marlin, we had the spilt doors and a quickly made flush job was done at the dealer for the original electronics. When I upgraded to a 10" NavNet with the 7" Furuno FF next to it, we needed even more room. We decided to use the entire face of the that entire comparment to work with.

My Marine electrician is not a big fan of using Starboard for flush mounts. Can't recall exactly why but I think that it had to do with Starboard not holding up well for years in the sunlight, heat and holding up the weight of the units. We used a hard, black plastic with a rough face/finish to it. In order to "work around" the side windshield metal brace tube, we cut a U shaped area out and just went around the mount's base that screws into the compartment face. If we tried to screw the brace's flat face onto the new black plastic, it changed the angle of the brace and it wouldn't work......

We ended up needing a tad more space than the factory opening but with the new face plate covering the entire front of the compartment, we were able to cut out enough to make it all fit.

Here are some photos that show a bit of how it came out.......

Abaco2007017.jpg


OBB-Abaco2009010.jpg


Bahamas027.jpg


Bimini2009056.jpg

That looks great I was wondering where you got the materials for this
 

Gary M

Well-Known Member
Joined
Jun 2, 2006
Messages
475
Reaction score
10
Points
18
Location
Ft. Lauderdale
Offshore24NJ said:
That looks great I was wondering where you got the materials for this

I bought it and had it cut at a local plastics shop here in Lauderdale called Prospect Plastics...... They also made my custom bait board that fits on my aft bench seat as well as under the factory cushion since it's only 1/4" thick.....

Maybe try your yellow pages under "Plastic" and see what you can find....
 

GW VOYAGER

GreatGrady Captain
Joined
Aug 5, 2009
Messages
300
Reaction score
11
Points
18
Location
Bainbridge Ga.
Your local trophy shop should have the UV plastic that you woold need. Most can custom laser cut it for you.
 

Bob Coco

GreatGrady Captain
Joined
Sep 11, 2009
Messages
102
Reaction score
0
Points
0
Location
Sag Harbor, NY
I ordered the starboard already.

I will post pictures once I do the job. I'm going along Capt Bills route.
 

bc282

Well-Known Member
Joined
Aug 12, 2008
Messages
290
Reaction score
5
Points
18
Location
canada
I think you're on the right track.
I too decided to upgrade electronics and decided to flush mount and do away with the bi-fold doors. You'll find your visibility increases as you'll no longer have to look over the top of bi-fold door when it's opened.

As other members have mentioned and linked to their DYI theads on similar modifications, here's my link to what i did:

http://www.greatgrady.com/forum/viewtopic.php?t=11377

I think mine is a bit extreme since i went with the 12" NN3D display which is much larger that the console face itself and so had to do some added fabbing, but the results have been good for me and worth it. I doubt you'll have to do as much if you stay with the smaller displays.

I do recommend as most have in these modifications to add a hatch in the top of the console. It'll give you the storage you had with the bi-fold doors and allow for easier install of electronics and access if you need to later trouble shoot.
 

Bob Coco

GreatGrady Captain
Joined
Sep 11, 2009
Messages
102
Reaction score
0
Points
0
Location
Sag Harbor, NY
Finally completed the Flush mount Dash conversion.

I wish I knew how to post pictures.The job came out with a factory look. I mounted 2- 8" Raymarine C-80's. I also installed an 11"x 17" hatch above. I will try to figure out to post the pictures. 8)
 

Capt Bill

GreatGrady Captain
Joined
Mar 23, 2005
Messages
805
Reaction score
45
Points
28
Location
First State
Model
Sailfish
Bob, upload the photos to a image hosting site, like photobucket.com or imagecave.com. Once they are stored there, copy the image link that is below the photo you want to post, and paste the image link into the message box. Click Preview to check that it worked, then click Submit to post. You can put many photos in the same postn by pasting the image links for each photo, one under the other.

Now hurry up go.
 

Bob Coco

GreatGrady Captain
Joined
Sep 11, 2009
Messages
102
Reaction score
0
Points
0
Location
Sag Harbor, NY
I started by cutting the access in the top first. Then I removed the doors. This kept the dust to a minimum. No turning back now. I layed doors and top piece of trim on top of my starboard and traced them to the starboard. I cut it to size then routed the edge all the way around to allow a place for caulk. Then I templated the 2 units to the face and held the starboard in place to check fit and location. I adjusted it up slightly so I could remove the covers from the units. Then I retraced my templates and started cutting the openings. I used a fostner bit to drill the corners. It's slower but no chance of chipping or cracking the starboard. I also reused the top hinge bolts to attach the top of the starboard. At the bottom I made two clamps similar to a sink clamp just to pull the starboard tight to the dash. The silicone once cured will help in securing the bottom as well. Then I installed the 2 units into the starboard. It looks like it was made that way. The access door was purshased locally but I later found it at Overtons for alot less money. Oh well, The color of the starboard and hatch is Seafoam. I used 1/4" starboard and GE II Almond silicone. The color match is great. Next project is a satellite radio mounted where the current radio remote is.

Bob


http://h1.ripway.com/bobcoco/010.JPG
http://h1.ripway.com/bobcoco/025.JPG
http://h1.ripway.com/bobcoco/020.JPG

http://h1.ripway.com/bobcoco/013.JPG
http://h1.ripway.com/bobcoco/011.JPG
http://h1.ripway.com/bobcoco/012.JPG
http://h1.ripway.com/bobcoco/014.JPG
http://h1.ripway.com/bobcoco/017.JPG
http://h1.ripway.com/bobcoco/019.JPG
http://h1.ripway.com/bobcoco/022.JPG

022.JPG