BobP
GreatGrady Captain
- Joined
- Apr 27, 2005
- Messages
- 4,744
- Reaction score
- 6
- Points
- 38
- Location
- Long Island, NY
- Model
- Sailfish
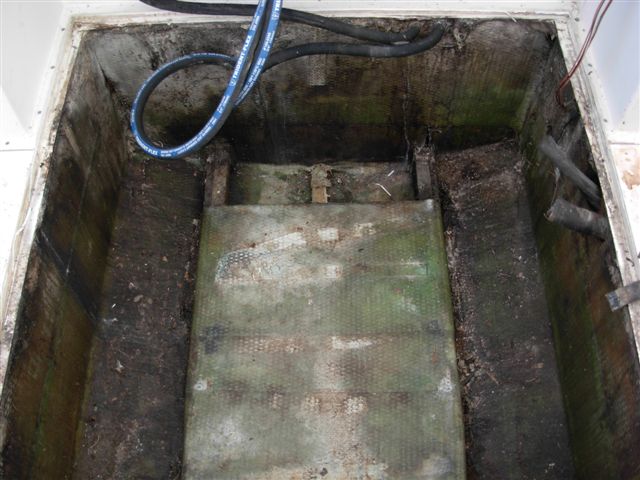
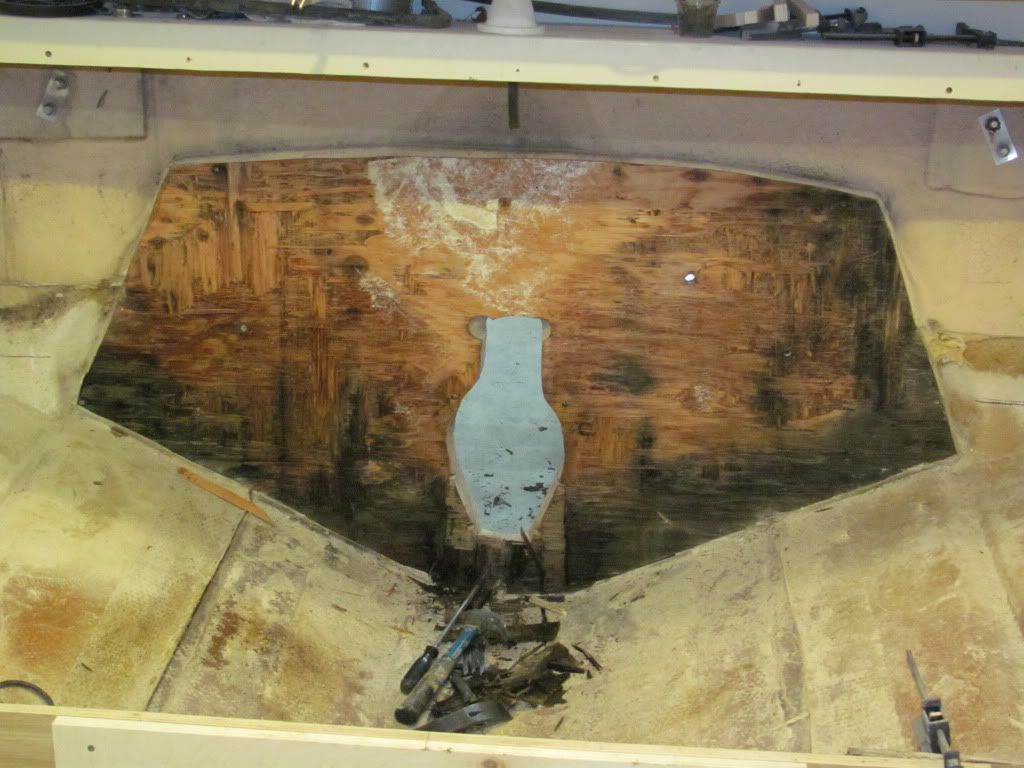
The bulkheads usually extend each way beyond the main stringers, remember it's like an egg crate. I bet the rear one does for sure.
Presuming you want to use the boat and want to do this in steps so you can, how far back does the mian stringer go? Beyond the rear bulkhead?
If it does, cut the entire middle to get to it's terminus, the mains are very important.
Then do the mains as far forward as you can at least to the next cross over bulkhead, the rest forward is under the cabin liner, and all the way back. The ones in the cabin are doable too, just some more work to cut out the lower1 foot of cabin liner.
If you remove only the wood from the mains, you wil see the skin on the other side. Clean it off flat, see how straight and true it is, probably distorted from loss of the wood, build it up with mat to get and valleys out and add a layer of mat 1.5 oz across the entire face incl where the bulkead continues under the fixed floor (to seal the water from leaching back into new core), then make the cardboard template of the entire length, transfer to your new core sheet, then you can bond the new core to the existing skln by applying pressure from the other stringer, add some sheets over there because only the foam is left structurually. Use a heavy mix mix of thickened resin, 3/16 inch on the notched trowel. Get the most contact surface you can even if you need to lump on the silica more in any depressions. Then tab and glass the side you work from. Once completed, doe the other main,
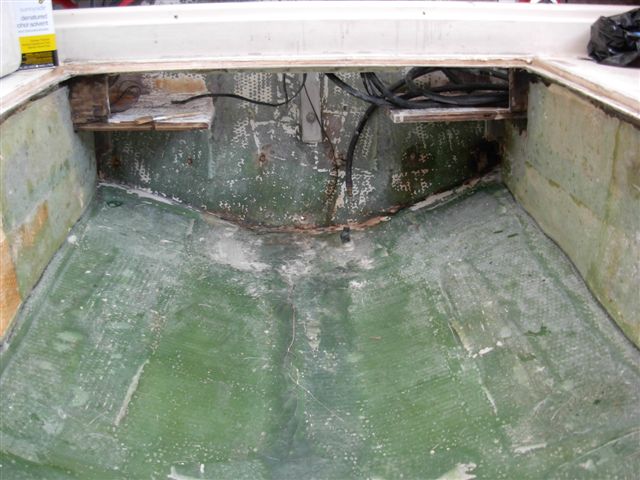
Then you do the rear bulkhead, new glass both sides. and tie it into the mains with 3 tabs of 1708, make sure there are no gaps where they meet, just load on the thickened resin.
The drain tube on the bottom, put a new one it. it's PVC as I recall.
Then do the next bulkhead forward that crosses the beam, there may be one partial bulkhead at the base of the walkarund on each side - forget it since it's under the fixed floor, for now.
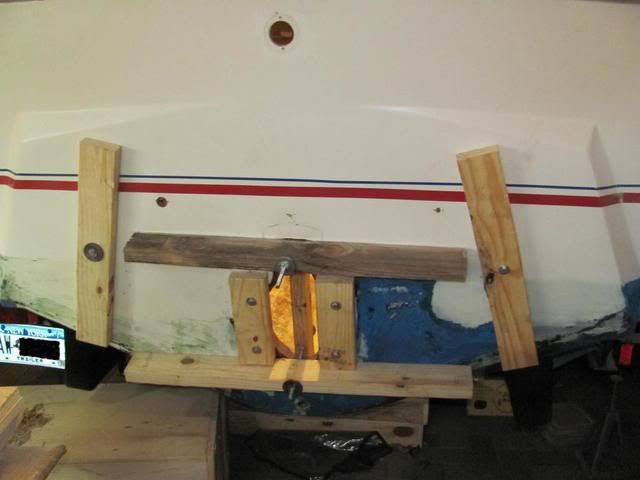
Don't forget to get the holes in place for the tank fill, vend and feed hoses. And install all new hoses.
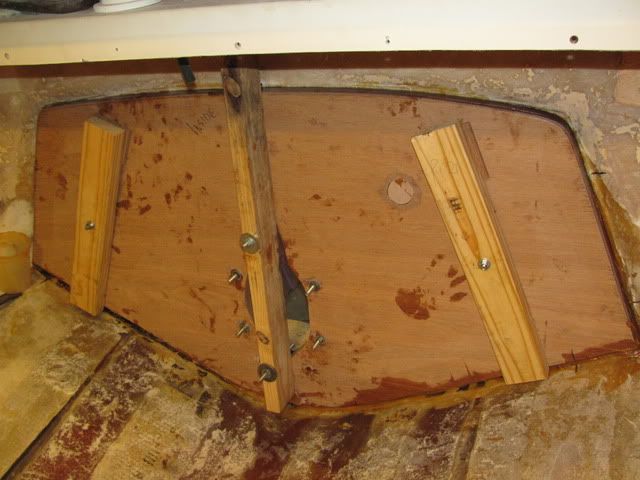
The new new mains and two bulkheads will sure up the boat I expect, but you can continue forward working in the cabin, more restrictive. Draw a line about a 1 ft horizontal and one down the middle, visualized getting out the lower liner to accees the bulheads and stringers, two more new ones may start up there and go forward. I use the dremel wit the cutting bit, works good enough. The upper liner will stay but, it hangs from the gunnel.
Then the last phase can be the fixed floor areas in the cockpit, you need to make a cut so you can add slice plates going back, on three sides. Gut the foam and find the other stringer and remainder of bulkheads, and do it the same as before. grind the old tab off completely oiff the hull, don't screw around trying to save any glass, a waste of time.
If you don't have a 4-1/2 angle grinder you will get nothing done, take the guard off and get the rubber disk to use the non velcro regular sanding disks with the hole in the middle, buy several dozen on the web, 36 grit, the depot sells them too individually.
You can get the foam in two cylinder kits off internet.
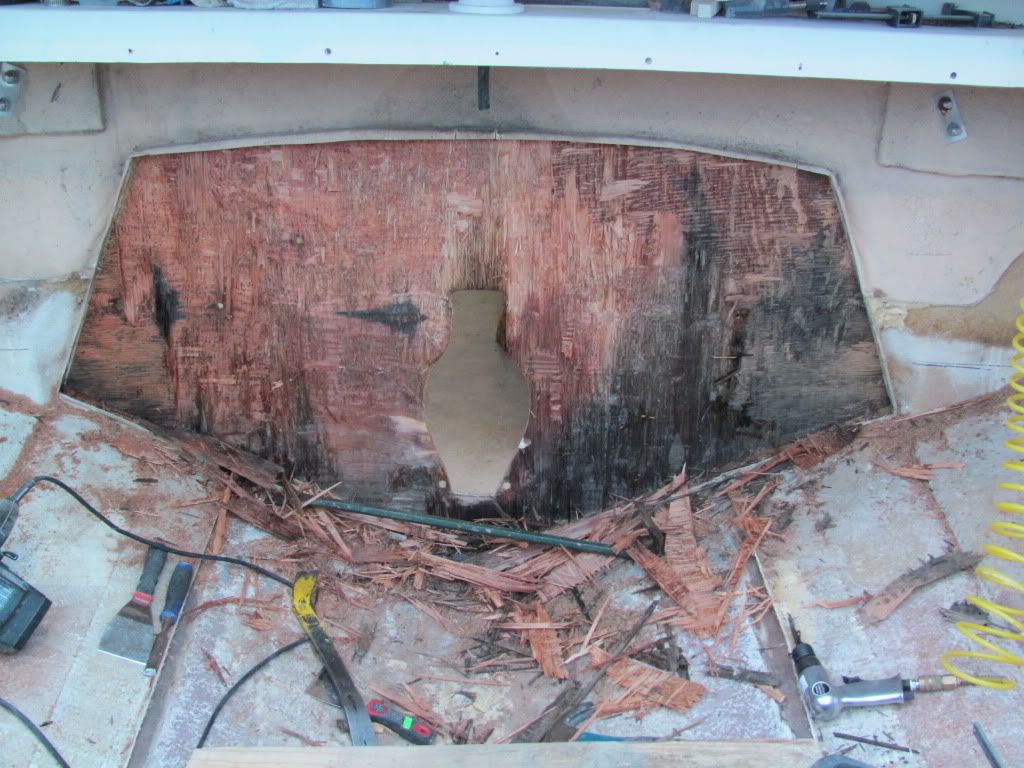
Presuming you want to use the boat and want to do this in steps so you can, how far back does the mian stringer go? Beyond the rear bulkhead?
If it does, cut the entire middle to get to it's terminus, the mains are very important.
Then do the mains as far forward as you can at least to the next cross over bulkhead, the rest forward is under the cabin liner, and all the way back. The ones in the cabin are doable too, just some more work to cut out the lower1 foot of cabin liner.
If you remove only the wood from the mains, you wil see the skin on the other side. Clean it off flat, see how straight and true it is, probably distorted from loss of the wood, build it up with mat to get and valleys out and add a layer of mat 1.5 oz across the entire face incl where the bulkead continues under the fixed floor (to seal the water from leaching back into new core), then make the cardboard template of the entire length, transfer to your new core sheet, then you can bond the new core to the existing skln by applying pressure from the other stringer, add some sheets over there because only the foam is left structurually. Use a heavy mix mix of thickened resin, 3/16 inch on the notched trowel. Get the most contact surface you can even if you need to lump on the silica more in any depressions. Then tab and glass the side you work from. Once completed, doe the other main,
Then you do the rear bulkhead, new glass both sides. and tie it into the mains with 3 tabs of 1708, make sure there are no gaps where they meet, just load on the thickened resin.
The drain tube on the bottom, put a new one it. it's PVC as I recall.
Then do the next bulkhead forward that crosses the beam, there may be one partial bulkhead at the base of the walkarund on each side - forget it since it's under the fixed floor, for now.
Don't forget to get the holes in place for the tank fill, vend and feed hoses. And install all new hoses.
The new new mains and two bulkheads will sure up the boat I expect, but you can continue forward working in the cabin, more restrictive. Draw a line about a 1 ft horizontal and one down the middle, visualized getting out the lower liner to accees the bulheads and stringers, two more new ones may start up there and go forward. I use the dremel wit the cutting bit, works good enough. The upper liner will stay but, it hangs from the gunnel.
Then the last phase can be the fixed floor areas in the cockpit, you need to make a cut so you can add slice plates going back, on three sides. Gut the foam and find the other stringer and remainder of bulkheads, and do it the same as before. grind the old tab off completely oiff the hull, don't screw around trying to save any glass, a waste of time.
If you don't have a 4-1/2 angle grinder you will get nothing done, take the guard off and get the rubber disk to use the non velcro regular sanding disks with the hole in the middle, buy several dozen on the web, 36 grit, the depot sells them too individually.
You can get the foam in two cylinder kits off internet.